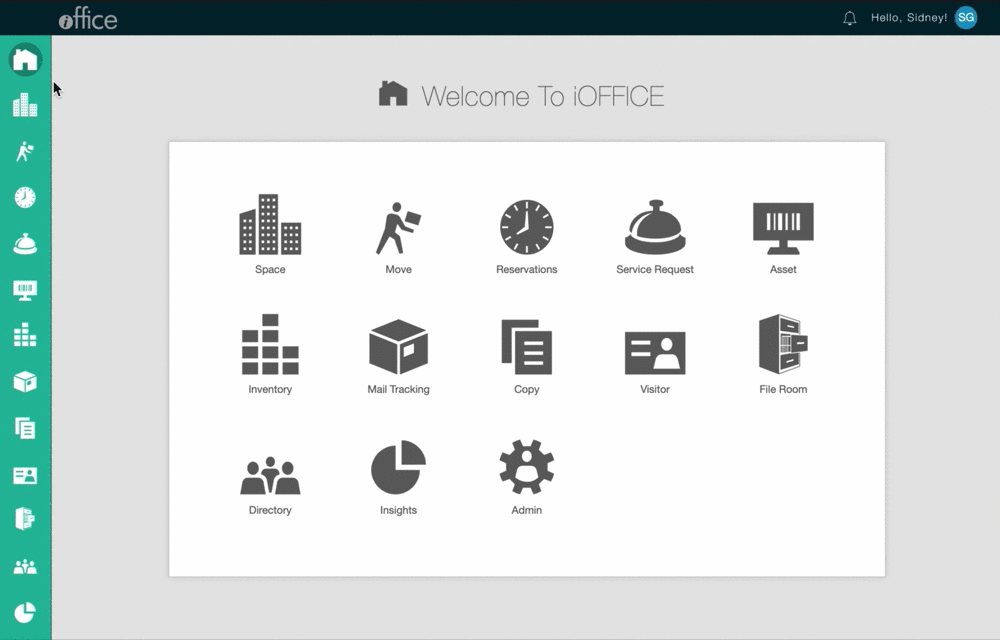
Updated Move Request Screen - 2020 February
We are updating the Submit Request screen in the Move Module with a more modern look and layout. From the updated submission page, you can add and edit move items directly from the page, without the need to click between separate tabs. All changes will now save automatically. These updates simplify the process of adding and editing items when submitting move requests.
Note: The Submit Request screen is accessed by selecting Move → Submit Request from the Sidebar menu. Switch to the new view by clicking the blue banner “Click here to try our new look” at the top of the screen.
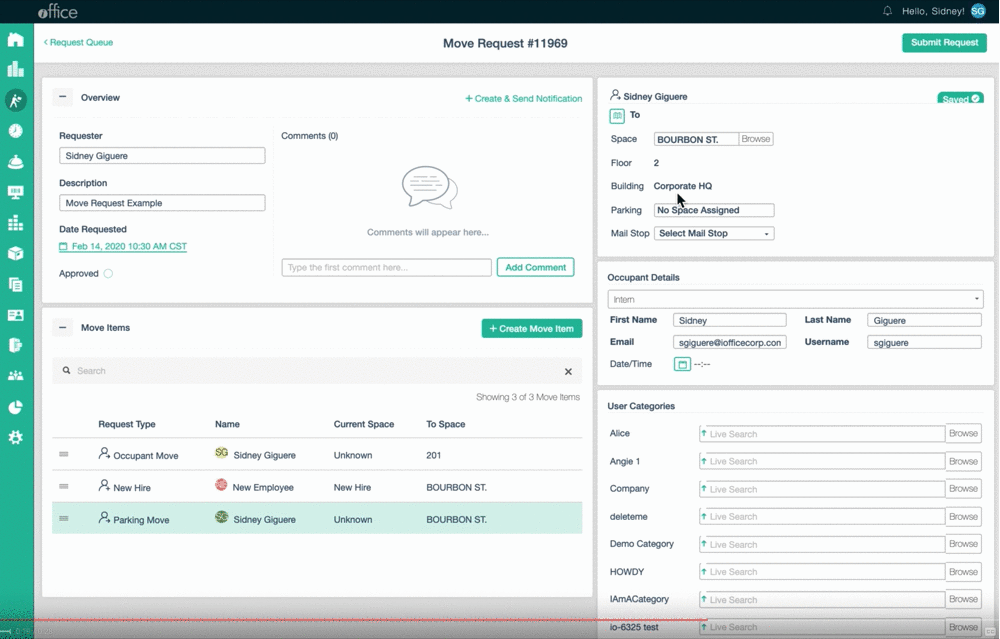
To add a move item to a request using this screen, click the Create Move Items button inside the Move Items section, which is now located below the Overview section. For example, to add a new hire to the ticket, use the following procedure.
Note: Before you can add move items, you will be required to fill in the Description and Date Requested fields.
- Click the Create Move Item button and select the item type.
- Enter the first and last name of the employee in the First Name and Last Name fields, respectively.
- Select the space where the employee will be assigned in the To Space field.
- Click the Create Move Item button. The new hire is added to the move request.
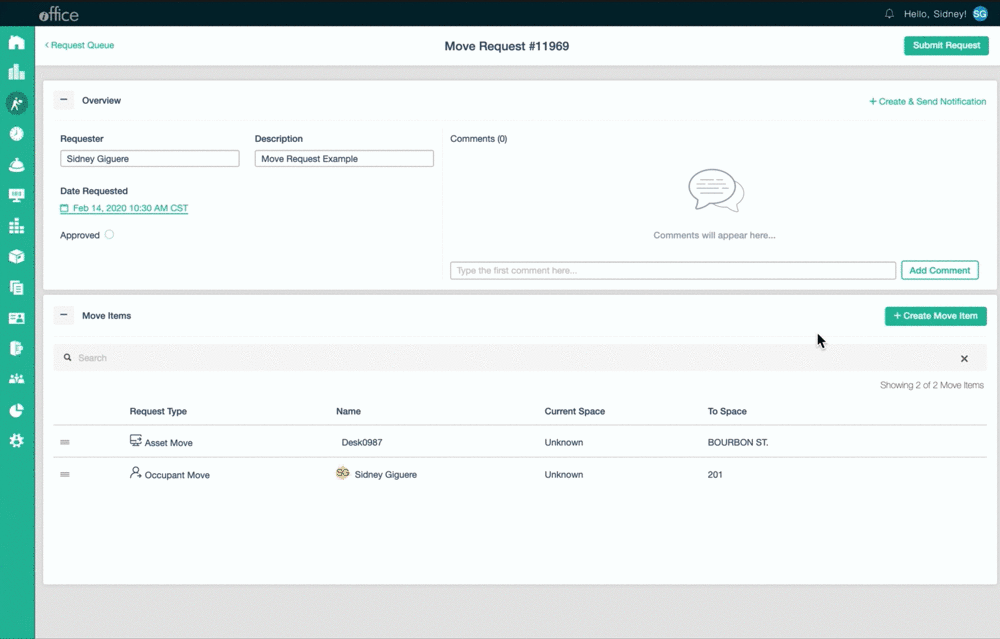
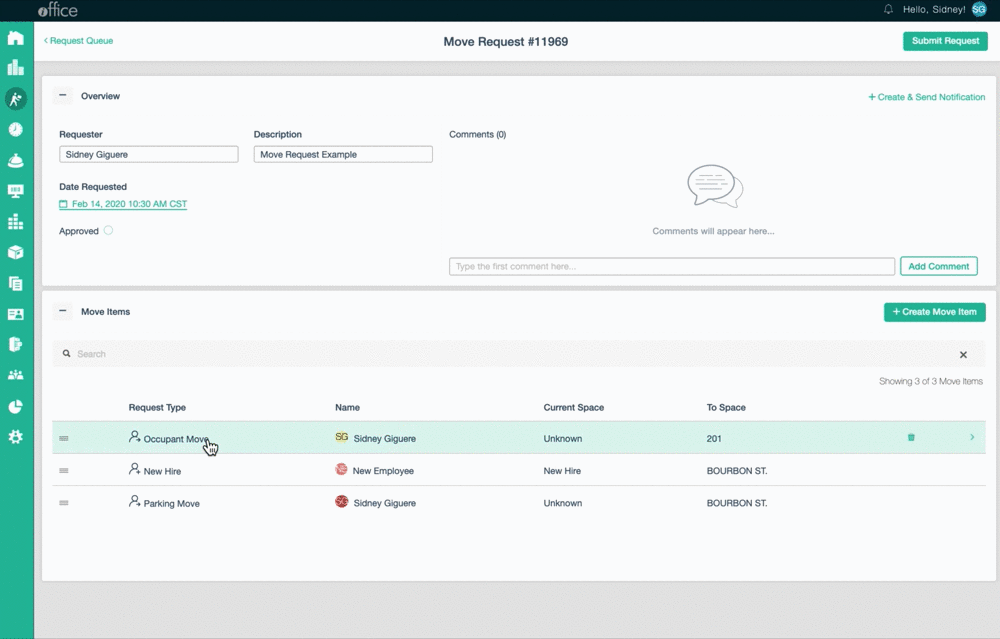
Once move items are added to the request, you will be able to quickly search for, add, remove, and reorder the move items using the new list view. The list can be rearranged by dragging and dropping the items.

To remove an item from the list, simply click the Trash can icon. All changes made are saved automatically.
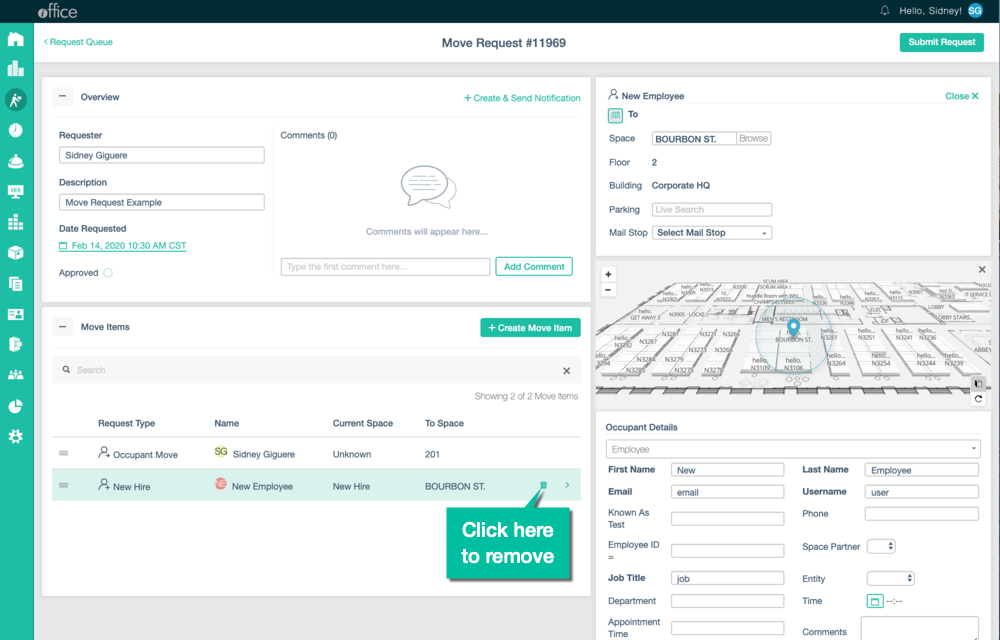
If you need more information about a specific move item, click on the item to view the corresponding details on the right-hand side of the screen. In addition to viewing this information, the displayed sections can also be used to update item information, from employee and occupancy details to user categories.
For example, you can search and browse for spaces in the detail sections on the updated Move Request screen, saving time by allowing you to select view or select a new space without jumping between multiple views. To view the selected space on the floor plan, click the Map icon in the Details section.
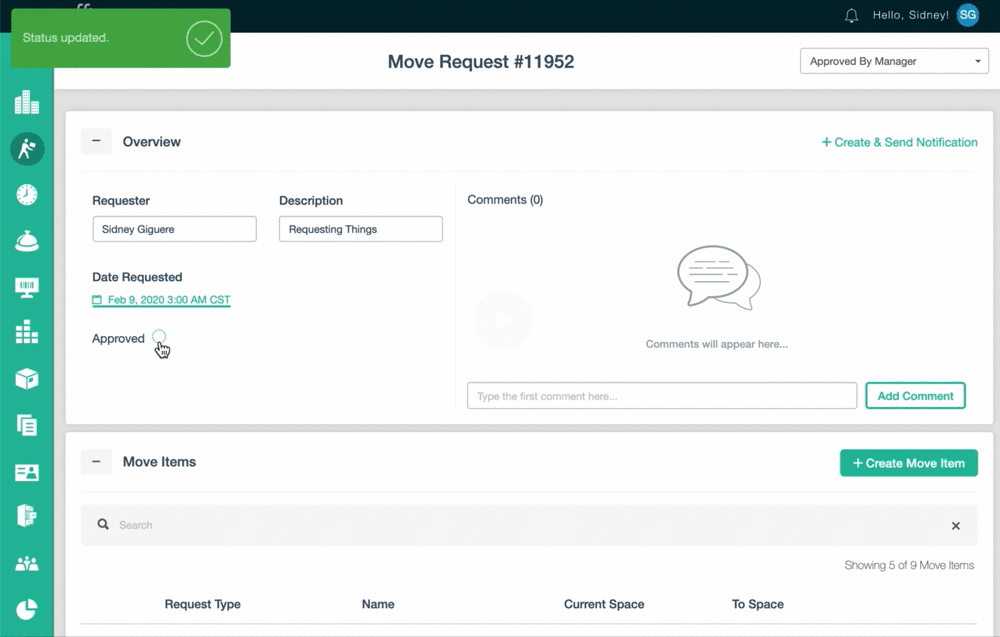
With these enhancements, we are also updating the way move requests are saved. Previously, a move request was only created once you clicked the Save and Close button. Now, move requests are automatically saved in a new "Draft" status. The Draft status is a designation given to requests that have not yet been submitted, allowing you to continue work on a ticket at a later time. This new status also prevents emails from being sent out prior to the request being finalized. If you close out of the screen prior to completing a request, the request is placed in Draft status and will be accessible from the Move Request Queue screen.
When you are ready to submit a new move request, click the Submit Request button in the top-right corner of the screen. Once the request is submitted, the request is no longer in Draft status, and any emails associated with the move request will be sent.
Approved move requests should then be archived by clicking the Archive button. This final step makes all changes permanent.
The new Submit Request screen in the Move Module offers more visibility as you work on move requests. Without having to work between separate screens and tabs, finding and adding move items and details to your move requests is accomplished more easily. These updates allow for greater efficiency when submitting and editing move requests. If you have any questions, please call 1-800-505-0224 or send an email to support@iofficecorp.com.