Locations
About Locations
Example: An organization has several buildings (Locations) in multiple states (Regions) of the US (Country). In Condeco they create the following:
- Country = US
- Region = New York
- Location = Millbank Center
- Location = Tower Place
- Region = Florida
- Location = Miami Mansion
- Region = California
- Location = Beach Front Tower
- Location = Sunshine Center
- Region = New York
First, create a Country and then create a Region and Location.
How to add a new country
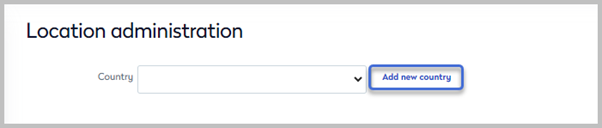
- Navigate to Application Setup > Locations.
Note that the Country may be opened automatically if you have one (and only one) already created. To navigate back to the Country field, click the Country name in the navigation menu.
- Click Add New Country to open the country form.
- Refer to the table below to complete the fields for the new country.
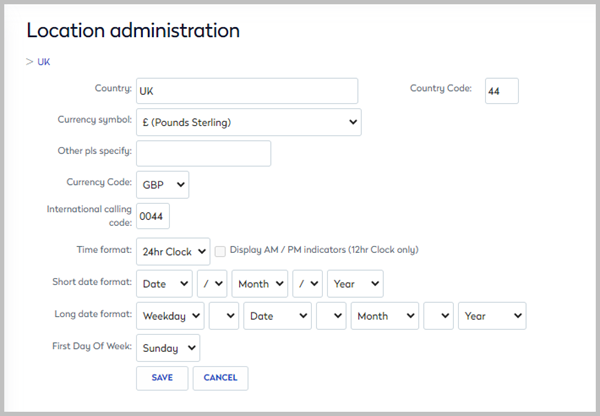

Location Admin Description Country Enter the name of the country. Country Code Enter the shortcode for the country. i.e. UK or USA. Currency Symbol Click the drop-down to select the currency symbol. Other pls specify If the currency symbol is not listed, you can enter it here. Currency Code This field automatically updates when the currency symbol is entered. International calling code Enter the telephone country code. Time format Click the drop-down to select the time format users will see in the search. 12hr clock or 24hr clock. For 12hr clock, tick to display AM / PM indicators. Short date format Click the drop-down options to select the country’s short date format including the desired separator. i.e. date/month/year. Long date format Click the drop-down options to select the country’s long date format. Include separators if required or select a space as the separator. First Day of Week Click the drop-down and select either Sunday or Monday as the first day of the week.
- Click Save.
How to edit an existing country
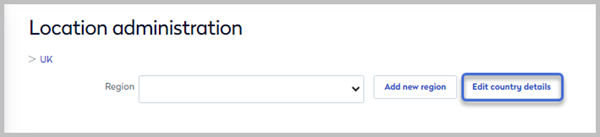
- Navigate to Application Setup > Locations.
- Click the drop-down and select the country from the list.
- Click Edit country details to the right of Add new region.
- Refer to the table above to complete the fields for the new country.
- Click Save when done.
Next step
Now add a new region and location for the new country. See below.
Add or edit a region and location
Before you start
Before you can create a region and location, you need a country. Learn how
How to create a new Region and Location
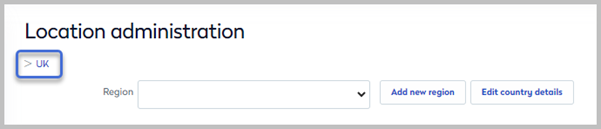
- Navigate to Application Setup > Locations.
- Click the Specify a country drop-down and select the country for the new region. If you only have one country configured in Condeco, skip to the next step.
- Click Add New Region.
- Enter a name for the new region and click Save.
- Click Add New Location or select an existing location to open the location form.
- Refer to the table below to complete the fields for the location.
Location fields Description Location Name
Enter a name for the location.
Status
By default the location is Open. Click the button at the bottom of the form to mark the location as Closed.
Type
Select Office Space.
Address
Enter the location’s address.
Email
Enter the email address the location will send emails from.
Visitor Direction Email
Click to configure an email template for visitors.
Time Zone
Select the time zone. Condeco will automatically adjust for daylight savings time.
Floors
Type the number of floors above and below ground at the location.
Define floor names
It is best practice to apply a floor name for each floor. Click to define your floor names. If no other names are obvious, we recommend 1=First or 1st, 2=Second or 2nd, etc.
Geolocation
Enter the latitude and longitude coordinates for the location. Required for proximity-based check-in.
No Attendees meeting space Booking
If ticked, the Attendees tab is disabled on the booking form for the location.
Mandatory cost center override
Tick to allow users to override the default cost center at this location. Only valid if the cost center on the booking form is mandatory.
CC Payment and Cost Code Enabled
Enable credit card payments and cost codes for the location. Contact support for more information.
All Floors on Grid
Tick to display group resources for all floors on the booking grid.
Enable self-certification of users
Tick to enable self-certification at the location. If enabled the field will expand for you to enter the text for the self-certification conditions users will be required to confirm, and the text to display when a user is unable to agree to the conditions.
Additional information
You can save information for other administrators about the location configuration here.
Groups
Move groups to the right-hand box to include them in this location. If this is a new installation you may not have created any groups yet.
- Click Save.
How to edit a Region name
- Navigate to Application Setup > Locations.
- Click the Specify a country drop-down and select the country that contains the region.
- Click the Region drop-down and select the region.
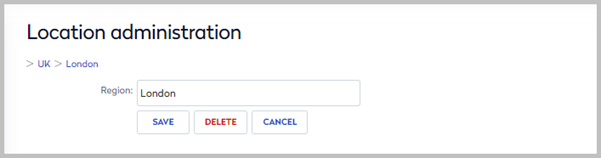
- Click Edit region details to the right of Add new location.
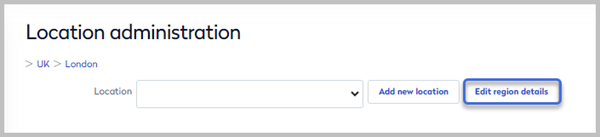
- Edit the region name and click Save.
How to edit a Location
- Navigate to Application Setup > Locations.
- Click the Specify a country drop-down and select the country that contains the region.
- Click the Region drop-down and select the region.
- Click the Location drop-down and select the location to edit.
- Refer to the table above to complete the fields for the location.
- Click Save when done.
Deleting Regions and Locations
It is important to delete all bookings in a location before deleting the location. Similarly, it is important to delete all locations contained in a region before deleting the region. Failure to do so may cause errors in the database.
We do not recommend deleting Countries, Regions, or Locations that have Zones, Groups, and Resources mapped to them. The Zones, Groups, and Resources must be moved to an alternative location first.
Next step
Create groups to manage the resources at the location. Learn about groups