Floor plans
Upload floor plans to enhance the personal space booking experience. Users can view personal space locations and availability on a floor plan from the web application and on the mobile app.
Good to know
- The floor plan images must be in either JPEG or PNG format.
- The recommended maximum resolution is 1080×1920.
- For best performance, the file should not exceed 2 MB.
- The file name must not contain any special characters or spaces.
- Meeting spaces are not managed on the floor plans, however, an image highlighting the location of a meeting space can be uploaded to a meeting space resource. Learn more about meeting space resources.
How to upload and configure floor plans
- Navigate to Application Setup > Floor Plans.
- Select the Country, Resource Type, Location, and Floor for the floor plan you are uploading.
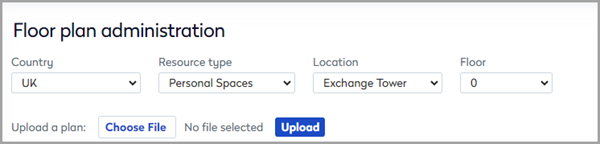
- Click Choose File and select the PNG or JPEG floor plan image.
- Click Upload. Any existing floor plan is replaced with the uploaded image.
- The floor plan image is displayed (replacing any existing image) and any groups located on the floor are listed under Unpositioned Groups on the left.
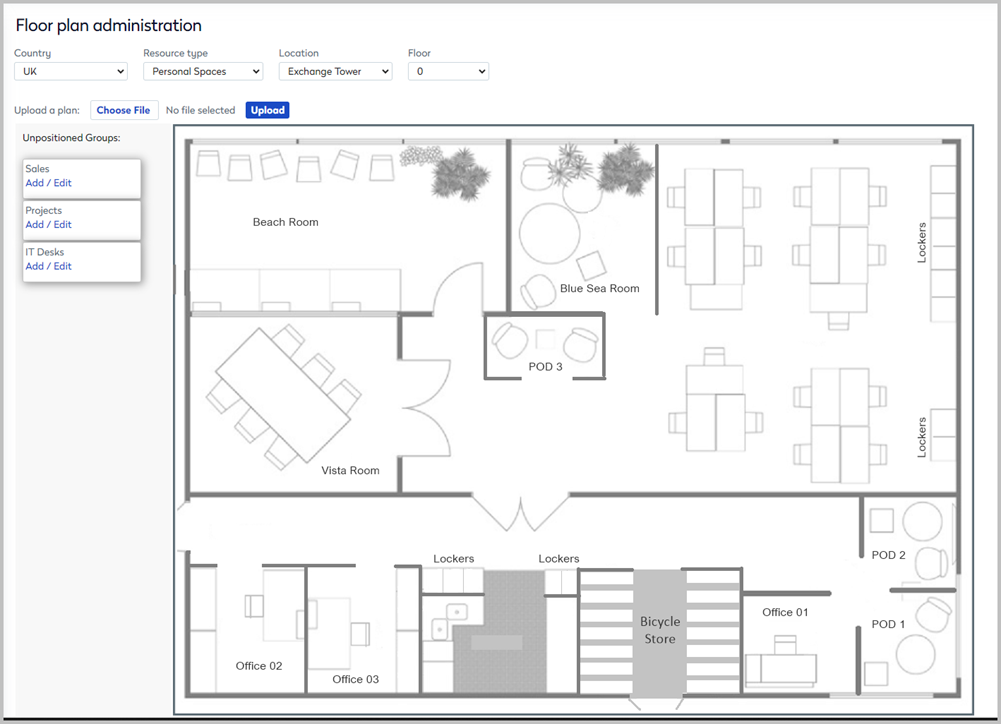
Don’t see any groups? Check groups have been added to the location and the groups contain personal space resources.
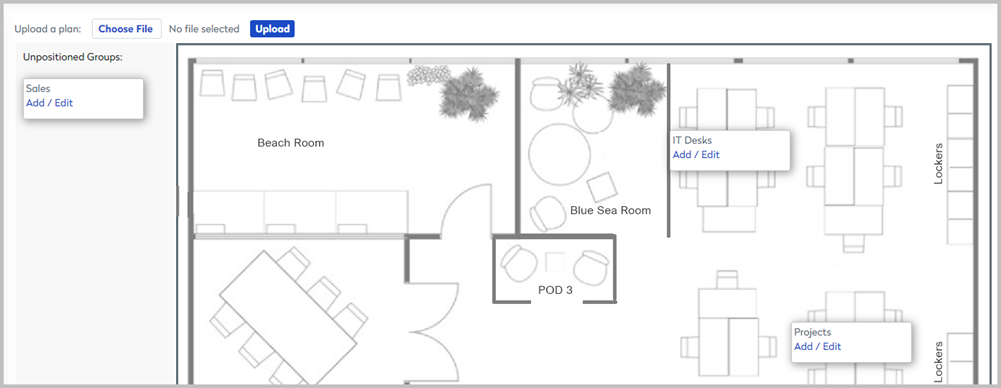
- Click and drag a group onto the floor plan and drop it at its location.
Watch a video to see how to drag groups onto the floor plan
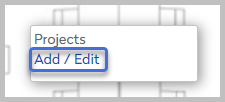
- Click Add / Edit in the group box.
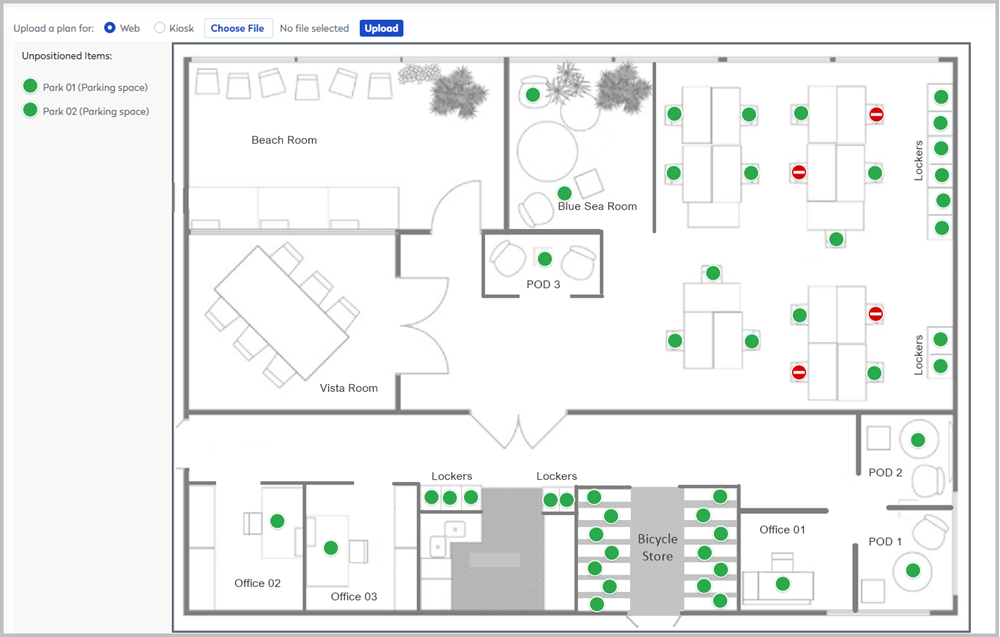
- Make sure Web is selected for the 'Upload a plan for' option.
- Click Choose File to select your image and click Upload.
This is the floor plan displayed when users search for workspaces. You can upload the same floor plan used above for the whole floor, or for more extensive buildings, it may be appropriate to upload a smaller section of the floor, a west or east wing, for example.
- Click and drag the unpositioned spaces (green circles) and drop them at their locations.
Watch a video to see how to upload a floor plan and position resources
Changes to the floor plan are automatically saved.
- Return to the master floor plan and continue to drag groups to their locations, upload your images and position the spaces at their locations.