Mounting options
Where to position the v3 Desk Booking Screen
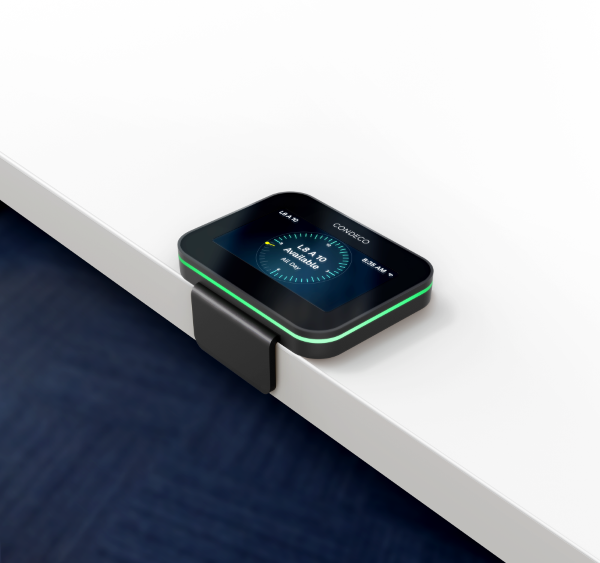
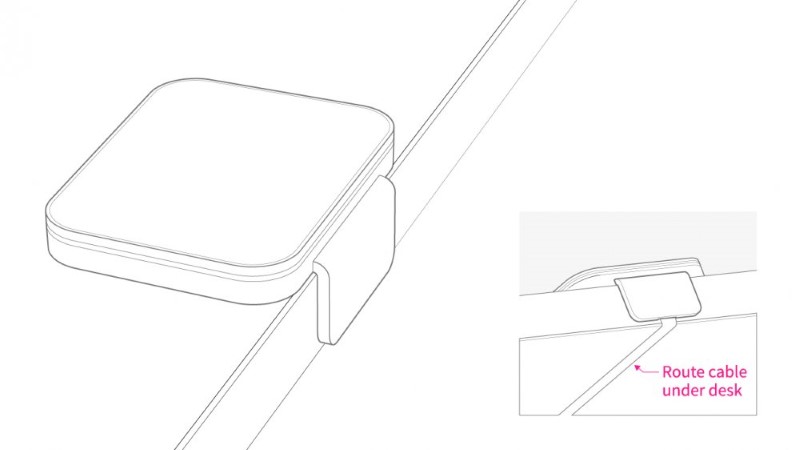
The best location for the desk booking screen is on the edge of a desk so the cable can be clipped to the underside of the desk and hidden.
Alternatively, the desk booking screen can be fixed to a wall or partition using part number ACCE13 (purchased separately).
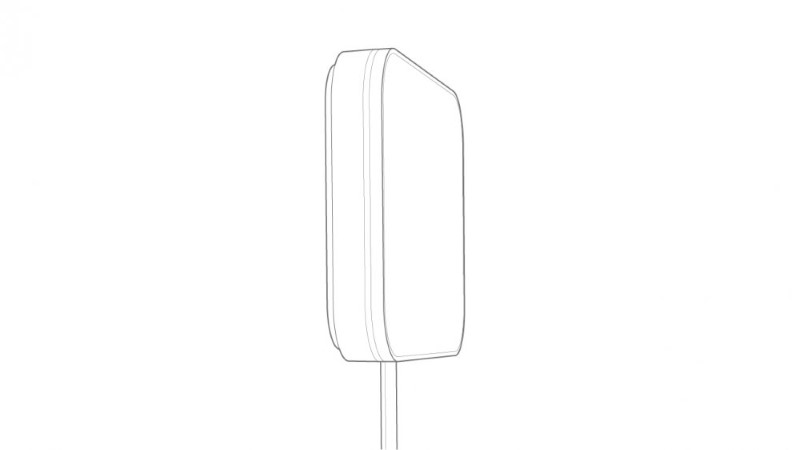
The ‘flat-down’ USB cable
When deciding where to position the desk booking screen, consider the direction of the ‘flat-down’ USB cable which exits the device at the bottom. The cable is easily hidden under a desk but may be visible if attached to a wall or partition.
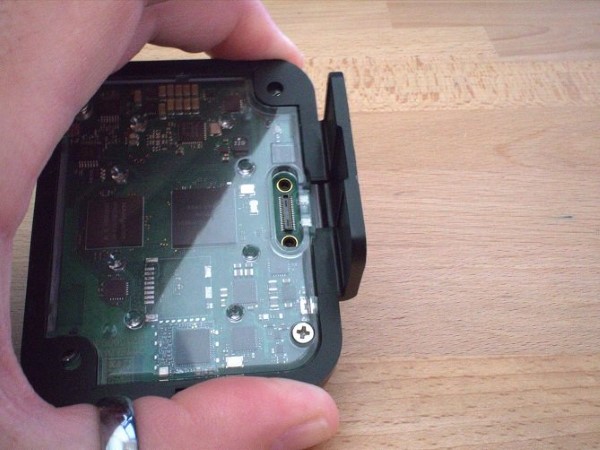
Do not unscrew and invert the cable connection as the screen will not operate with the connector inverted.
Mount to the desk edge
To secure the v3 Desk Booking Screen to the edge of the desk you need:
- v3 Desk Booking Screen and ‘flat-down’ USB cable.
- Desk edge mount plate.
- Adhesive pad.
- Cable clips (not supplied).
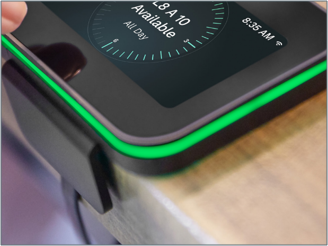
- If not already connected, feed the flat-down cable through the desk edge mount plate and firmly press the backing plate onto the device. Be careful not to bend the cable more than 90°.
- Use the adhesive pad to position it securely to the desk.
- Secure the cable to the underside of the desk using cable clips (not supplied).
Mount to a wall or partition
The desk booking screen arrives with the flat down cable connected and the desk side mount attached. If you wish to install the device to a wall or partition, you may need to replace the mounting plate and cable.
To fix the Desk Booking Screen to a partition or wall you will need:
- v3 Desk Booking Screen and ‘flat-down’ USB cable.
- ACCE13 v3 desk booking screen Wall / Partition Mount (purchased separately).
- Screws (recommended) or Adhesive pad.
- To remove the mounting plate you need a plastic pry tool.
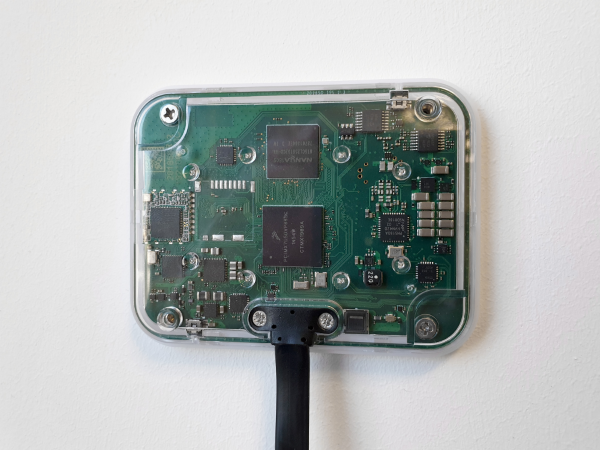
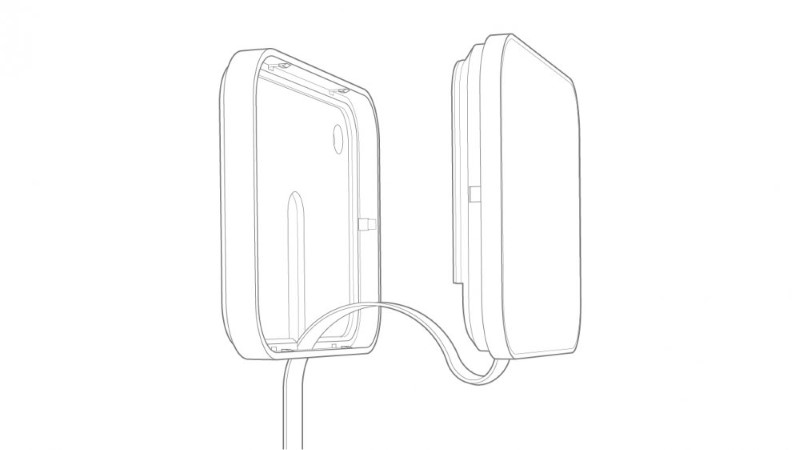
How to remove and replace the mounting plate
There are six small clip points around the device that holds the mount in place. Four of the clips are located under the four holes in the back of the mount, the remaining two clips are along the long edge directly opposite the marked holes. Do not attempt to remove the mount by putting anything in the holes!
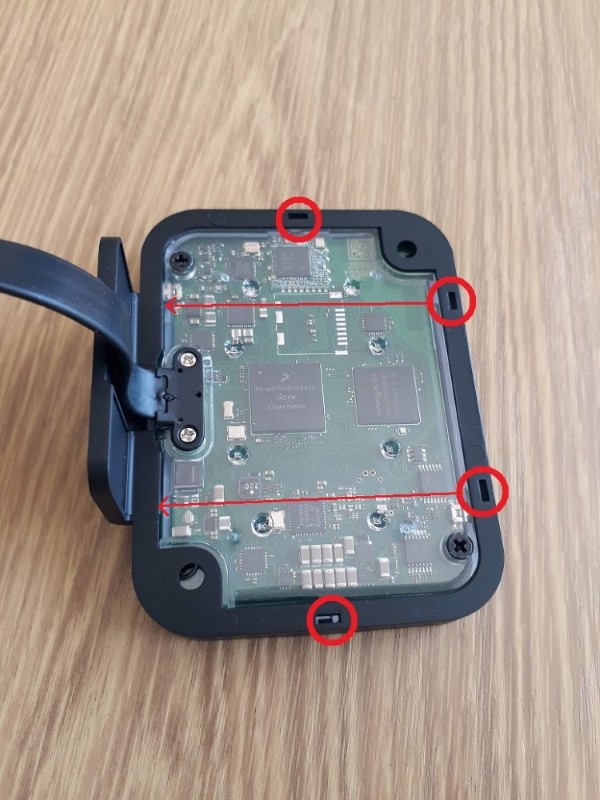
Position of the clip points
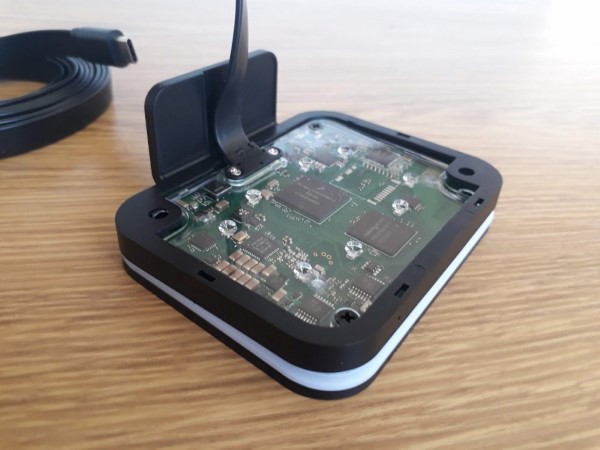
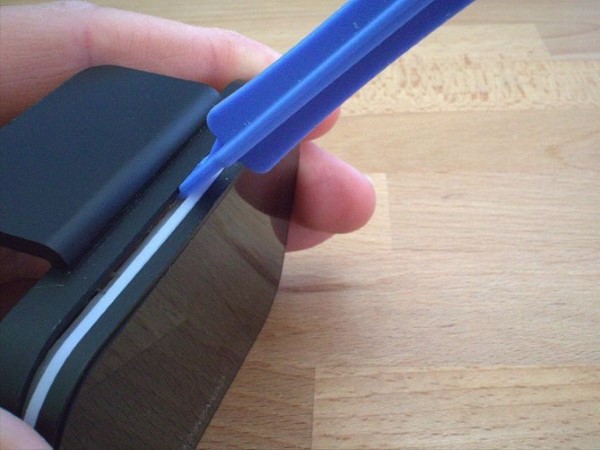
- Firmly squeeze two corners together with your fingers to create a gap between the mounting plate and the screen.
- Insert a plastic pry tool close to the clip points and gently ease the mounting plate from the screen.
- Feed the cable through the ACCE13 v3 desk booking screen Wall / Partition Mount then fix the mount to the wall using screws (recommended) or an adhesive pad.
- When the mount has been fixed to the wall, clip the desk booking screen into the mount.
Important information about the ‘flat-down’ USB cable
Do not rotate the desk edge mount or bend the flat cable more than 90°.
The supplied flat cable cannot bend through 180° to enter a hole into the wall directly behind the screen or to go over the top of a partition, however, you can bend the cable 90° to enter a hole in line with the bottom edge of the screen.