Manually set up a desk booking screen
How to manually set up a desk booking screen
-
Plug the USB cable into a suitable power source to power up the desk booking screen.
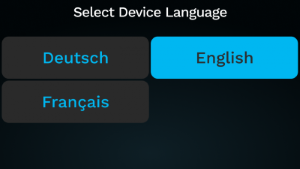
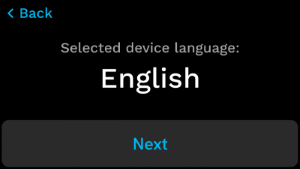
- Choose the language for the device.
- Tap Next.
- Tap Set up manually.
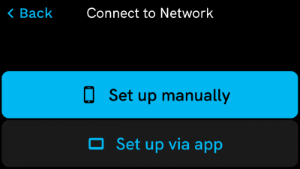
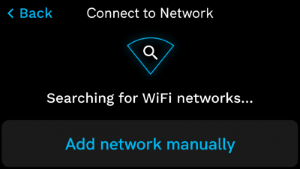
- Connect to Network: The desk booking screen searches for Wi-Fi networks.
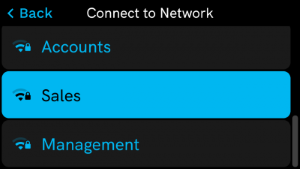
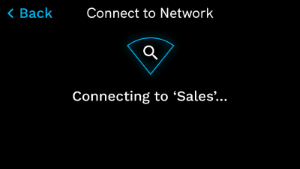
- Available Wi-Fi networks are displayed. Select the appropriate Wi-Fi network from the list.

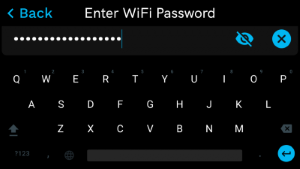
- Tap Tap to enter the Wi-Fi password.
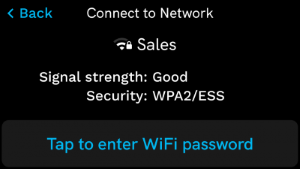
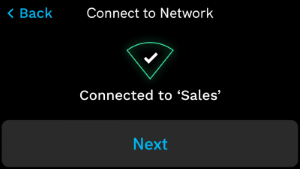
- Enter the password and when connected to the network, tap Next.

- Checking for Updates: The desk booking screen now checks for updates.

Desk Booking Screens automatically update to the latest firmware. This may require more than one update/installation/reboot and you may be asked to enter your Wi-Fi password again.
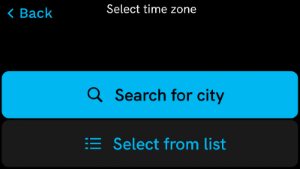
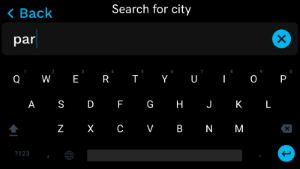
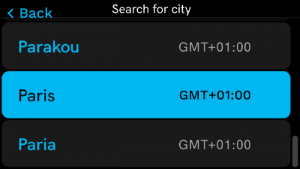
- Select Time Zone: Next, set the time zone. Either tap Search and enter the name of your city or tap Select from list to view a list of cities. Learn more about setting the time zone
- NTP server: The desk booking screen can access the default NTP servers or your own custom NTP server. The default NTP servers are shown on the screen. Depending on your requirements, tap Use custom or Use default. Learn more about setting a custom NTP server
Only desk booking screens on version 8.1.38 or later can be configured with an NTP server. Any NTP server settings entered here are ignored by versions earlier than 8.1.38.
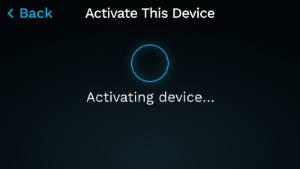
- Activate This Device: Follow the steps below to activate the desk booking screen.
How to activate a desk booking screen
If you are updating a device from a version below 8.1.34, tap the back arrow and check for updates again. The device will then update to the current version.
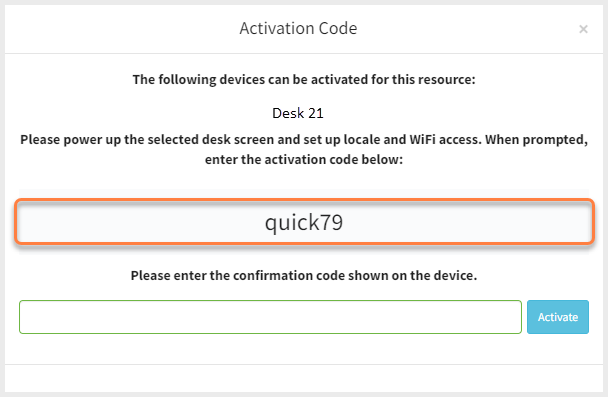
You need an activation code generated from the Device Hub to activate a desk booking screen.
- Sign in to the Condeco Device Hub.
- Go to Desks & Screens in the left navigation.
- Find the desk resource to pair with the desk booking screen and click Activate.
If you have not created the desk resource yet, set it up by clicking Add desk. Learn how to add a desk to the Device Hub
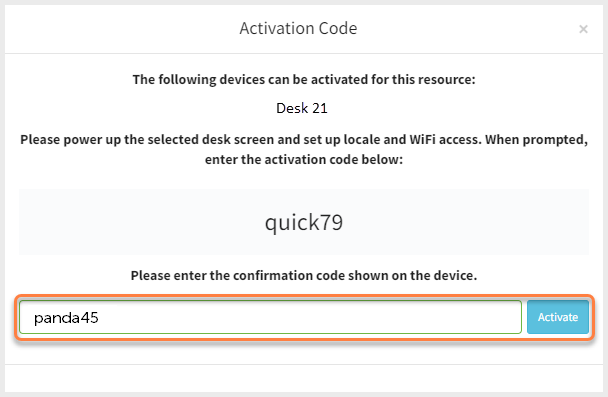
- The Activation code pop-up window opens and displays a unique code to enter on the desk booking screen.
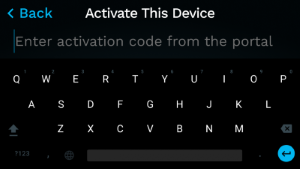
- Enter the Activation Code on the desk booking screen and tap the blue enter icon at the bottom right of the screen.
- The desk booking screen displays a unique code to enter on the Device Hub.
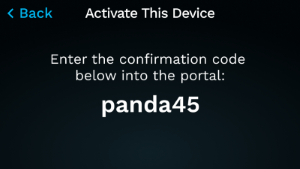
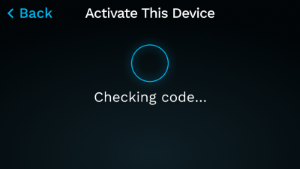
- Enter the code shown on the desk booking screen into the pop-up box on the Device Hub and click Activate.
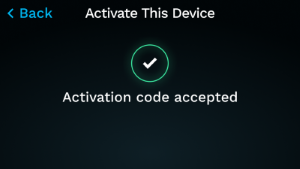
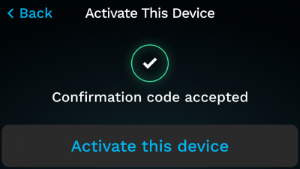
- When the code is checked and accepted on the desk booking screen, tap Activate this device.
- When the device is activated, tap Next.

Congratulations! Your desk booking screen is now activated and is ready for use.