Set up using the Desk Screen Manager app
Desk Screen Manager app for Android
If you are setting up multiple Condeco desk booking screens we recommend downloading Condeco’s Desk Screen Manager app. Using the app, connecting desk booking screens to your network and an NTP server, and setting the time zone can be done quickly and easily from your NFC-enabled Android mobile device.
Your Android device must support NFC (Near Field Communication).
Is there an app for iOS devices? Unfortunately not. The Condeco Desk Screen Manager app uses NFC which is only supported on iOS devices for making payments.
Download the app
Download the Condeco v3 Desk Screen Setup app from the Google Play Store – play.google.com/store/apps/details?id=com.condecosoftware.deskscreensetup – and follow the instructions below to connect the app to your Wi-Fi network and configure your v3 desk screens.
How to use the Desk Screen Manager app
-
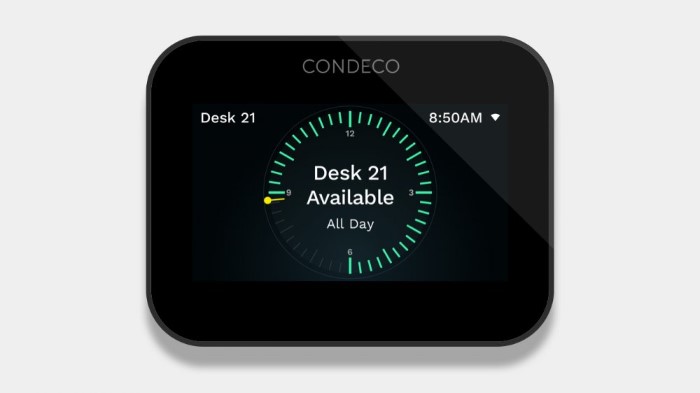
Plug the USB cable into a suitable power source to power up the desk booking screen.
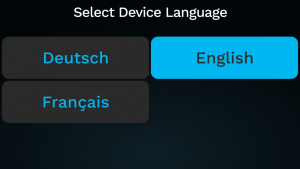
- Choose the language for the device.
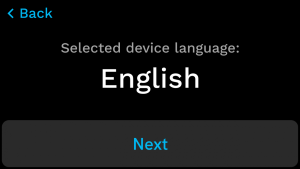
- Tap Next.
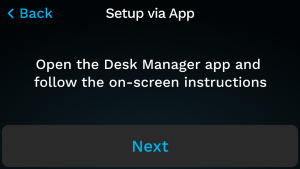
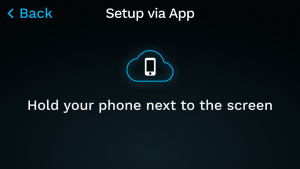
- Tap Set up via app on a desk booking screen.
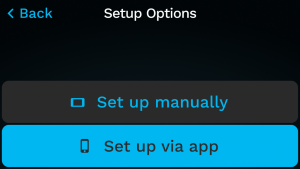
- Tap Next.
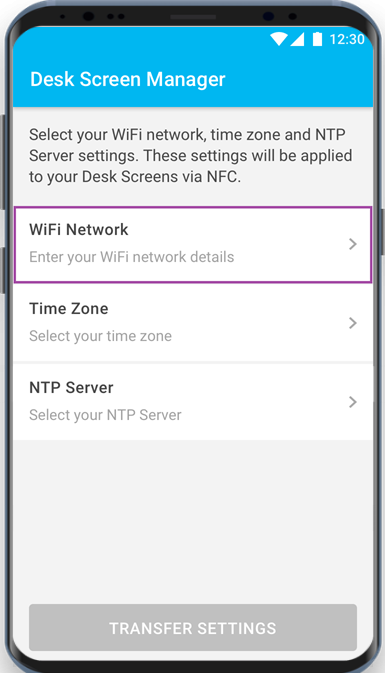
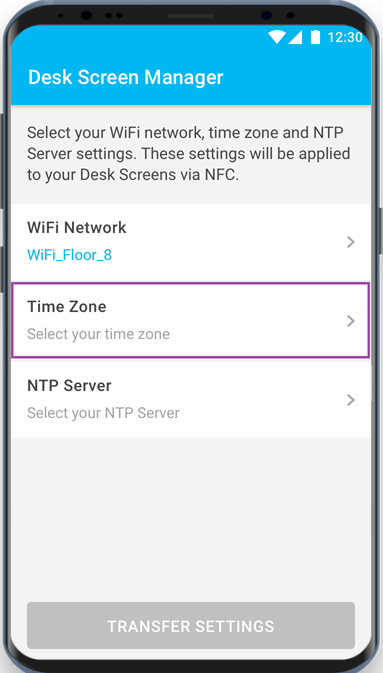
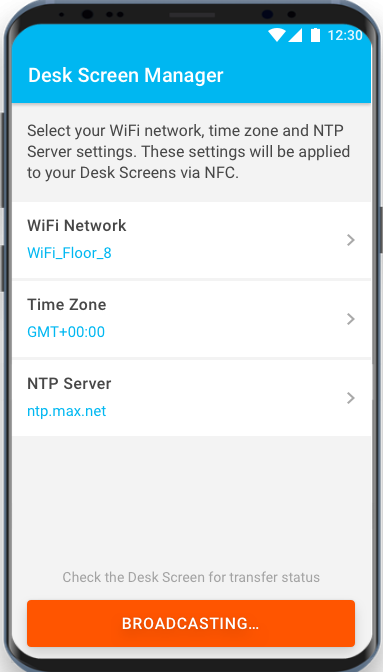
- Open the Desk Screen Manager app installed on your Android device and tap WiFi Network.
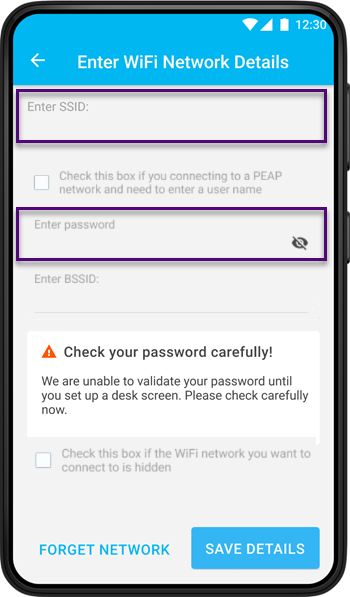
- Wi-Fi: Enter the SSID and password for your Wi-Fi network then tap Save Details. The password is validated when you connect to your first desk screen.
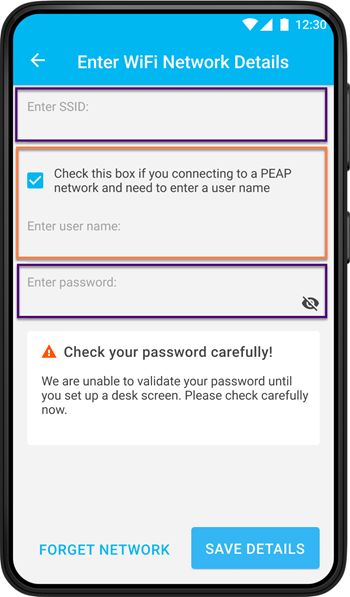
- PEAP: To connect to PEAP (Protected Extensible Authentication Protocol) network, enter the SSIP for your Wi-Fi network, tick PEAP and enter the username and password. Tap Save Details. The password is validated when you connect to your first desk screen.
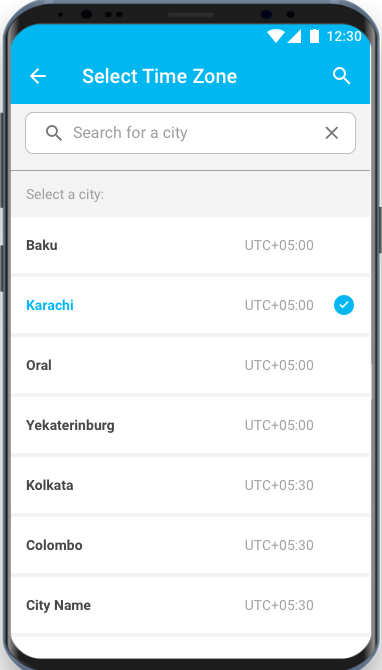
- Tap Time Zone.
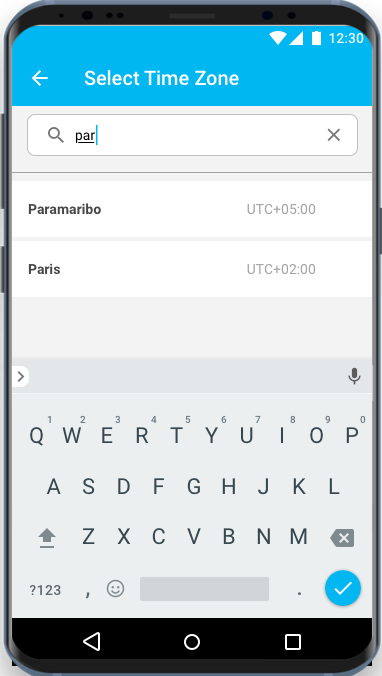
- Either scroll down the list or enter the name of the city to find in the search box, and tap to select.

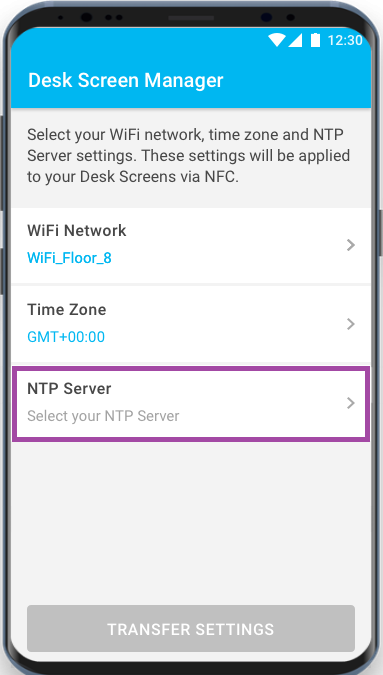
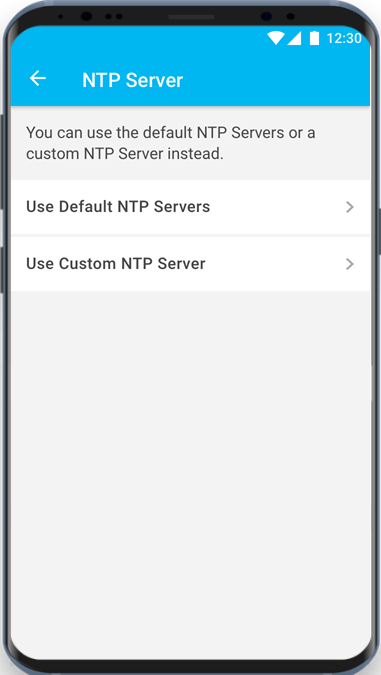
- Tap NTP Server to select either a default or custom NTP server.
Only desk booking screens on version 8.1.38 or later can be configured with an NTP server. Any NTP server settings entered here are ignored by versions earlier than 8.1.38.
- Tap Use Default NTP Servers or, if you want to connect to your own NTP server tap Use Custom NTP Server.
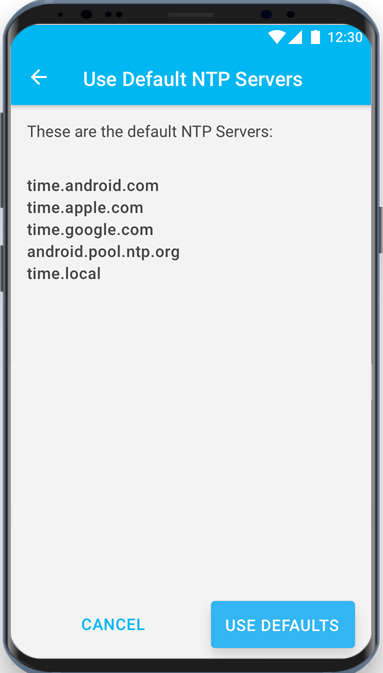
- Default NTP Servers: a list of the default NTP servers is displayed. Tap Use Defaults.
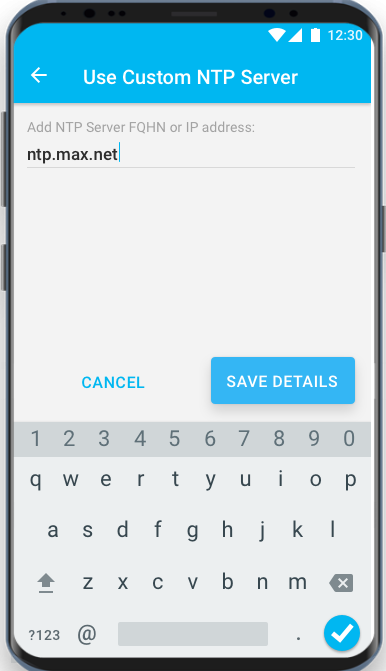
- Use Custom NTP Server: enter the FQHN or IP address of your NTP server. Tap Save Details.
- Default NTP Servers: a list of the default NTP servers is displayed. Tap Use Defaults.
- Your Wi-Fi network, time zone, and NTP server are displayed on the Desk Screen Manager home page. Tap Transfer Settings
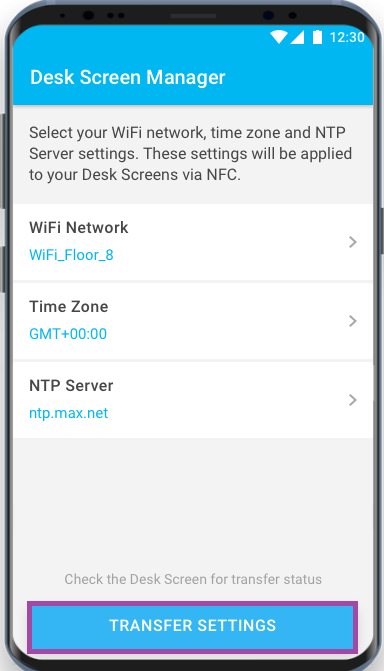
- The Desk Screen Manager will start to broadcast.
- Hold your mobile device next to the desk booking screen.
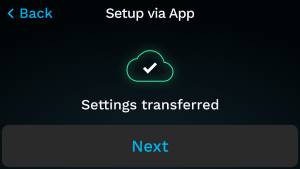
- Wait for the Settings transferred message to display and tap Next.
- Checking for Updates: The desk booking screen now checks for updates.
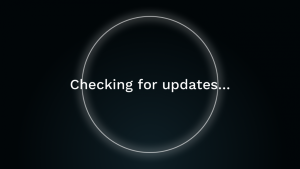
Desk Booking Screens automatically update to the latest firmware. This may require more than one update/installation/reboot and you may be asked to enter your Wi-Fi password again.
- Activate This Device: Follow the steps below to activate the desk booking screen.
How to activate a desk booking screen
If you are updating a device from a version below 8.1.34, tap the back arrow and check for updates again. The device will then update to the current version.
You need an activation code generated from the Device Hub to activate a desk booking screen.
- Sign in to the Condeco Device Hub.
- Go to Desks & Screens in the left navigation.
- Find the desk resource to pair with the desk booking screen and click Activate.
If you have not created the desk resource yet, set it up by clicking Add desk. Learn how to add a desk to the Device Hub
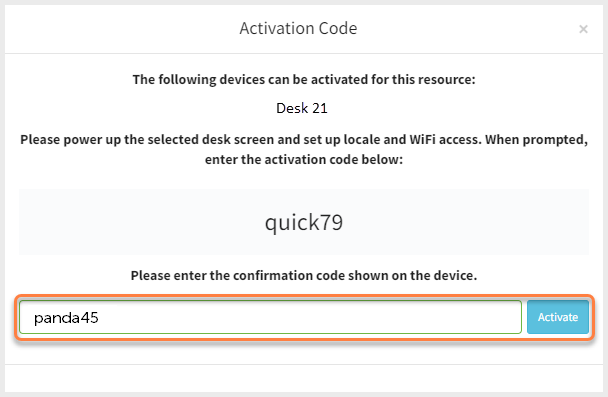
- The Activation code pop-up window opens and displays a unique code to enter on the desk booking screen.
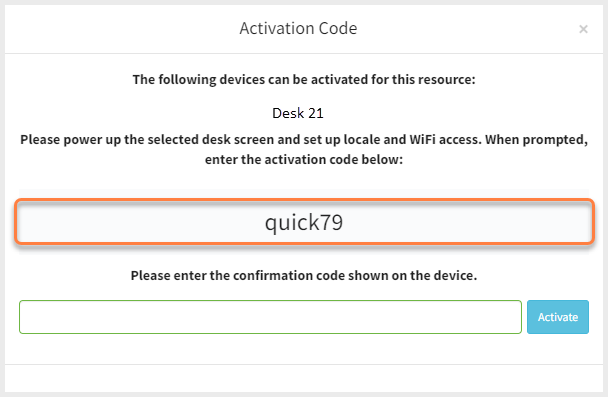
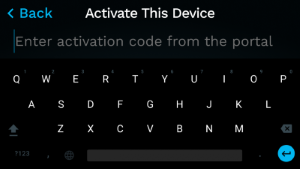
- Enter the Activation Code on the desk booking screen and tap the blue enter icon at the bottom right of the screen.
- The desk booking screen displays a unique code to enter on the Device Hub.
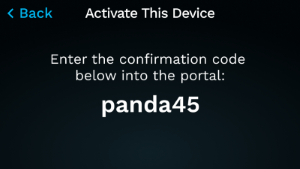
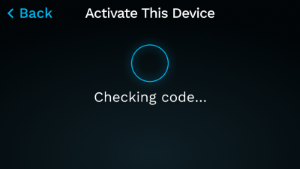
- Enter the code shown on the desk booking screen into the pop-up box on the Device Hub and click Activate.
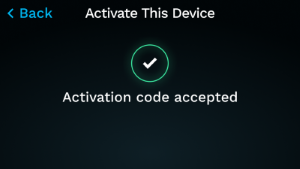
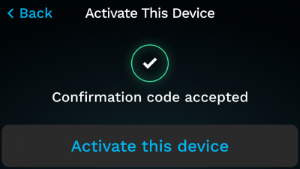
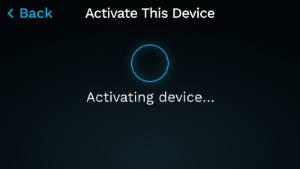
- When the code is checked and accepted on the desk booking screen, tap Activate this device.
- When the device is activated, tap Next.

Congratulations! Your desk booking screen is now activated and is ready for use.