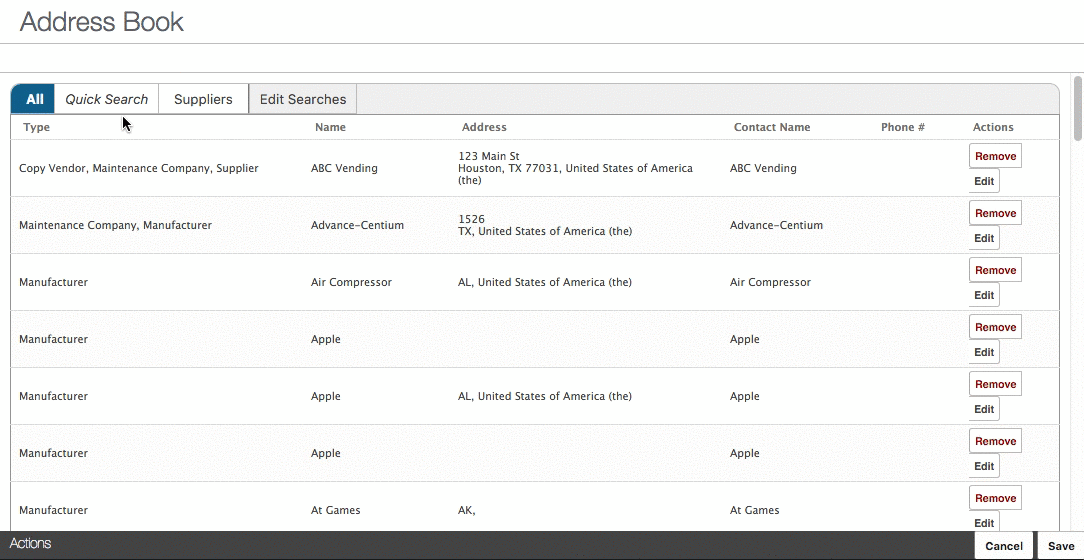
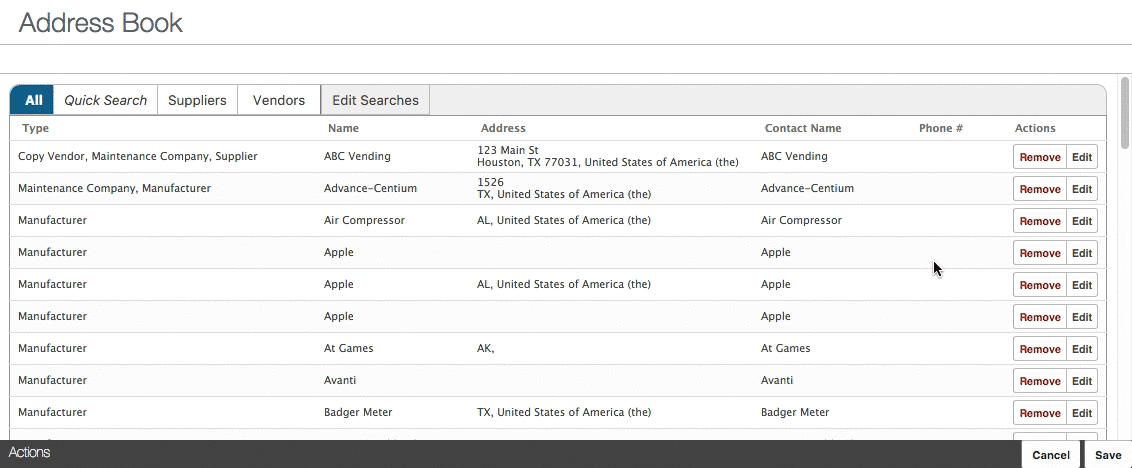
Address Book
Level: Administrator
The Address Book administration feature allows you to view, add, or edit vendor or third-party contact information.
Navigate to the Address Book
To access the Address Book, select Admin > Address Book. The Address Book screen displays.
Add a New Vendor
To add a new vendor, perform the following steps:
-
From the Address Book screen, click the Add
icon in the lower-left corner. The Add New dialog displays.
-
In the Vendor field, enter the name of the vendor.
-
(Optional) In the Address fields, enter address information.
-
In the Vendor Types drop-down, select the vendor types that apply and click the Add
icon.
-
Click the Contact tab to access additional fields where contact information can be entered for the vendor.
-
After all the information has been entered for the vendor, click the OK button to return to the Address Book screen.
-
Click Save on the Address Book screen to save the changes.
Edit a Vendor
In order to edit an available vendor, perform the following steps:
-
From the Address Book screen, click the Edit button to the right of the vendor you would like to edit. The Edit window displays, where updates can be made to the vendor as needed.
-
Make changes to the vendor information and click the OK button. The Edit window closes.
-
Click Save on the Address Book screen to save the changes.
Delete a Vendor
In order to delete a vendor, perform the following steps:
-
From the Address Book screen, click the Remove button associated with the vendor.
A message window displays, allowing you to verify the correct item was selected prior to deletion.
-
Click Remove on this window to remove the vendor.
If you delete the record, there is no way to recover the information. If you unintentionally delete a record, you will need to recreate it.