Add, Edit, or Delete Asset Types
You can keep your assets up-to-date and assets can be quickly assigned to their type.
- Navigate to Admin > Asset > Asset Types.
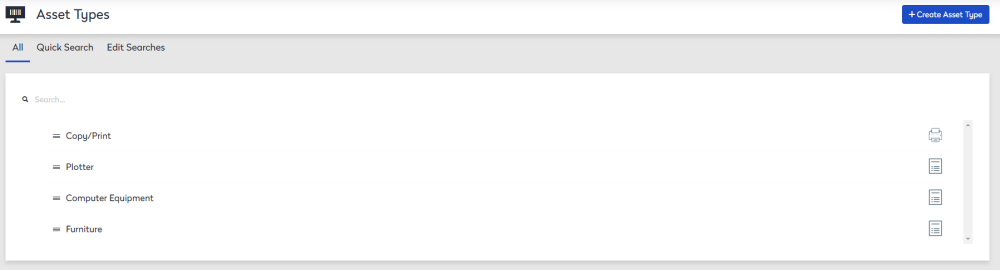
You can add, edit, or remove asset types. Examples include Life Safety Equipment, HVAC equipment, A/V equipment, desktop computers, copiers, and printers.
Search for an Asset Type
The search lets you complete the following:
- Quick Search - To search for an asset type, use the Quick Search feature.
- Saved Searches - You can also save and edit frequently used searches by clicking the Add Searches or Edit Searches tab.
Sort Order
To change the order in which asset types appear, complete the following:
-
Hover on the asset type's Move
 icon and the cursor changes.
 -
Click the Move icon and then drag and drop the asset type to change the sort order.
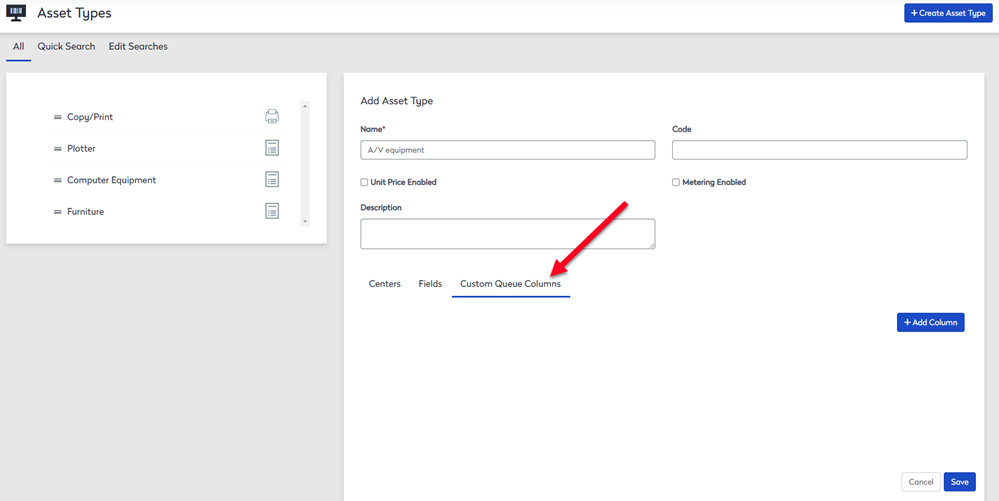
Add an Asset Type
You can create an asset type.
- Click the + Create Asset Type button.
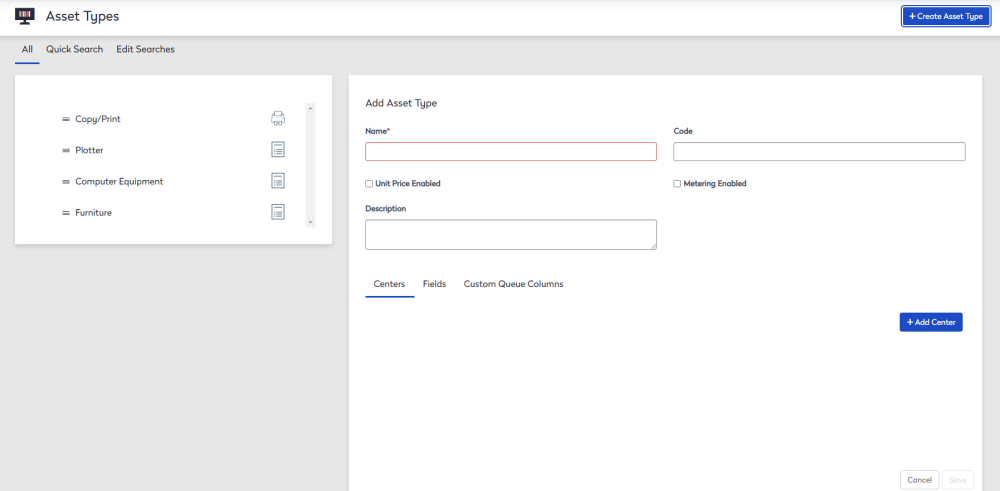
- In the Name field, enter the asset type name.
- In the Code field, enter the code.
- Check the Unit Price Enabled checkbox if this asset types needs to have a unit price recorded.
- Check the Metering Enable checkbox if this asset type needs to have meter reading recorded.
- In the Description field, enter a short description.
Add a Center
Under the Centers tab, you can add center(s).
- Click the +Add Center button.
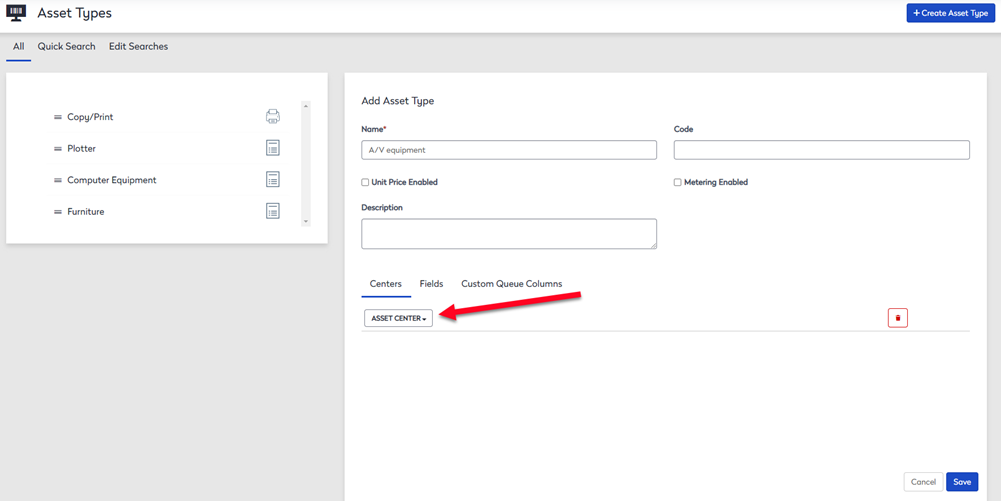
- From the Center drop-down, select the center.
- Click the Save button.
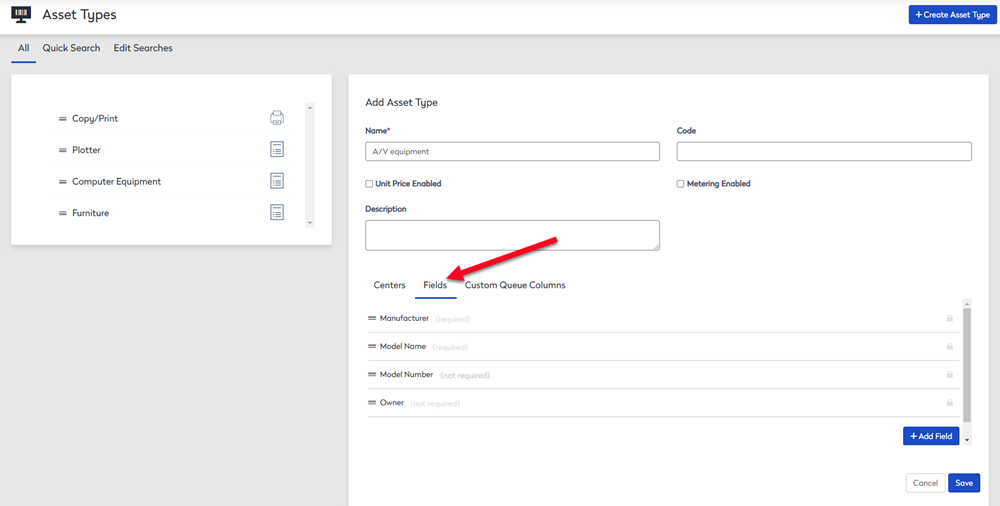
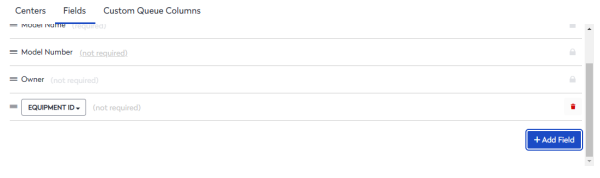
Add Fields
Under the Fields tab, this lets you choose which fields to track for the asset type. The default fields are locked and cannot be removed, however you can change the field's sort order.
- Click the Fields tab.
-
Click the +Add Field button.
-
From the Field drop-down, select the field you want to add.
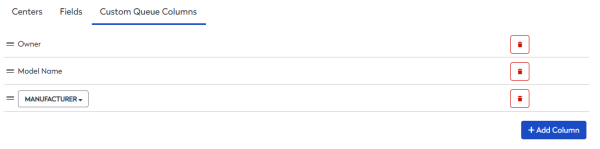
Add Custom Queue Columns
Under the Custom Queue Columns you can select the field you would like to see on the Inventory screen.
-
Click the Custom Queue Columns tab.
-
Click the +Add Column tab.
-
From the Column drop-down, select the field.
Add Meter Types
If you have the Metering Enabled checkbox enabled, then you will see the Meter Types tab.
-
Click the +Add Meter Type button.

-
From the Meter Type drop-down, select which type of meter reads can be collected.
Save Asset Type
When you have completed information under each of the tabs, click the Save button.