How do I Schedule a Work Orders - PMs (Calendar Based)
A Scheduled Work Order is one of two types of Work Orders in Hippo. A PM should be created for all preventative maintenance or re-occurring activity. Enter PM details and a customized schedule date from the Scheduled Work Order grid, and these work orders keep automatically generating.
Note: This article reviews how to create a Calendar based PM. For instructions on how to create a meter-based PM, please review Preventative Maintenance (Scheduled Work Order)– Meter Based.
Definitions
Enterprise Level: provides access to details related to all facilities
Facility Level: provides access to details specific to a facility.
Scheduled Work Orders: also known as a PM, Preventative Maintenance.
Steps:
- Click on the Scheduled Work Order panel under Facility Admin, to access the grid.
- Click on the Add icon (+) located in the top right corner.
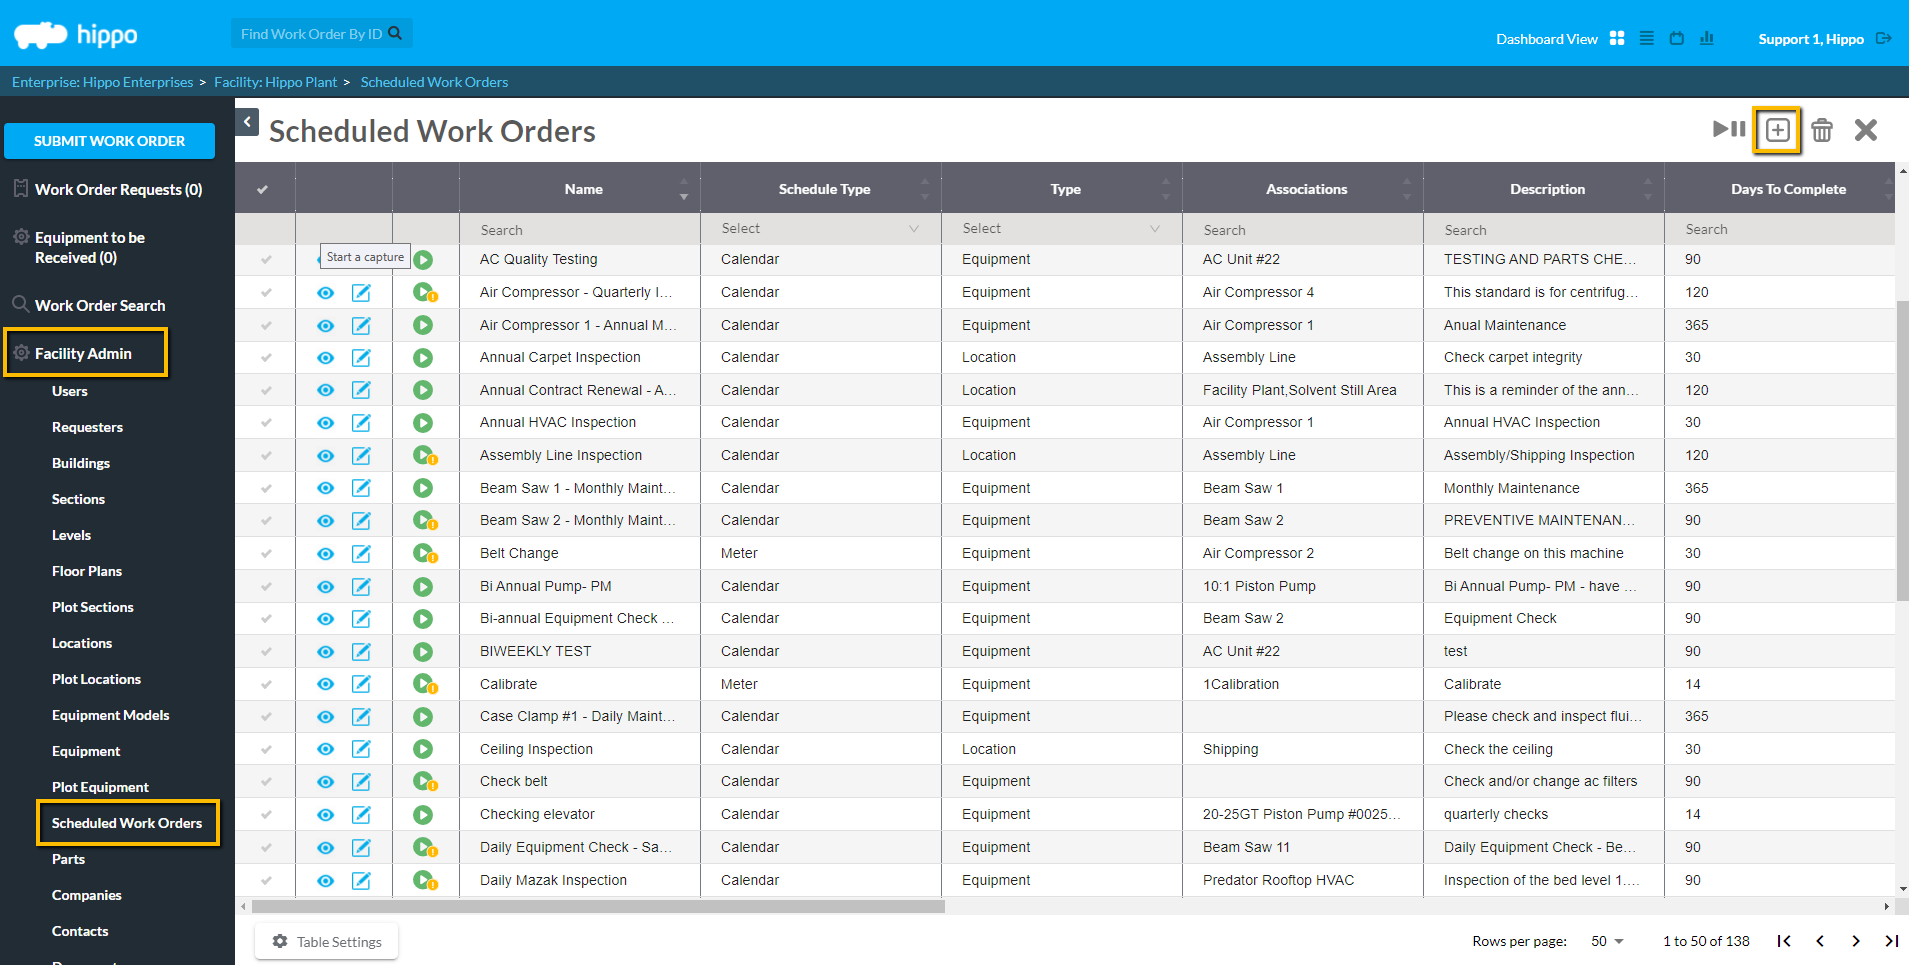
A Scheduled Work Order window appears. Any field outlined in red is mandatory when creating a PM from scratch.

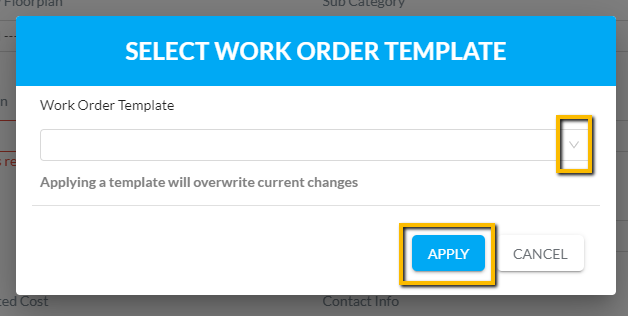
Note: Optionally, click on the template icon to the right of the Name field to select a PM template. The Select Work Order Template window appears.

If you select a template, many mandatory fields are automatically filled in. You must fill in a few details and can edit template details if needed.
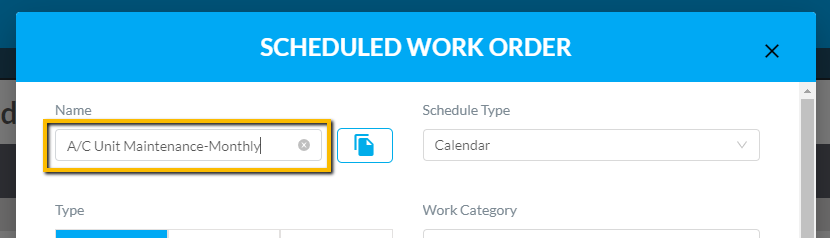
- To create a PM from scratch, click in the “Name” field to give the PM a name. We suggest that PMs are named based on what needs to be done and when. For example, “AC Unit Maintenance-Monthly.”
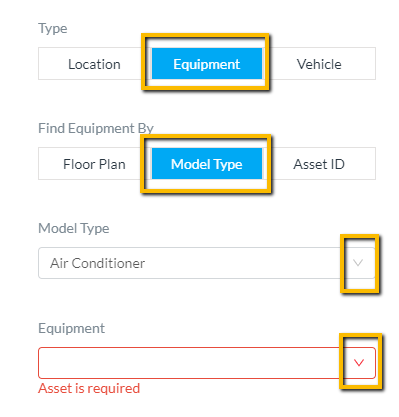
4. Associate your PM to either Location, Equipment, or Vehicle.
Once the Type is selected, use the fields below to help filter, or jump straight to the mandatory dropdown list. You can have one or multiple locations, equipment, or vehicles associated with the work order.
5. Once all mandatory fields are entered, all other fields are optional. For example, click in the Days to Complete field to determine how many days before this work order automatically becomes overdue.
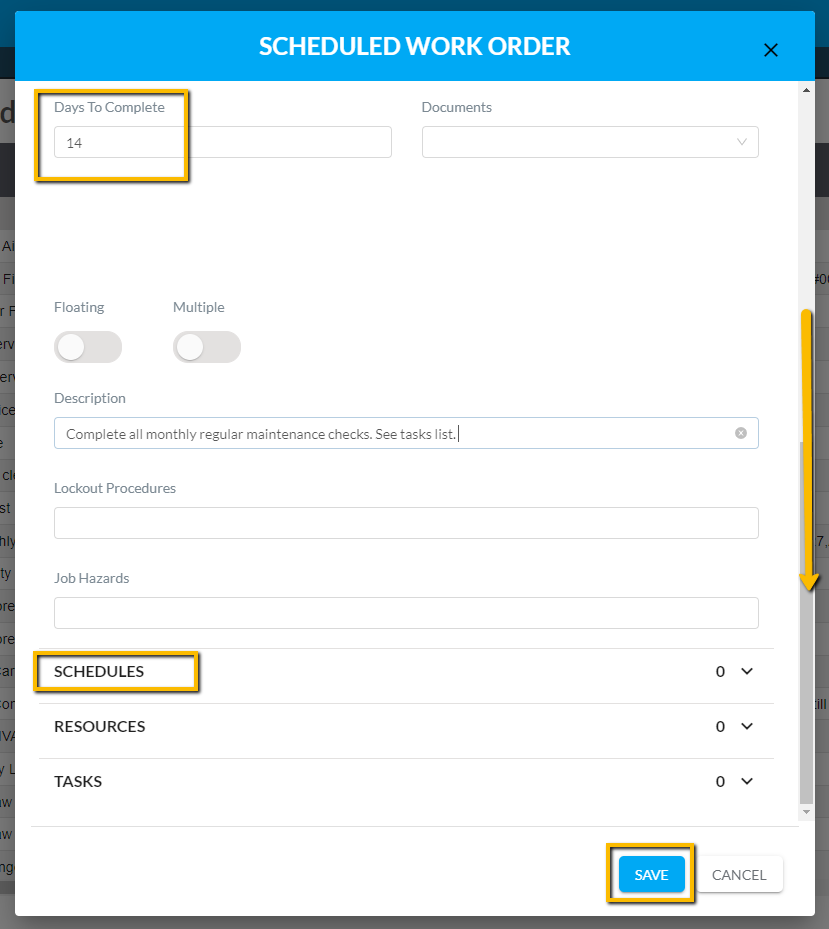
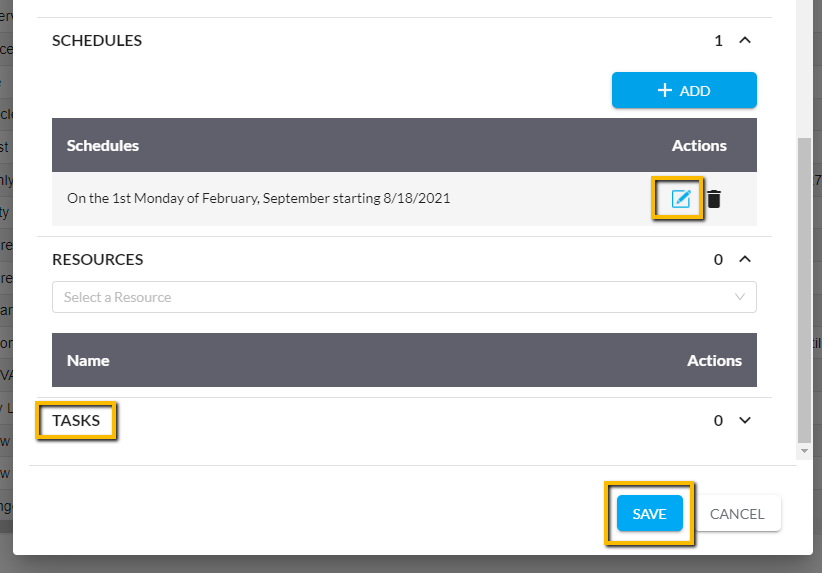
6. The Schedule field is where you customize the date the PM automatically generates. Click on the Schedules field, then hit the Add button and the Edit Schedule window appears.

7. Select the time frame filter for your PM. Monthly is selected by default and is used the most, which can include quarterly, semi, and annual PMs.
8. Click Validate to confirm the schedule of this PM, then hit OK.
Note: All the PM details and scheduled dates can be edited. Don't forget to add optional details such as Tasks. Tasks are a checklist that Resources must take note of before they can complete a work order.
- Hit Save located at the bottom. If the Save button is greyed-out, hold your cursor over it to display the steps still needed to successfully fill in the Scheduled Work Order form. The PM jumps to alphabetical order on the Scheduled Work Order grid.
Any editing to PMs must be done from the Scheduled Work Order grid and form.