View the Part Details
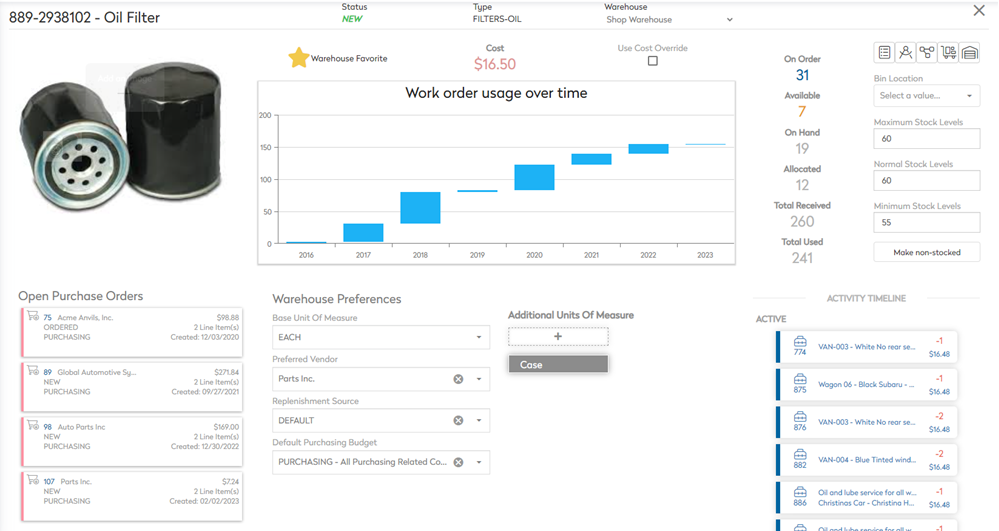
The Part Detail screen contains information about where you keep your part, how many you have on hand, how much it costs, how you've used the part in the past, and plan to use it in the future.
- Navigate to Inventory.
- Click a Part. The Part Details screen displays.
Imagery
- Attach a photo(s) of your part for easy identification.
Warehouse Favorite, Cost, Stock Levels, and Activity Timeline
Warehouse Favorite: Part has been designated as a warehouse favorite.
Cost: Current cost of the part. If the quantities are greater than zero, it will list the cost of the next part to be used.
Current Stocking Levels: Part is currently in stock, on your shelves.
Activity Timeline:
- Active: Part is being actively used on a Work Order, or audited in a Cycle Count
- History: Record of when the part was used in the past.
Remember, If any of the first three items are utilized, the part will automatically be designated as a warehouse part.
View Part Details, Assets, Components or Adjust Inventory or Search other Warehouses
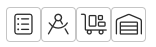
 View Part Details: Add additional critical part & branding information including:
 Serialized - Whether or not the part should track Warranty info & Serial Numbers.
 -
 Vendors - Add the vendor and their part ID and cost of purchasing the part.
  Barcodes - The barcode number(s) associated with this part.
 -
 Component - Warranty Rules - Add warranty information if the part warranty is time based, meter based (how much it's used), or both.
  Notes - Add notes to a part.
 Attachments - Add an attachment or link to a part.
-
 View Assets - A list of all assets that use this part.
  View Components: Each asset that has this part installed as a component, and what is left on the warranty.
 -
 Adjust Inventory: Raise or lower your existing stocking levels. Each adjustment is recorded & will leave a digital paper trail.
 Search other warehouses: If you have established additional warehouses in your database, you can search and view what the current available count is at each one, and see if it is currently on order.
Bin Location and Min/Max Stock Levels
- Bin Location: Where the part can be found.
The Bin Management is updated from the Inventory List View.
-
Maximum Stock Levels: The maximum you ever want to have in your inventory. You can carry more than this number, but the application will consider this overstock, and suggest you return it
-
Normal Stock Levels: The number of parts the application is always trying to get you back to
-
Minimum Stock Levels: The least acceptable stocking number. If your part count drops below this number, the application will suggest you reorder the amount it takes to get you back to Normal
-
Make non-stocked: This is only possible if you used all your parts on hand
Open Purchase Orders
This will list all the open purchase orders (PO) that includes a line item of the part record you are currently viewing. The price listed here, is the total price of the PO.
Warehouse Preferences
- Base Unit Of Measure: Indicates how you prefer to count and use the part
- Preferred Vendor: While you are free to reorder from the vendor of your choosing, the application will default your preferred vendor, indicated here
- Replenishment Source: How do you prefer to get restocked when this part is running low?
- Default (the method determined by your system administrator)
- Purchase Order
- Warehouse Distribution (comes from another one of your Inventory Warehouses)
Additional Units Of Measure
Typically, this is how you prefer to order the part (by the Case, by the Ton, by the Gallon, etc)