Create a Notification
The creation of a notification is quick and easy.
- Click on the Options tab on the main menu.
- Click on the Notify icon.
- Click on the New icon.
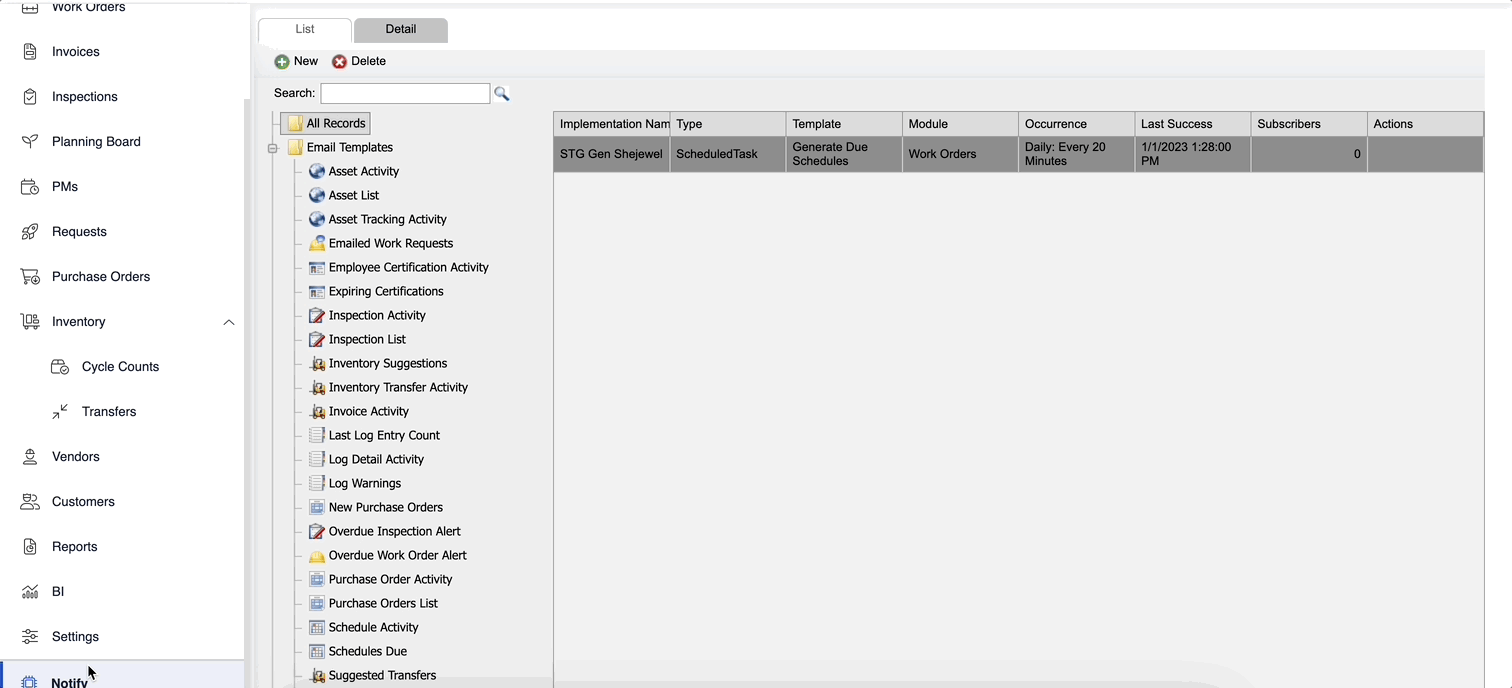
- Select what kind of Notification you want to create from the folder(s) on the left-hand side of the screen.
- After the notification has been selected, click on the Next button.
A definition of all the available notifications is available on the current screen.
- Select from the drop-down menu in the Criteria section whether this Notification will be for all records, or for a specific record grouping. In the Options section, there are some individual items that can be selected. After all items have been selected, click on the Next arrow icon.
In the Options Section, each Notification will have individual, custom choices that are specific to that Notification.
- In the Layout section, you can arrange how you want the Notification to appear by dragging and dropping the available items into the Active section. When you have selected the items into the active section, click on the Next arrow icon.
The order you put the available items in the Active section will be the order it will appear in the Notification.
- The Security Restrictions screen will allow you to restrict the Notification Subscription to certain individuals or groups of people.If left blank, any individual can subscribe to the Notification. After you have determined who can Subscribe to the Notification, click on the Next arrow icon.
- The Scheduling screen will allow you to determine the frequency of the Notifications being sent out. From the Scheduled drop-down menu, you can choose from Daily, Weekdays, Weekly, Monthly, or Yearly. The Starts On menu will allow you to choose when to start the Notification and the Every menu will allow you to set the frequency of the emails in minutes. After you have established the frequency, click on the Next arrow icon.
- Finally, the Name & Description screen will allow you to give the Notification a Name and Detailed Description. After you have done that, click on the Next arrow icon.
- Review the information and Add Subscribers to the Notification. After completed, click on the Cancel icon to close out the screen.
To delete a Notification, select the desired Notification, then click on the Delete icon located at the upper left-hand corner of the screen. Confirm the deletion, then the Notification is deleted.