Create a Purchase Order
Purchase orders help forecast your Inventory needs, suggest parts to be ordered, and maintain your stocking levels. Purchase Orders also allow you to update parts en mass, rather than being forced to make adjustments one part at a time.
Instructions
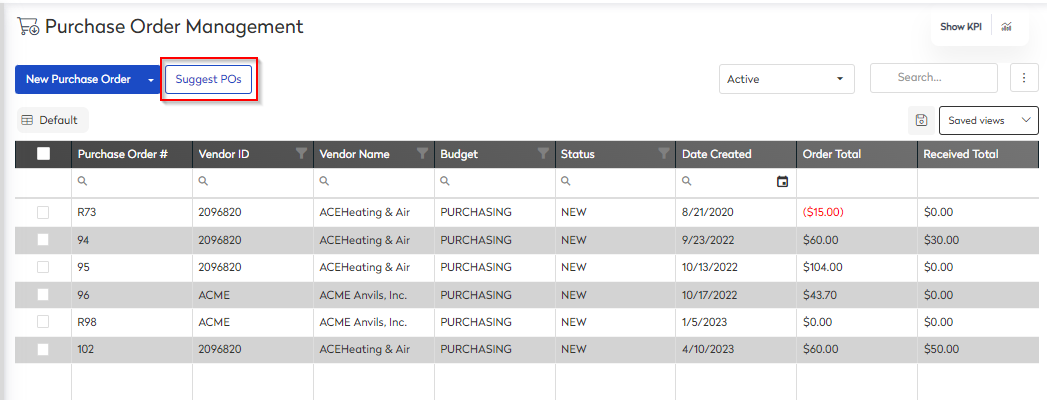
- Navigate to Purchase Orders.
- Click the New Purchase Order button.
- Complete the fields:
| Field | Description |
|---|---|
|
Warehouse |
Who you are ordering for. The warehouse that the purchase order is delivered to. To override the default setting, click the Warehouse field list, then select the desired warehouse. |
|
PO # |
A unique purchase order number. The PO # is either automatically generated or you create it yourself, depending on how the purchase order module is configured in the module settings. You cannot use a purchase order number that has already been assigned. |
|
Vendor |
Who you are ordering form. Vendor assigned to the purchase order. If the vendor you want is not listed, you must first create a vendor record before you can generate a purchase order. |
|
Budget |
Who is paying for the parts. Budget that the purchase order is assigned to. |
|
Status |
The current status of the purchase order is displayed in the top left corner of the page. To change, select the appropriate status in the bottom right corner of the page. |
|
Sales Tax |
The sales tax used for this purchase. The initial sales tax setting is the default value from the selected vendor. To override the default setting, select NO TAX or a custom value created in the Vendor Module Settings. |
|
Date |
Date of the purchase order. To override the default date, type a different date in the field or click the calendar icon in the Date field. |
|
Ship To |
Name of the entity, the item is being shipped to. |
- Click the Create & Open button.
If you click the Create Purchase Order button this will save the invoice and you can add the line items later.
The Purchase Order has been created and now you can complete the details.
- Add a new line to the invoice, click the New Line button.
- You can either add a line item for:
- Parts
- Labor
- Other Costs
- Complete the details for the new line, such as quantity and price.
- Click the Save button.
Suggested Purchase Orders
When a Part quantity drops below the Suggested Quantity or a Non Stocked Part is required for a Work Order, the Part appears in the Suggestion List making it available to add to a Purchase Order.
 |
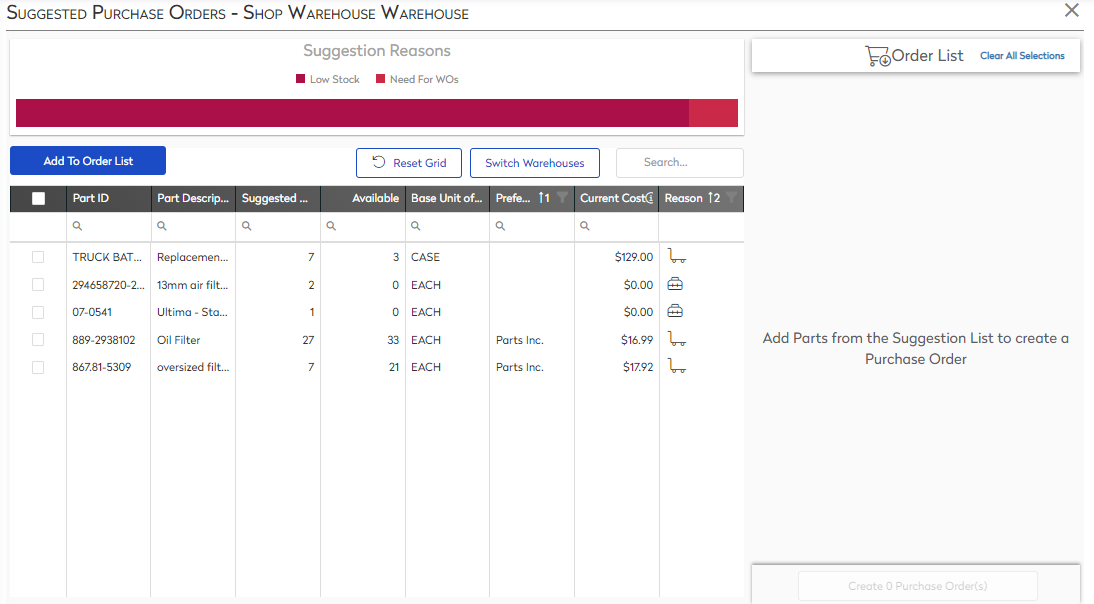 |
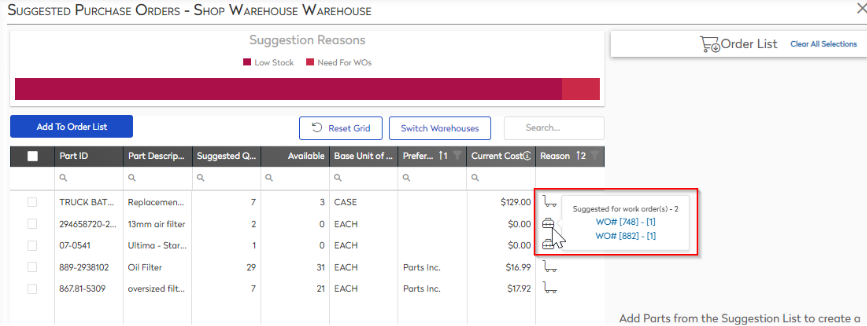
When viewing the list, the suggestion reason is identified in the Reason Column.
- Parts with low stock display the Inventory icon

- Parts needed on a Work Order display the Work Orders Icon

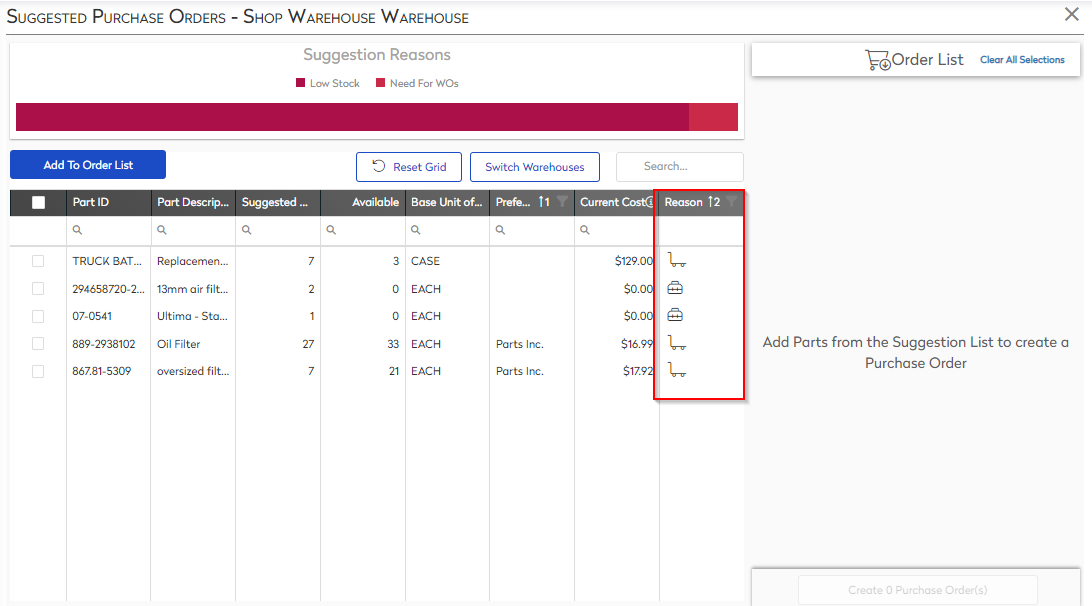
Hover over the Work Order Icon to display the Work Order Numbers.
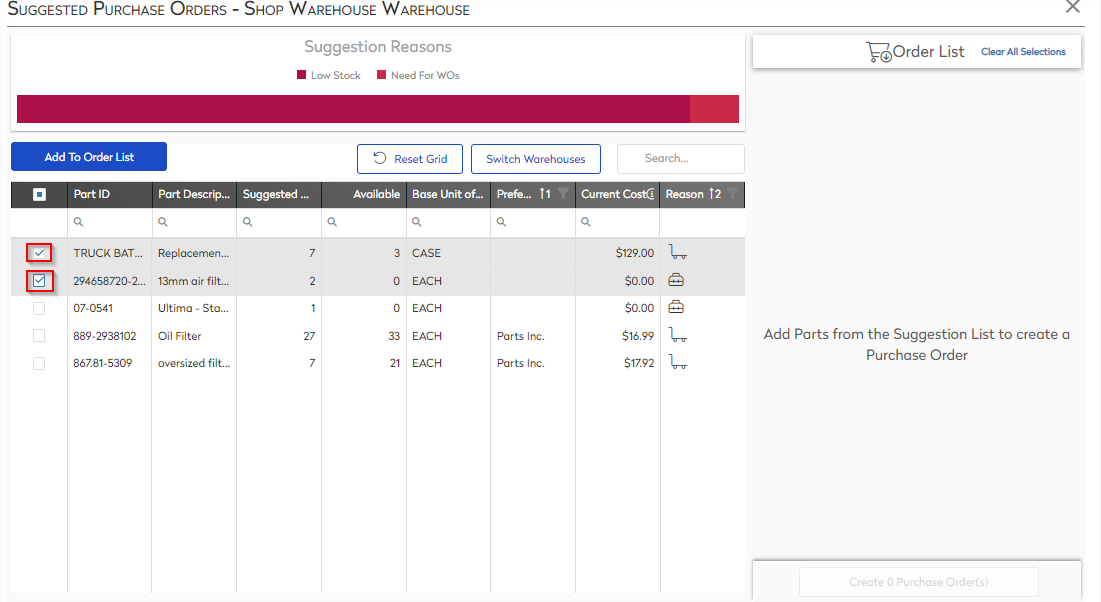
Create a Work Order with Suggested Parts
From the Suggested Purchase Orders screen, complete the following:
- Check the Parts check box.
- Click the Add To Order List button.
The Select a Vendor dialog displays.
- From the Vendor drop-down, select the vendor.
- If need check the Make preferred vendor check box.
- Click the Save button.
- In the Order Qty field, enter in the amount.
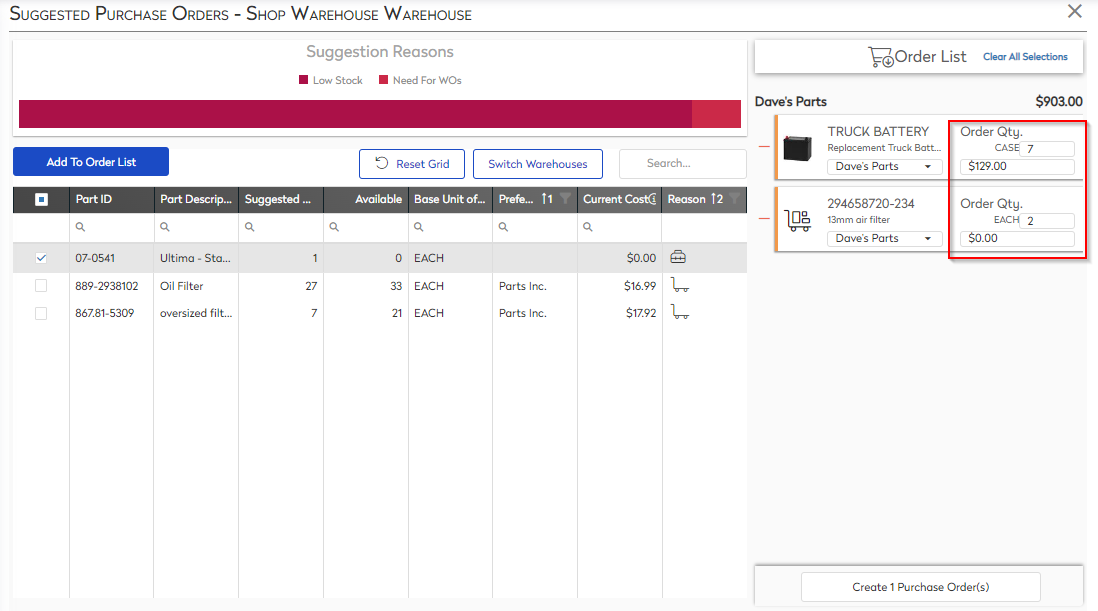
- Click the Create Purchase Order(s) button.
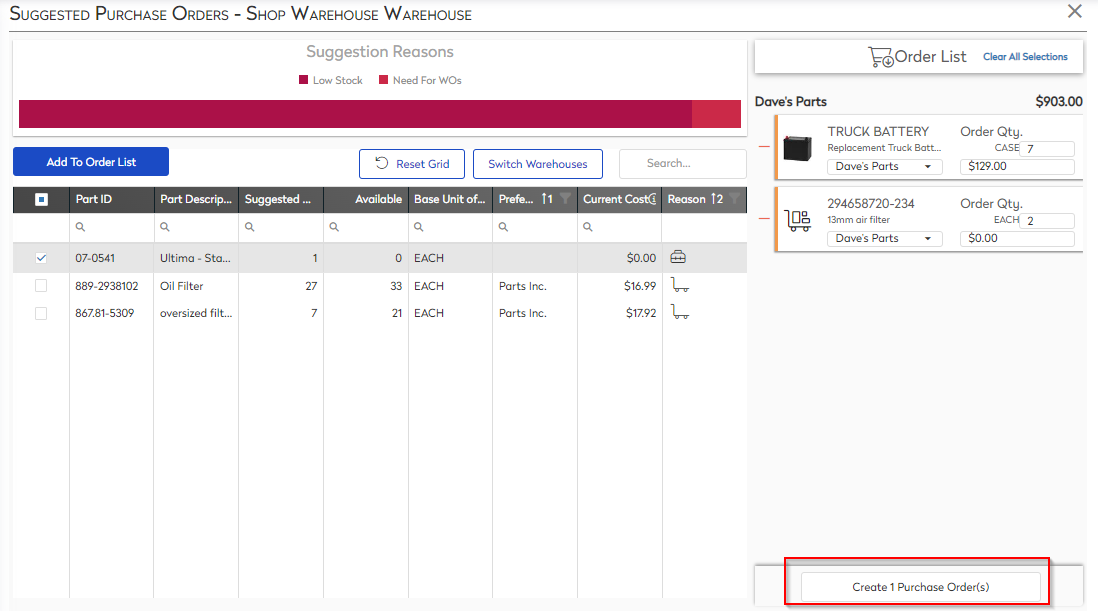
The Create Purchase Order(s) dialog displays.
- Confirmation the purchase order creation, click the Create button.
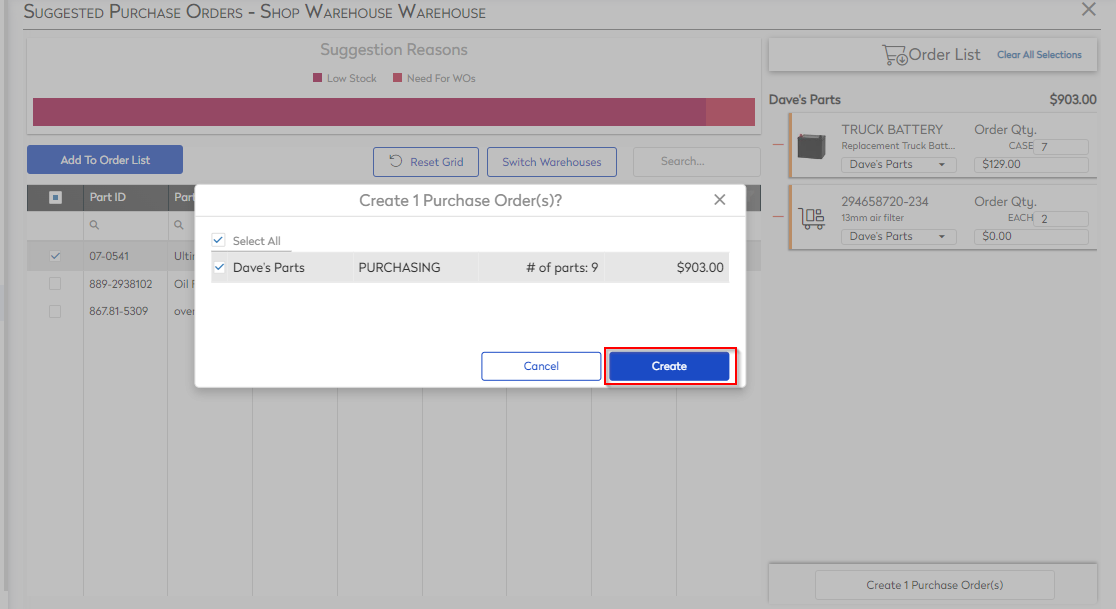
The purchase order is now created.