Add or Edit Request Custom Fields
Level: Administrator
These fields are set up to be internal custom fields on a Request and these are global across all sites. You can set up an unlimited number of custom fields on Request, but on the Request Portal you can only show 4 custom fields.
This article includes:
- Access Request Settings
- Add a Custom Field
- Make a Custom Field Required or Optional
- Reorder the Custom Fields
- Remove a Custom Field
- Add a New Custom Field
- Edit an Existing Custom Field
Access Request Settings
- From the menu click, Settings.
- Under the the Module Settings section, click the Requests icon. The Request Settings screen displays.
Add a Custom Field
- From the Custom Fields section, click the + icon.
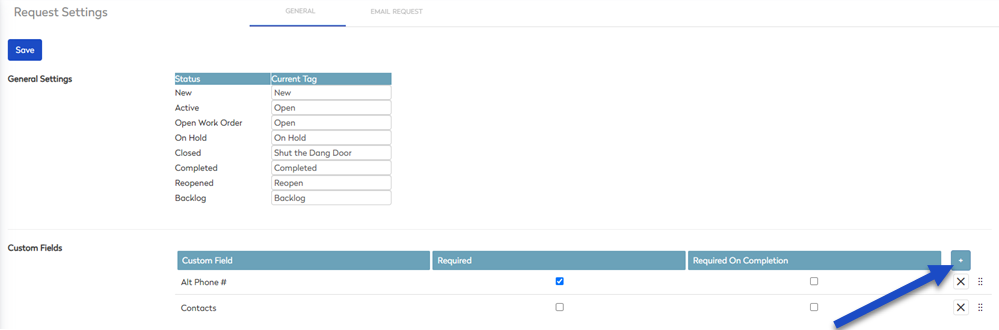
The Custom Fields dialog displays.
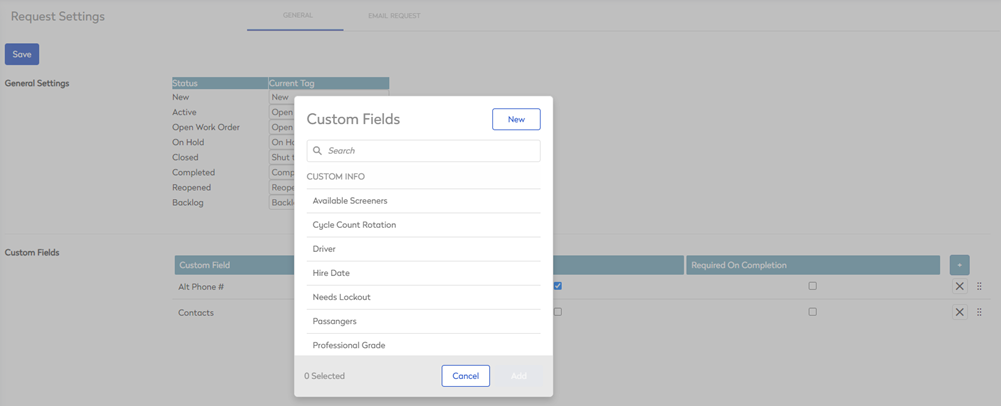
- From the list, select one or multiple custom fields.
- Click the Add button.
The custom field(s) are added.
Make a Custom Field Required or Optional
The custom fields can be made required (mandatory) or optiional:
- Click the Required checkbox to make the custom field mandatory.
- Check the Required On Completion checkbox to make the custom field mandatory on completion of the request.
Reorder the Custom Fields
- Hover over the custom field.
- Click the double ellipsis icon and drag the custom field up or down to change the order.

Remove a Custom Field
- Click the X icon to remove the custom list from the list.
Add a New Custom Field
If you need a specific custom field that is not in the list, then you can create a new custom field.
- Click the New button and the New Custom Field dialog displays.
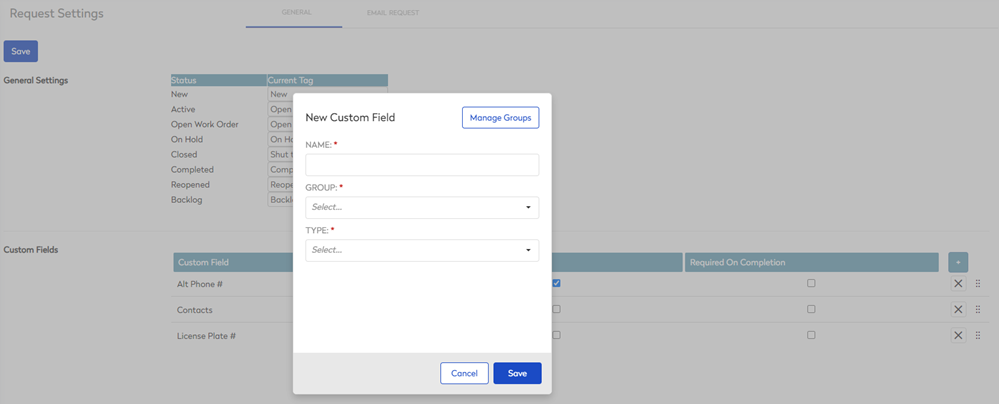
- Complete the following:
| Field | Description |
|---|---|
| Name | Enter the name of the custom field. |
| Group |
Groups are only to help with organizing a lengthy list of Custom Fields. Create/edit a Custom Field Group
Delete a Custom Field Group
|
| Type |
This is the most important field when establishing a new custom field. It determines how the custom field will behave. When a Type is selected and saved, you cannot change to a different type. The following options are:
|
 icon.
icon. 
- Click the Save button.
Now, you can add the custom field to the list.
Edit an Existing Custom Field
A custom field must be removed from the Category, before it can be edited.
- From the Custom Field list, click the X icon on the desired Custom Field, to remove it from the Category.
- Click the Add + icon. The Custom Fields dialog displays.
- In the Search field, enter the custom field's name.
- Hover on the custom field and click the Edit
 icon.
icon.
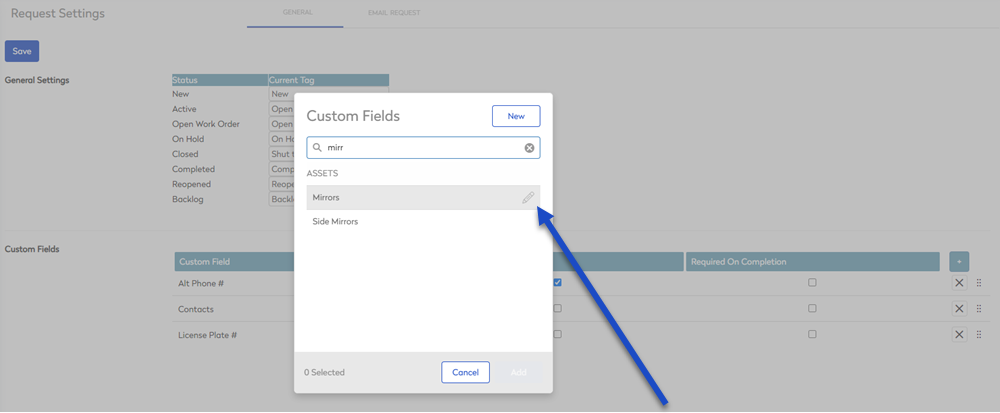
The Edit Custom Field dialog displays.
- Edit the Name, Group, or (if applicable) the Lookup field.
The Type cannot be edited. After a Type is selected and saved, you cannot change that custom field to a different type.
- Click the Save button.