Print from the Proxyclick Dashboard
Step 1: Check system requirements
Please review these requirements before attempting the Dashboard printing setup:
- The PC must use Windows 7, 8, or 10. No other operating system is compatible.
- Confirm the printer is connected to the PC.
- The Dashboard setup can only be used on Firefox, Chrome or Internet Explorer (10+)
Step 2: Launch the wizard
From the Logbook in the Dashboard, click on the printer icon:
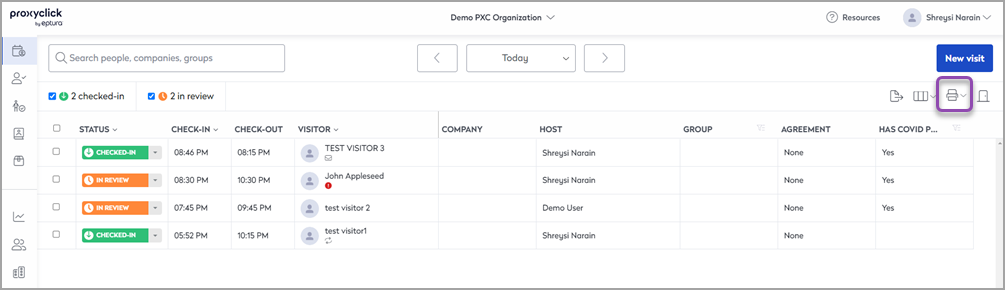
The wizard will check for the correct settings and formatting needed to allow badge printing from the Dashboard to occur, including:
- The Proxyclick Printer Proxy has been installed.
- Browser settings (remember, only Firefox, Chrome, and Internet Explorer (10+) are compatible).
- Badge format.
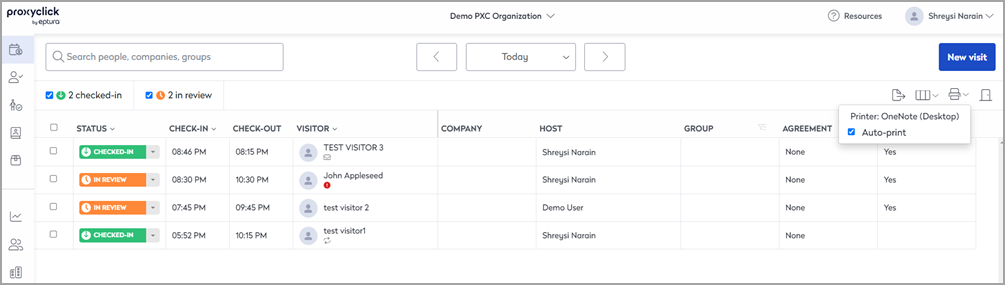
Click on the top line to launch the wizard:
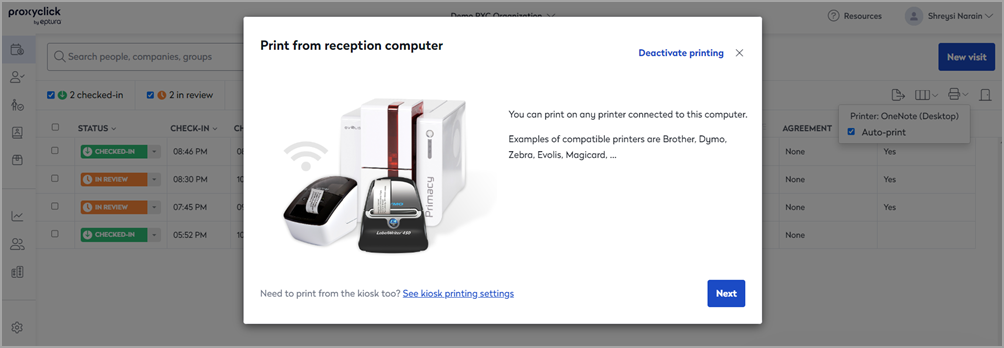
The wizard pop-up will appear - click on Next to begin the Dashboard setup:
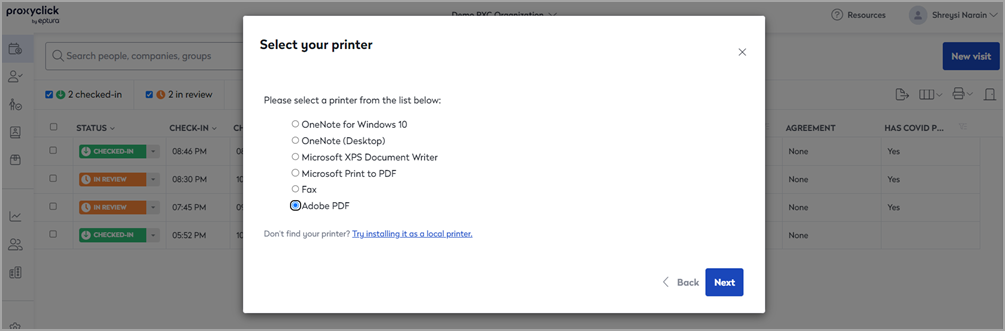
Select the printer you would like to use - click on Next:
Note: If you cannot find the printer, ensure it is installed as a local printer
Step 3: Review settings for the printer are correct
Note: Some badge roll sizes will be listed multiple times, in different formats (i.e., 2 x 4 inches or 5 x 10 cm). If your badge size is not listed, try searching for other compatible sizes.
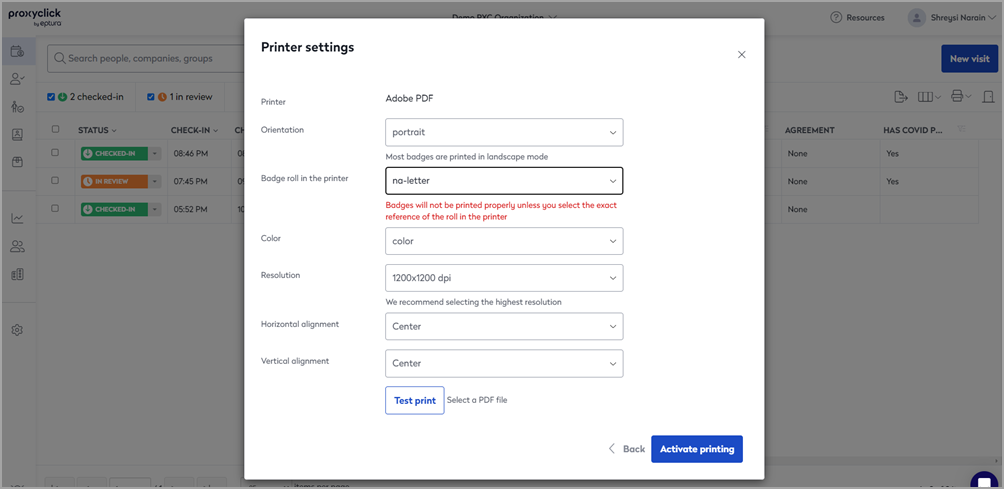
Click on Activate Printing
Your Dashboard printing is set up; now get to printing!
This will need to be repeated for each computer that needs to print badges. This may also need to be repeated if the cookies are cleared from the computer.
You might be interested:
- Can't print? Check out our troubleshooting guide.
- Customize your badges.
- Need to print under certain circumstances? Discover conditional printing.