Implement SSO and User Provisioning through Okta
Setting up Okta in a single location
Step 1: Add an application
Log into Okta. Go to Admin > Applications.
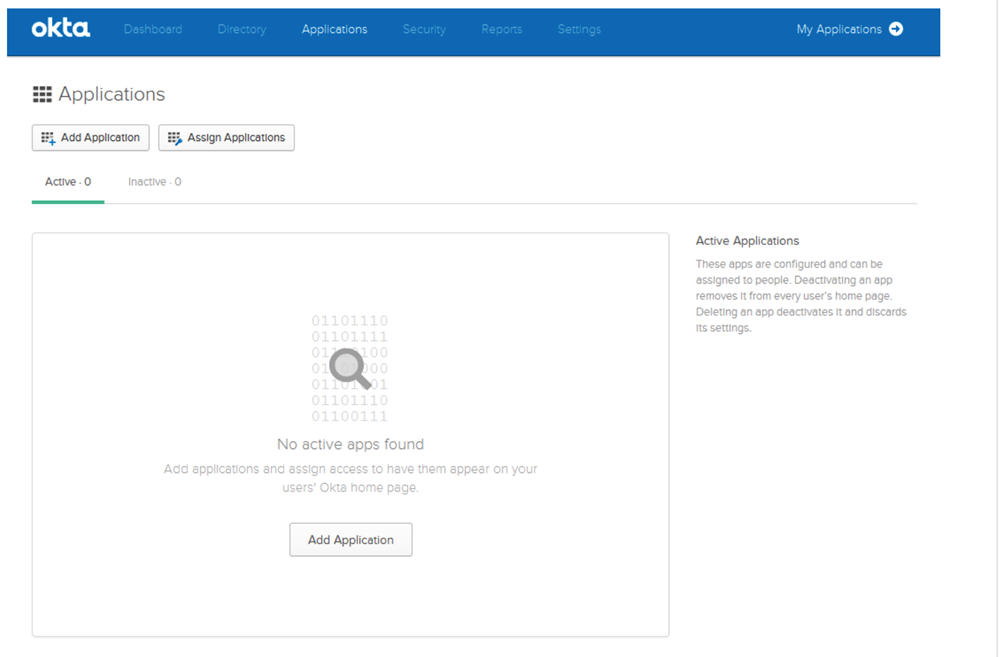
Click on Add application.

Search for Proxyclick and click on Add.
Go to the Proxyclick Marketplace and install Okta.
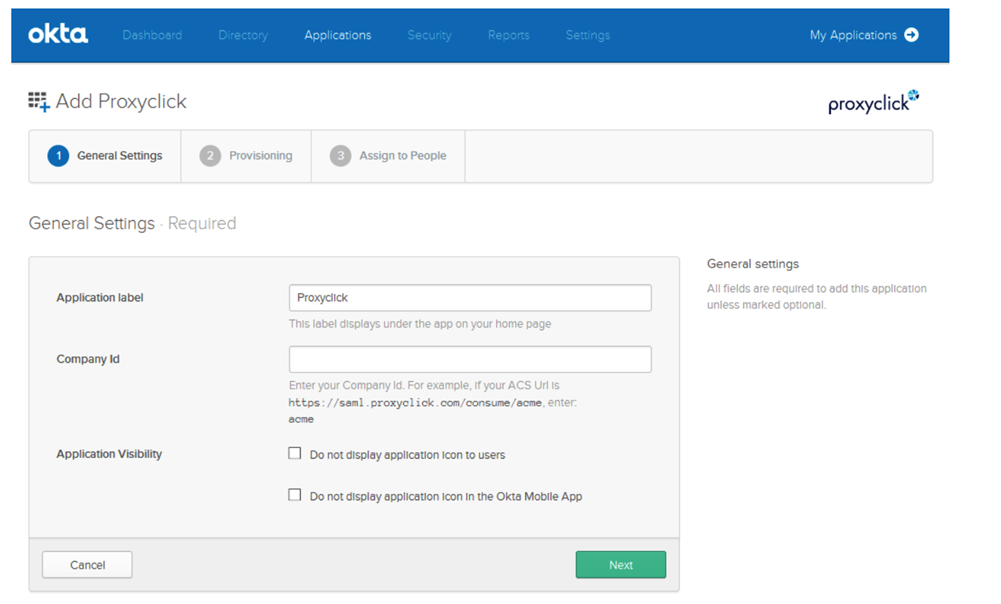
Copy the Company ID from the Okta configuration page in Proxyclick and paste it in the Company Id on Okta.

You do not need to check the 2 boxes next to Application Visibility. Click on Next.
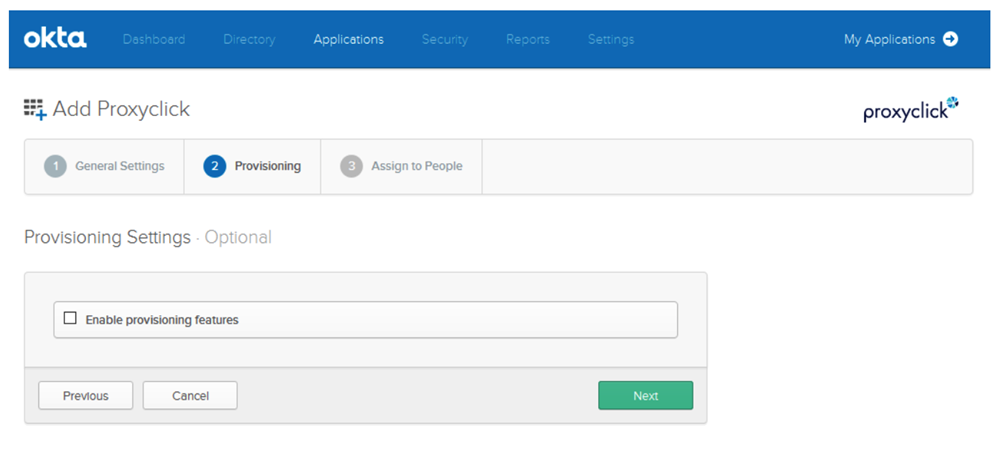
Click on Next (we will activate user provisioning later).
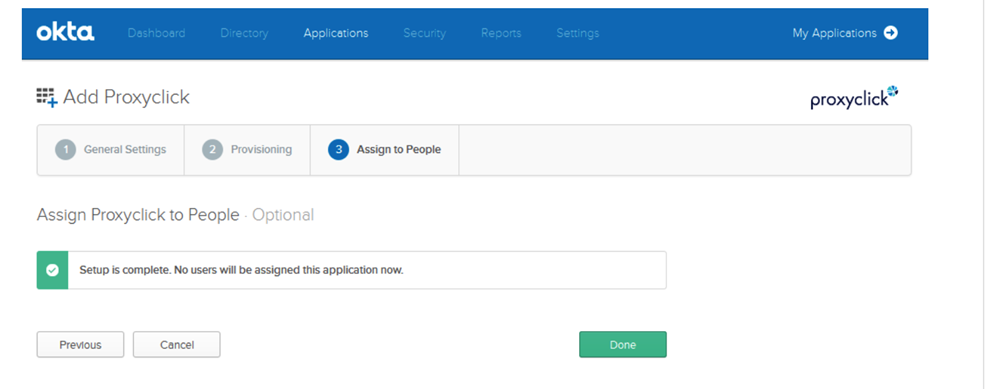
This step is optional. Click on Next.
Click on Done.
Step 2: Configure Single Sign-on (SSO) based on SAML 2.0
Open the Proxyclick app in Admin > Applications and go to the Sign On tab.
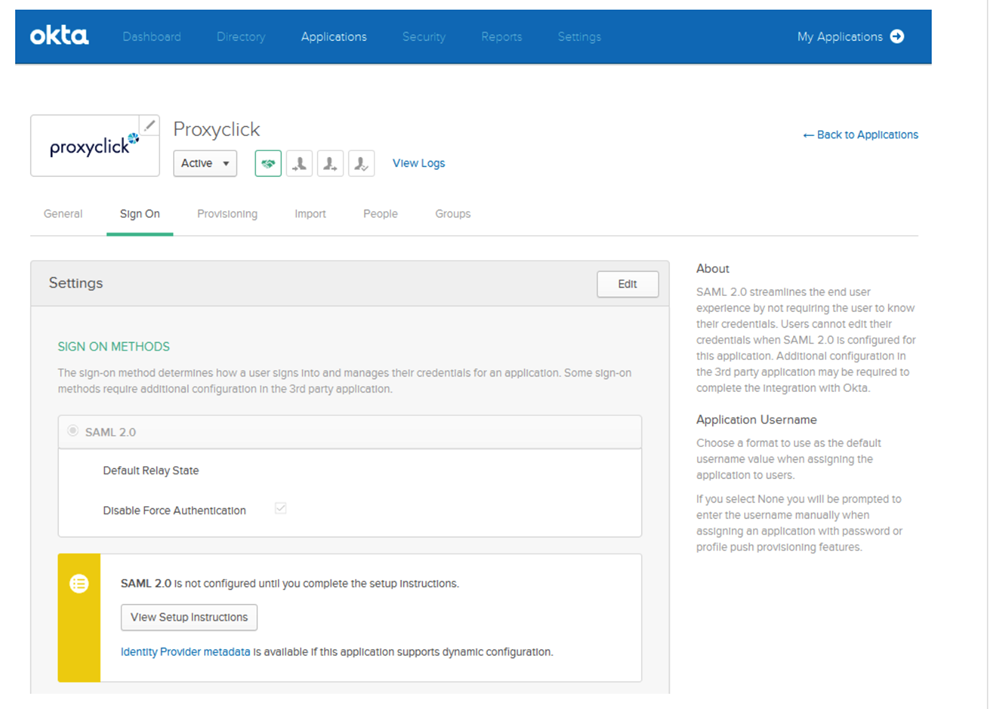
Click on Edit.
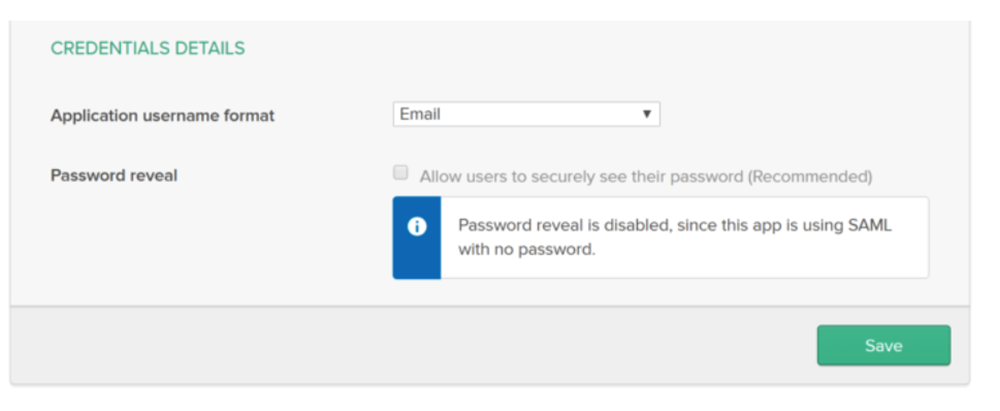
Select Email for Application username format and click on Save.
Click on View Setup Instructions.
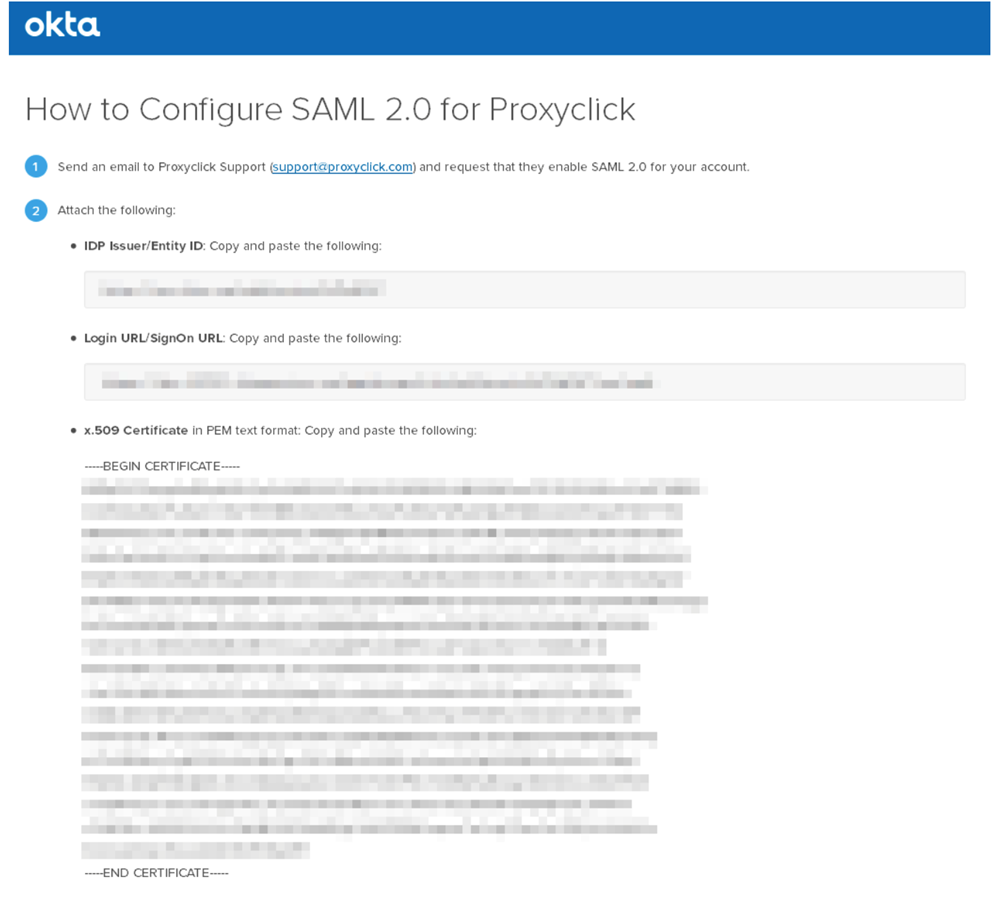
Copy the IDP Issuer/Entity ID, the Login URL/SignOn URL, and the x.509 Certificate (including the BEGIN and END header and footer).
Paste the information copied from Okta in the Okta configuration page in Proxyclick.
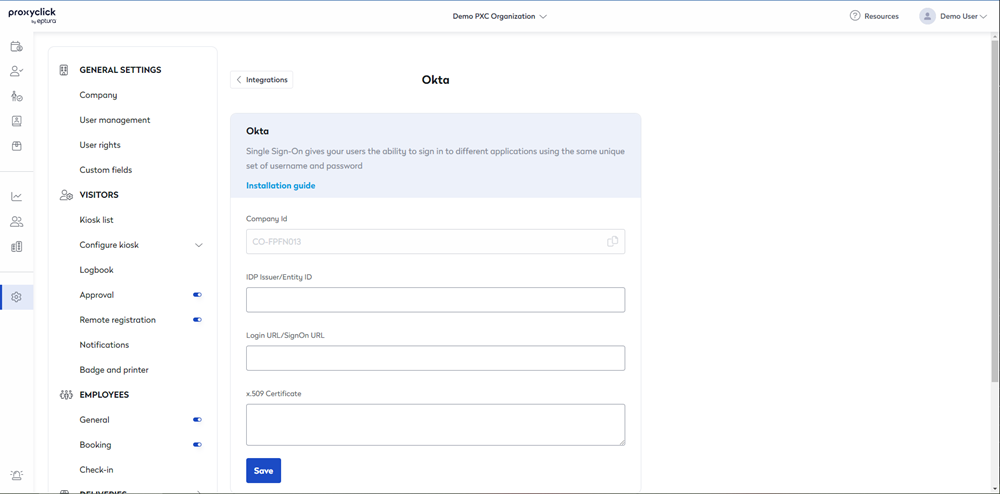
Paste the 3 values copied from Okta and click on Save changes.
Your Okta connection is ready. You can now use the URL in the Login URL/SignOn URL field to log into Proxyclick using Okta SSO or log into Okta as a user and choose the Proxyclick app. But you will still need to add users in Proxyclick before you try to log in with SSO (you can do it manually, in bulk or via User Provisioning. See the next steps to configure User Provisioning with Okta).
Step 3: Configure user provisioning
Open the Proxyclick app in Admin > Applications and go to the Provisioning tab.
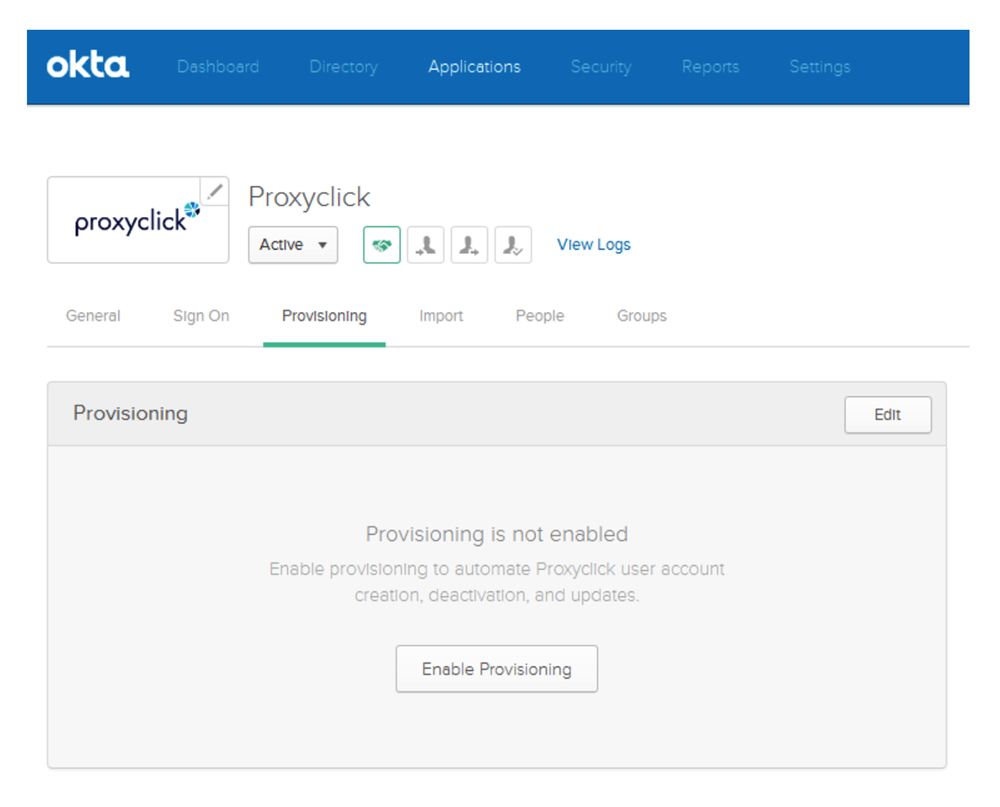
Click on Enable Provisioning.
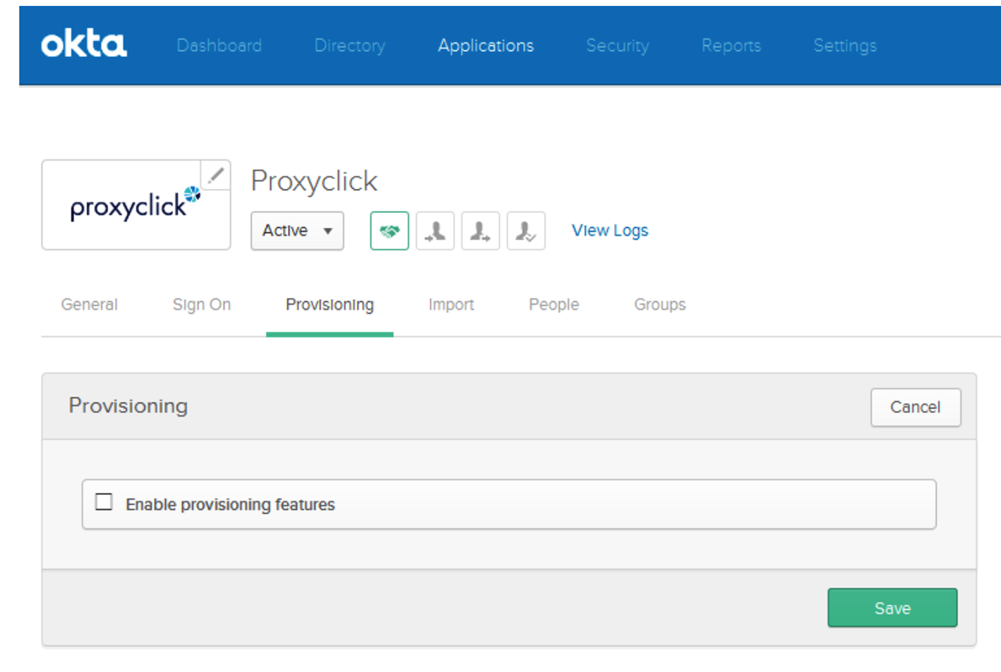
Check the box Enable provisioning features.
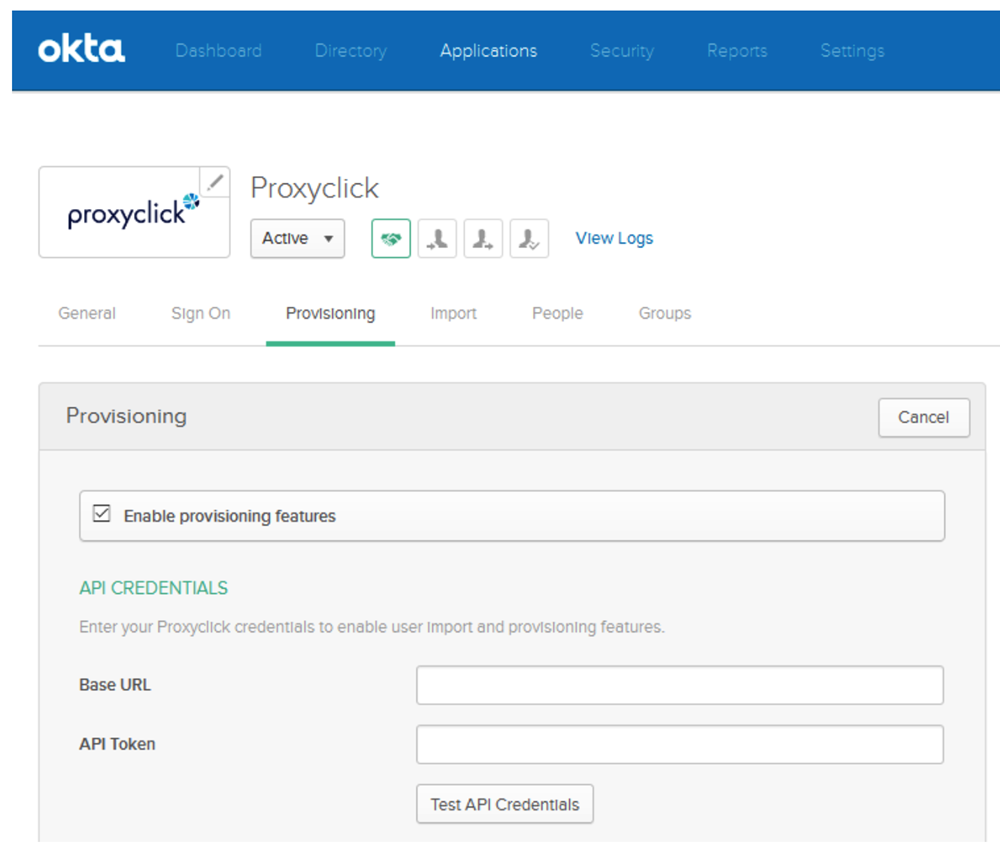
If you didn’t do it already, go to the Proxyclick Integrations and install Okta.
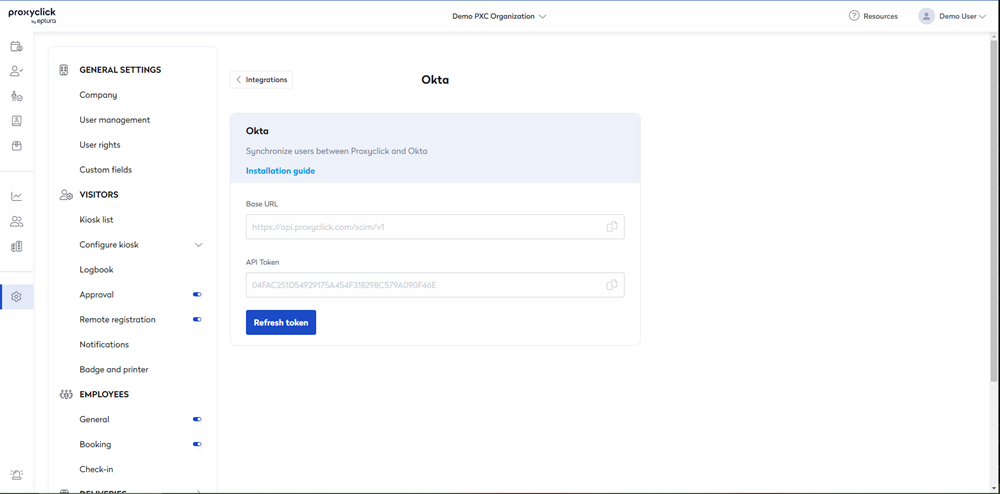
Then go to the Okta configuration page in Proxyclick and copy the Base URL and the API Token to paste them in Okta.
Scroll down to enable the provisioning feature(s) you want to use.
Feature User Import
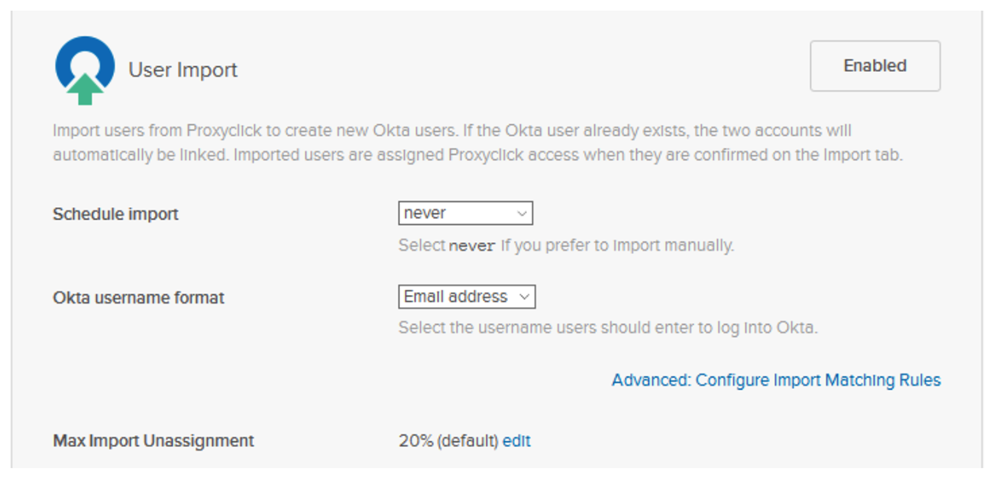
Select your preferred period in the Schedule import list if you want to activate the user import. Leave the other parameter to their default.
Feature Create Users
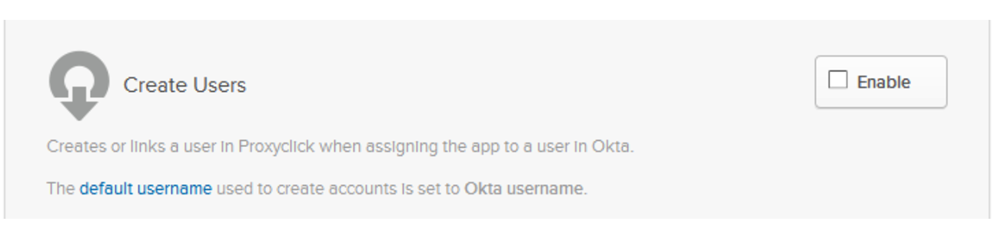
Check the box Enable to activate the creation of the user in Proxyclick when the user is assigned to the Proxyclick app.
Feature Update User Attributes
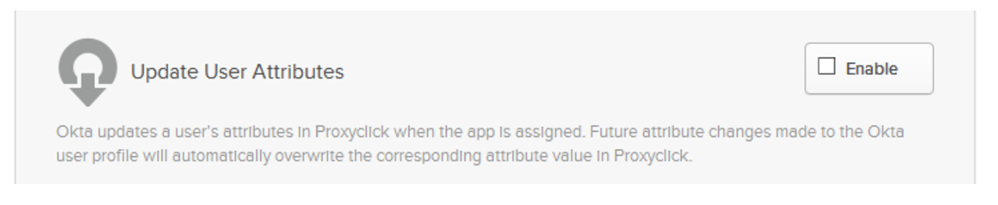
Check the box Enable to update the user profile in Proxyclick when the user info is updated in Okta.
Feature Deactivate Users
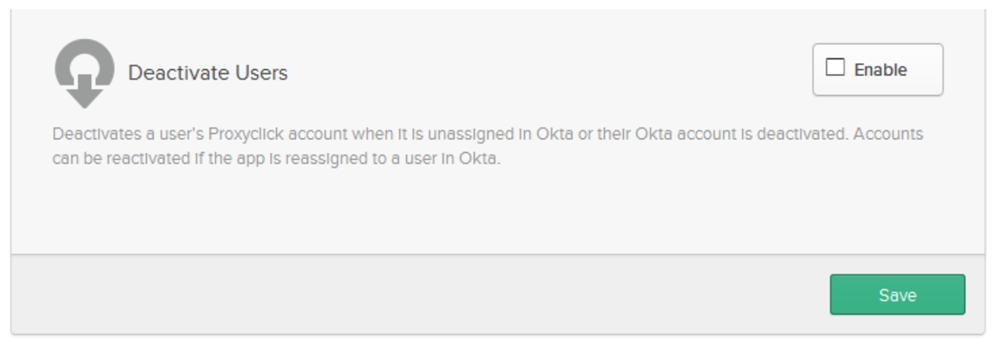
Check the box Enable to delete the user in Proxyclick when the user is unassigned from the Proxyclick app or when the user is deactivated in Okta.
Click on Save.
Sending Additional Attributes:
If you need to submit additional User Attributes which are not provisioned by default, such as a City or Office code to be used for filtering users to multiple locations (see next section), you may do so via the Okta portal.
City:
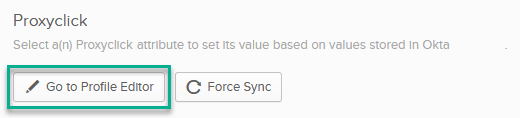
To correctly configure the City value for your users to control which location(s) they are added to, edit the app profile you created above and add a new attribute mapping for the City value using the Profile Editor.
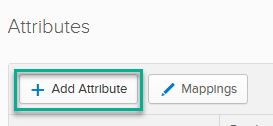
Select "Add Attribute"
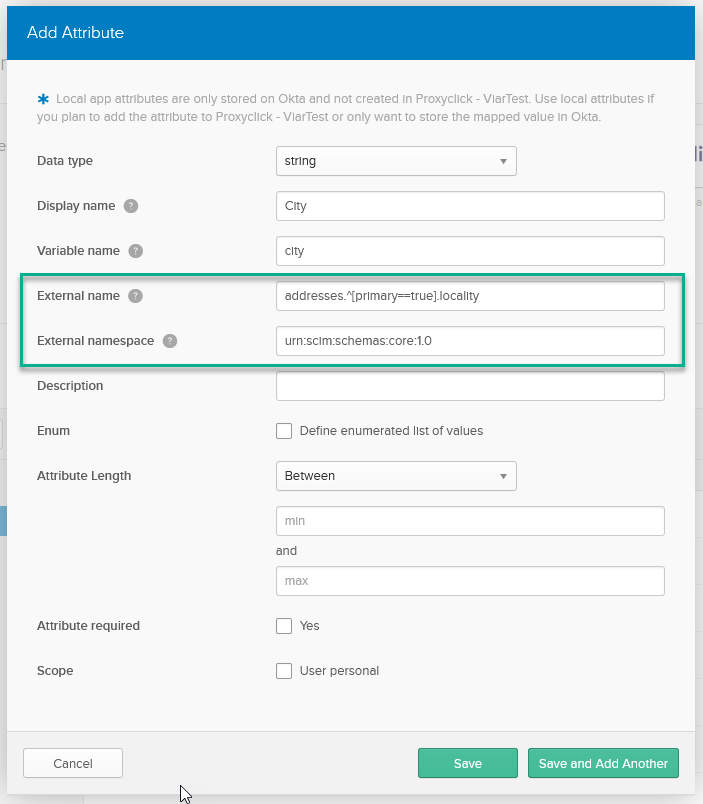
The Data Type must be "String." Use "addresses.^[primary==true].locality" without the quotes as the External Name, and "urn:scim:schemas:core:1.0" for the External Namespace. You may set the Display Name, Variable Name, and Description according to your internal conventions.
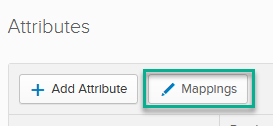
Once you have saved the attribute, click the Edit Mappings button.
Select the source user attribute to send and link it to the application Attribute set in the previous step.
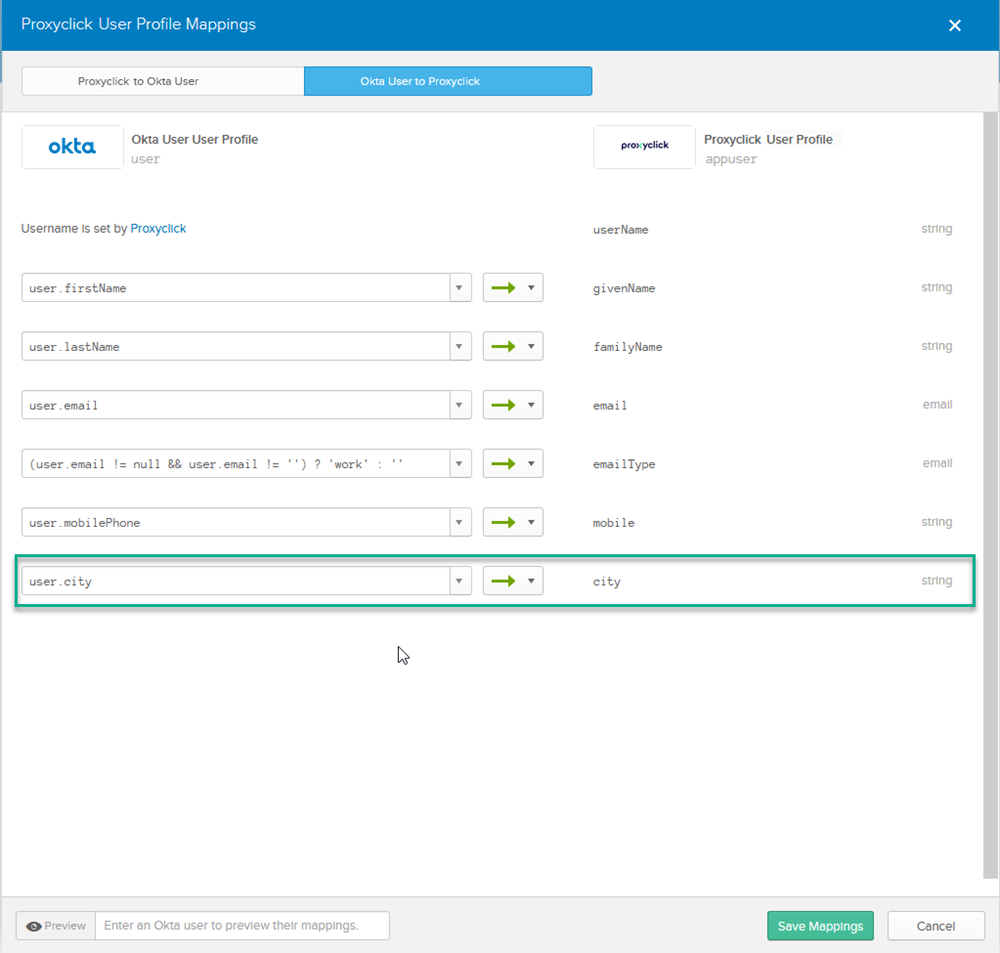
Save the Mappings, and you are ready to submit users to multiple locations via filtering. Make sure to set up the corresponding filters in Proxyclick before attempting to Provision your users (see next section).
Setting up Okta in many locations
User Provisioning
You can configure Okta and manage users across multiple locations from a single Proxyclick account.
-
Connect Okta in your main location (follow the steps above)
-
Click on Multi-location mapping on the Okta integration in your Integration List
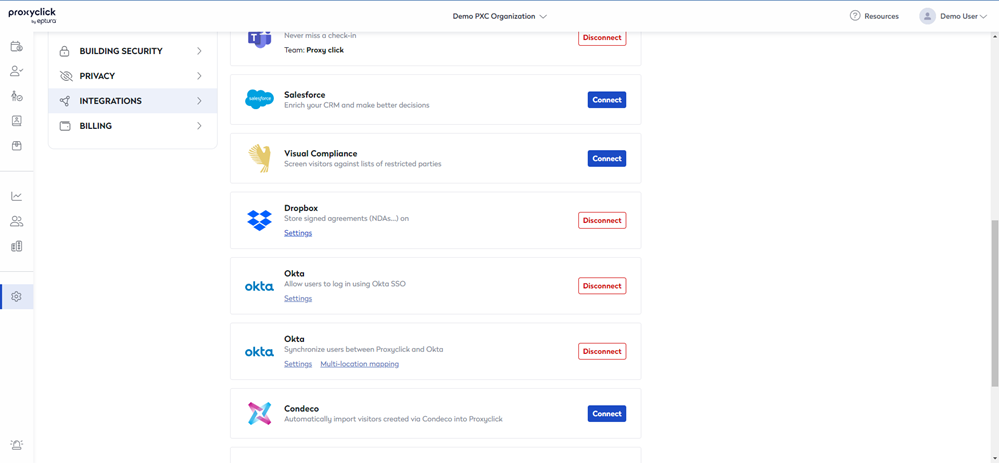
Important to note: If you do not see the Multi-location mapping button, then it means you are running on an older version of our Okta integration. All you have to do is disconnect the integration and then reconnect it before continuing with the remaining steps.
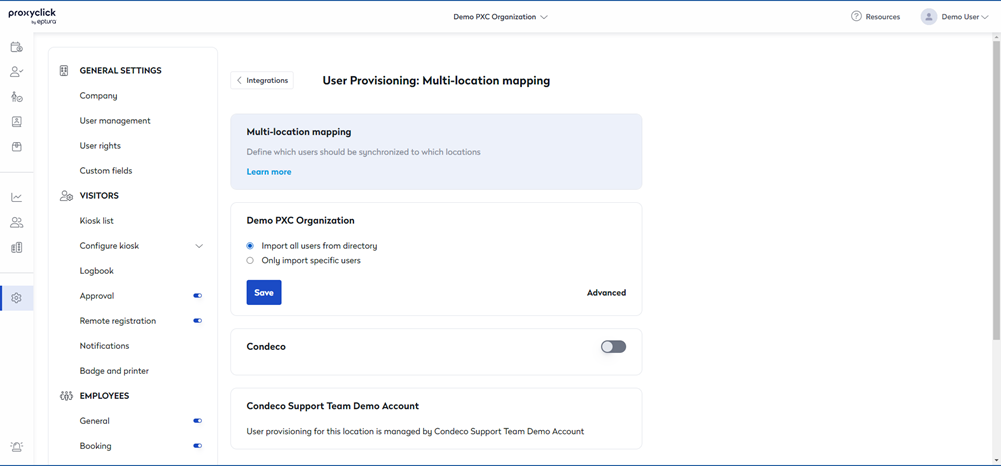
You will then see the list of all the locations for which you’re an Admin. You can enable/disable User Provisioning for each location from this list using the toggle button.
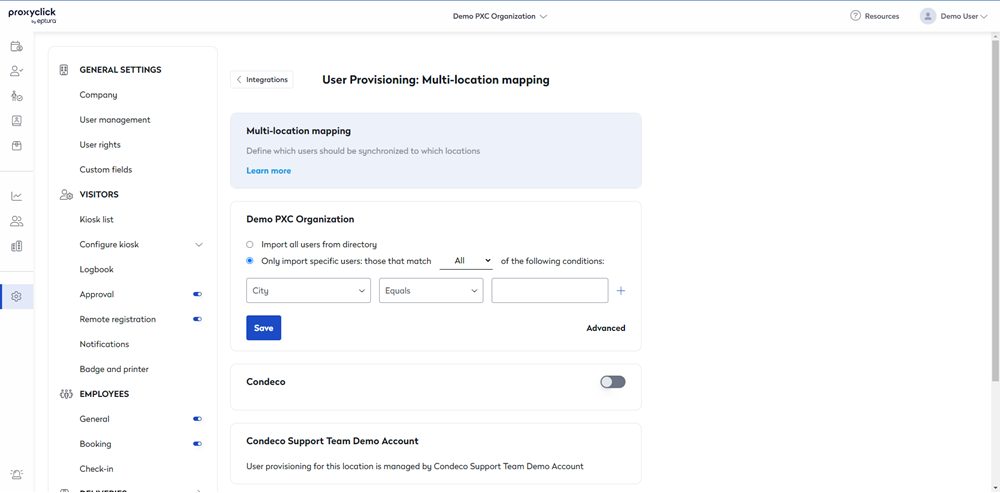
Once enabled, you will be able to either import all users for provisioning in that location or define your own filters for specific users.
You can filter users based on their city and language using the appropriate conditions for each.
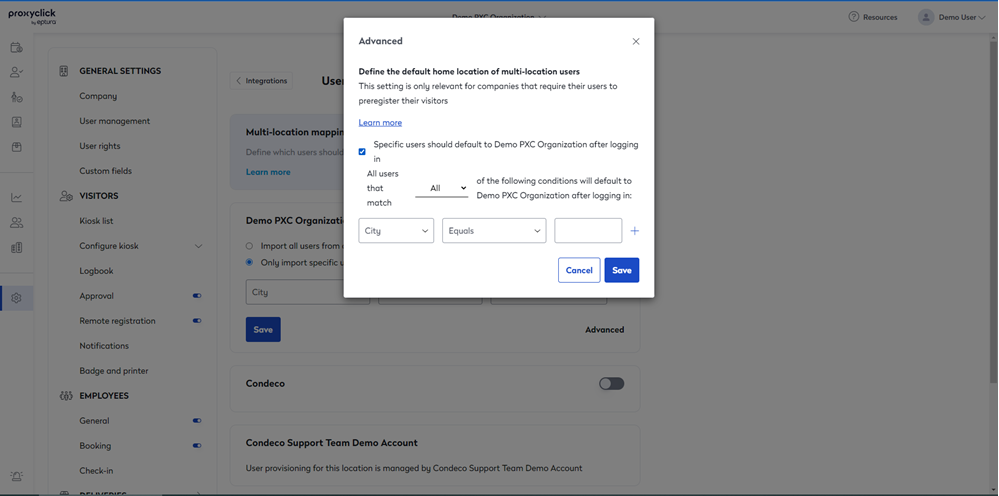
Setting Home Location for users provisioned in multiple locations:
In the event that your provisioning allows users access to multiple locations, you can use the “Advanced” link to open an additional filtering view. Use this view to define which users provisioned to the select Location will then treat that location as Home. Home Locations are used as the landing location if using Single Sign-On, and any visit created using the generic Calendar integration will be registered. The filters in the Advanced panel work identically to those in the main view.
Single Sign-On
Regarding Single Sign-On (SSO), you have two options:
Option 1 is to set up SSO for every location (follow Step 2 described above for every location). Users with access to x locations will then see x Proxyclick icons (1 per location).
Option 2 is to set up only 1 SSO link that works for every user. All users see only one Proxyclick icon that leads every user to her home location (can be different per user). Here are the steps to follow in order to set up option two
-
On all applications you created in Okta for User Provisioning, please check the option “Do not display application icon to users”
-
Create one additional application in Okta and activate Steps 1 and 2 above (SSO). This application will not correspond to any physical office but only exists to manage SSO at the global level. Do NOT provision users in this application. For this application, please leave “Do not display application icon to users” unchecked.
-
Send the following 3 elements to support@proxyclick.com: IDP Issuer/Entity ID, the Login URL/SignOn URL and the x.509 Certificate
-
We will then create a so-called “landing location”: a Proxyclick location with the SSO certificate you just sent but without users. Once set up, users will only see one Proxyclick icon leading to the landing location. They will then be immediately routed to their home location. From a user perspective, they will immediately land in their real home location (they do not notice they first log in the landing location)
Okta User Provisioning and Single Sign On require the add on to your subscription.