Implement SSO through ADFS
Step 1: Add a Relying Party Trust
Select the Relying Party Trusts folder from AD FS Management, and add a new Standard Relying Party Trust from the Actions sidebar. This will start the configuration wizard.
Screen Welcome
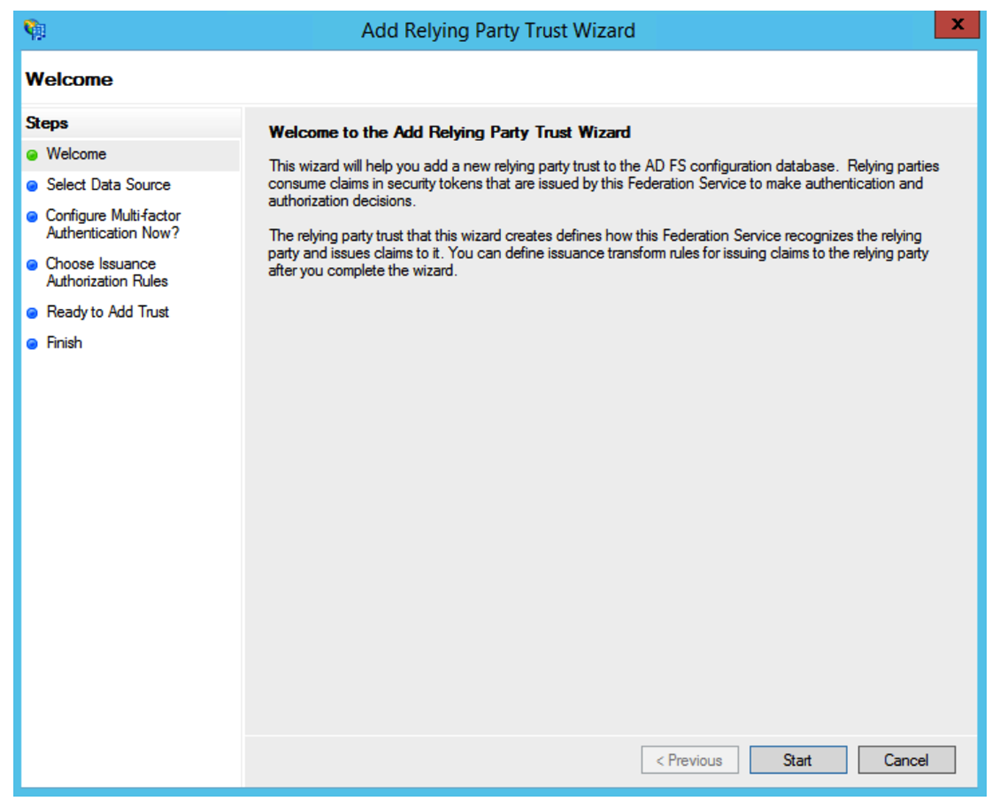
Click on Start.
Screen Select Data Source
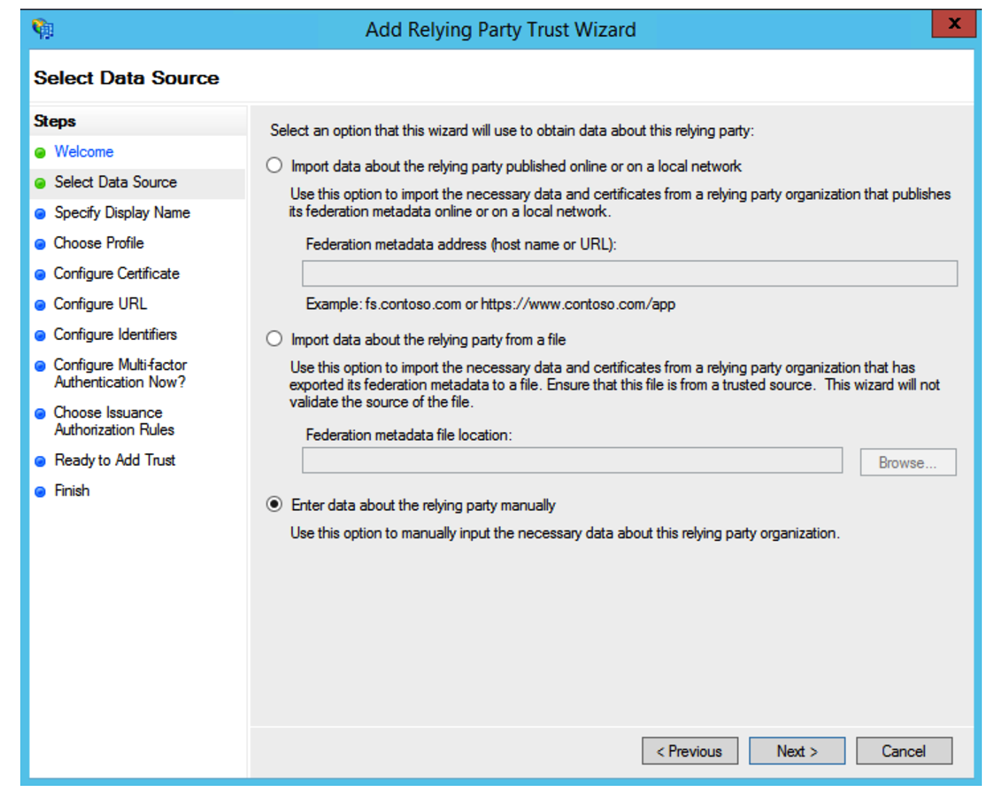
Select the last option, Enter Data About the Party Manually, and click Next.
Screen Specify Display Name
Enter a Display name (e.g., Proxyclick login). You can enter some Notes if you like.
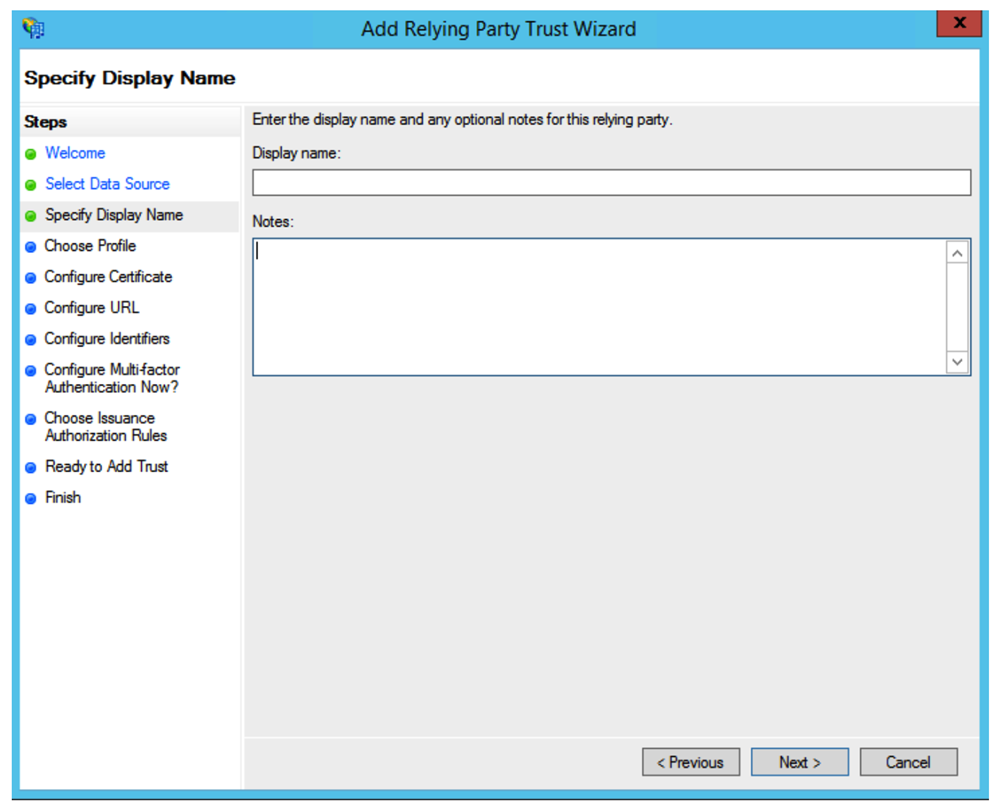
Click on Next.
Screen Choose Profile
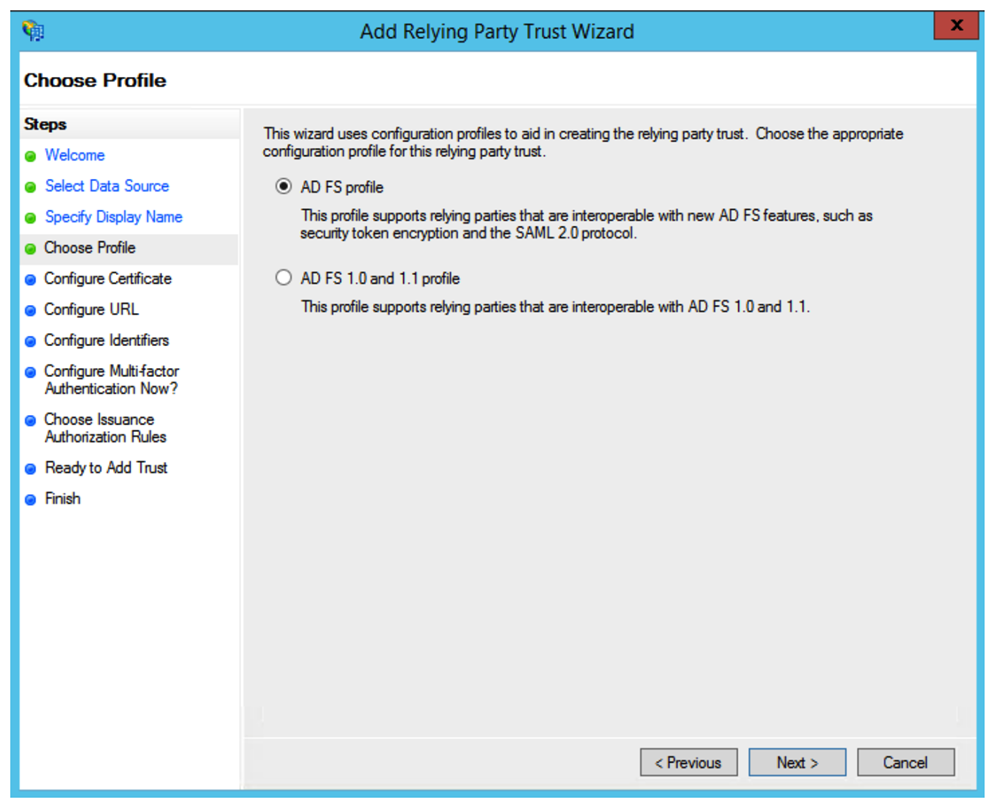
Select the ADFS FS profile radio button and click on Next .
Screen Configure Certificate
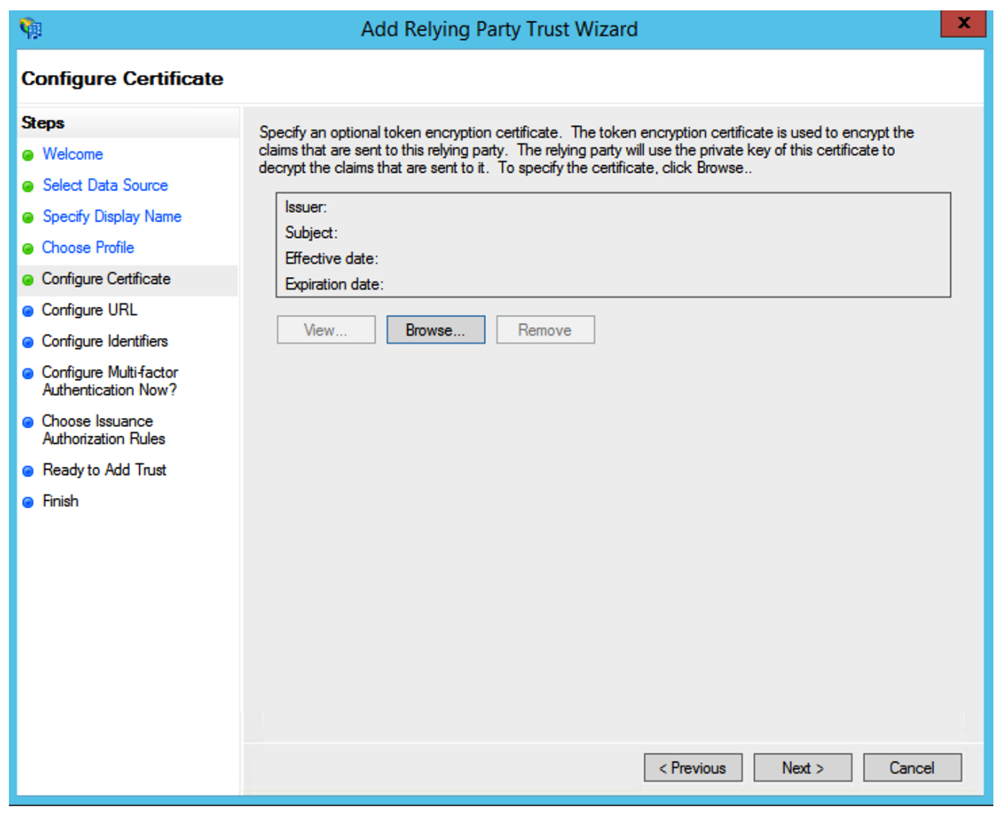
Leave the certificate settings at their defaults, and click on Next .
Screen Configure URL
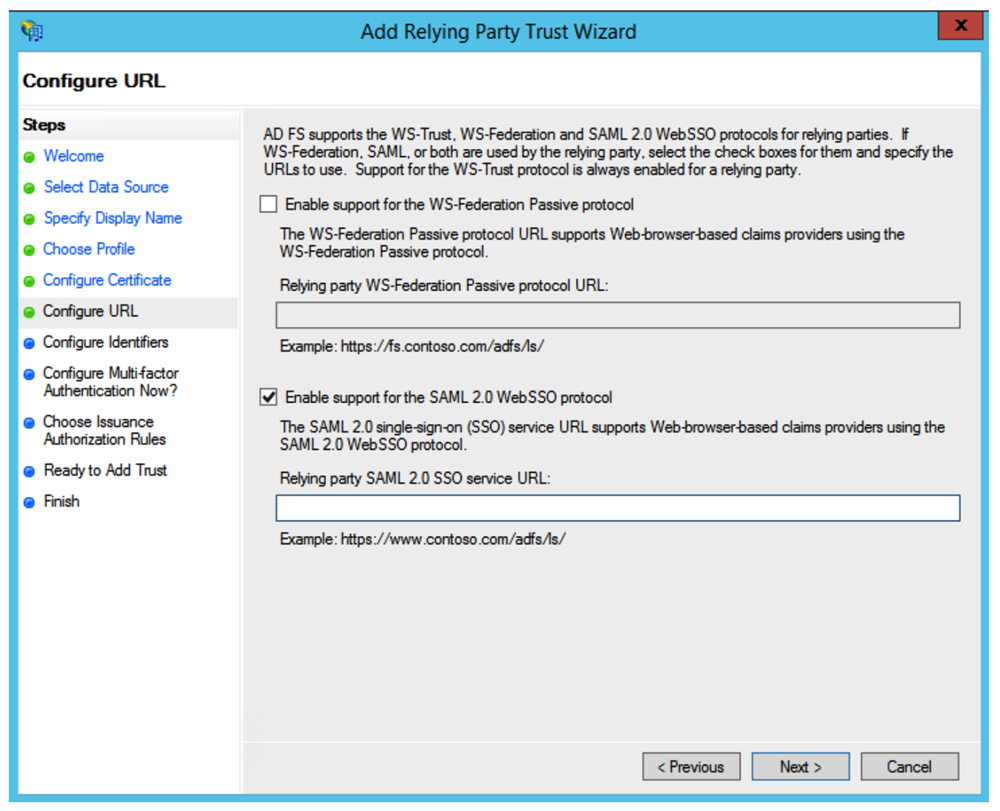
Check the box Enable Support for the SAML 2.0 WebSSO protocol.
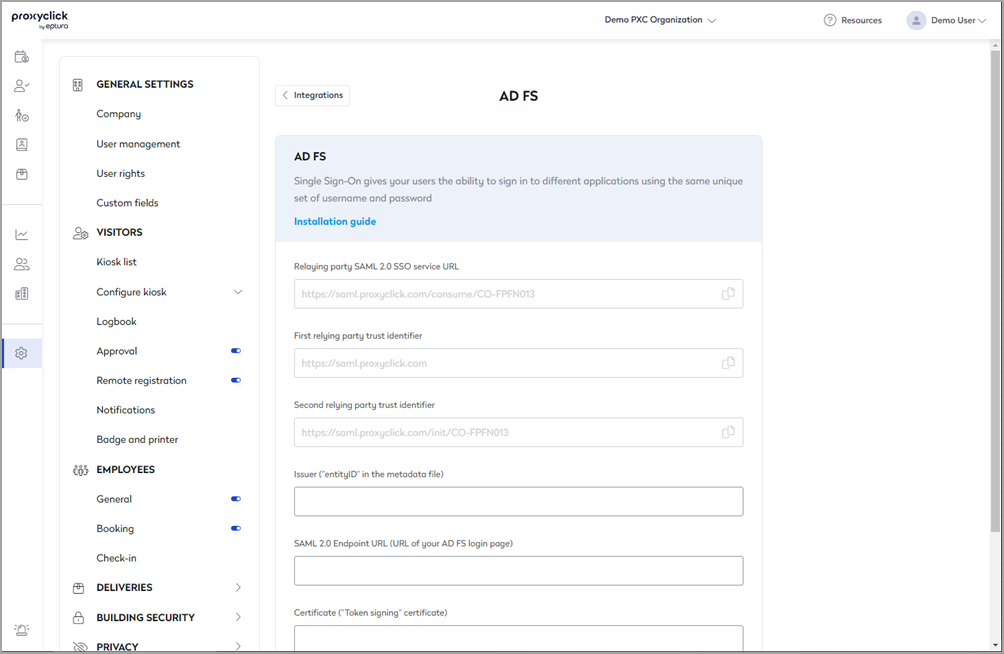
Go to the Proxyclick Marketplace and install Microsoft AD FS.
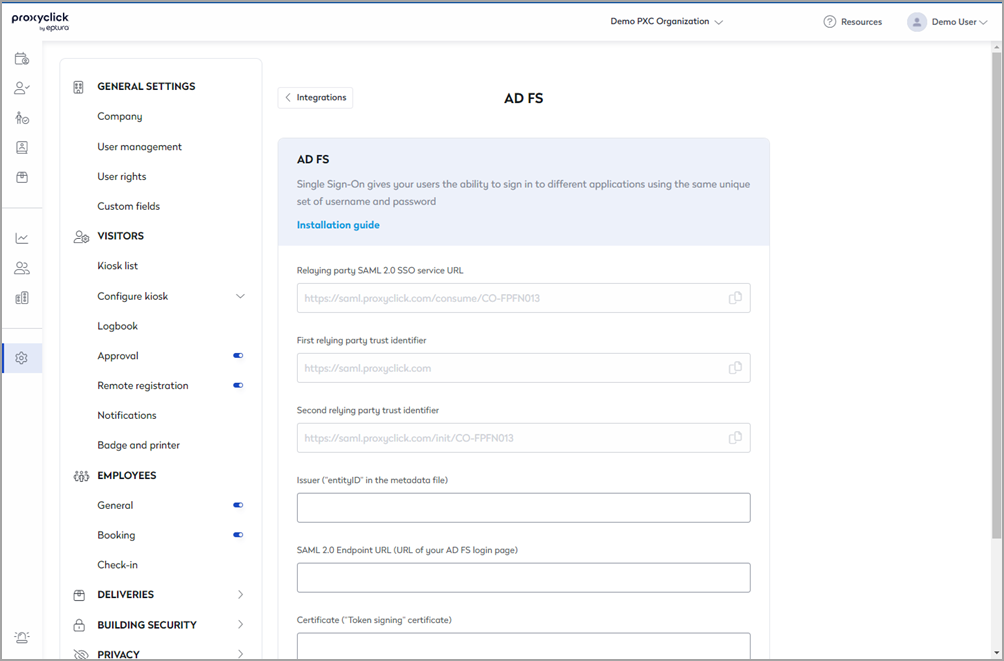
Copy the Relying party SAML 2.0 SSO service URL and paste it into the corresponding field in AD FS.
Click on Next.
Screen Configure Identifiers
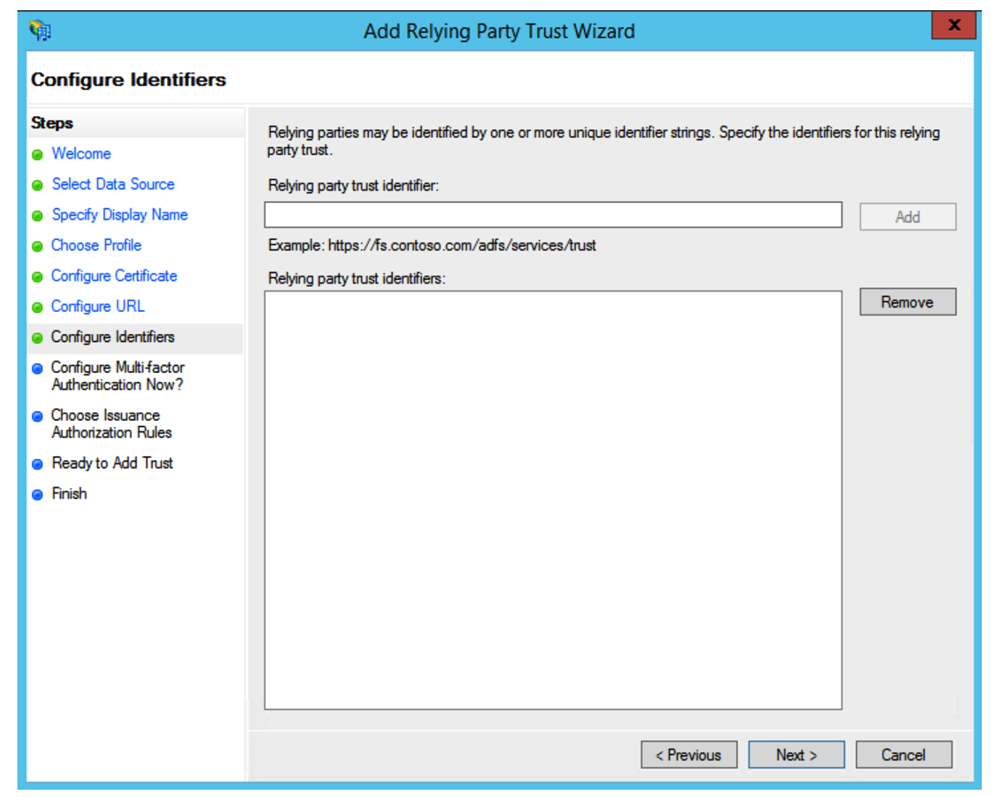
Copy the First relying party trust identifier and the Second relying party trust identifier and paste them in the corresponding fields in ADFS.

Click on Next.
Screen Multifactor Authentication Now?
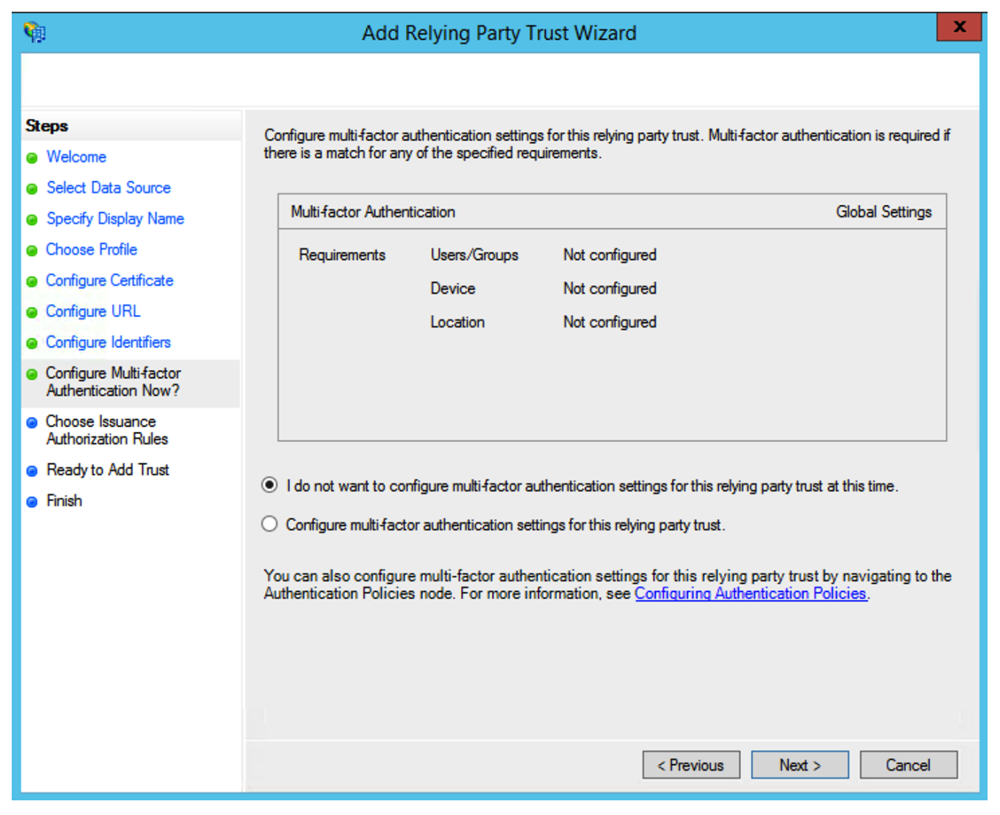
You may configure multifactor authentication, but this is beyond the scope of this guide.
Click on Next.
Screen Issuance Authorization Rules
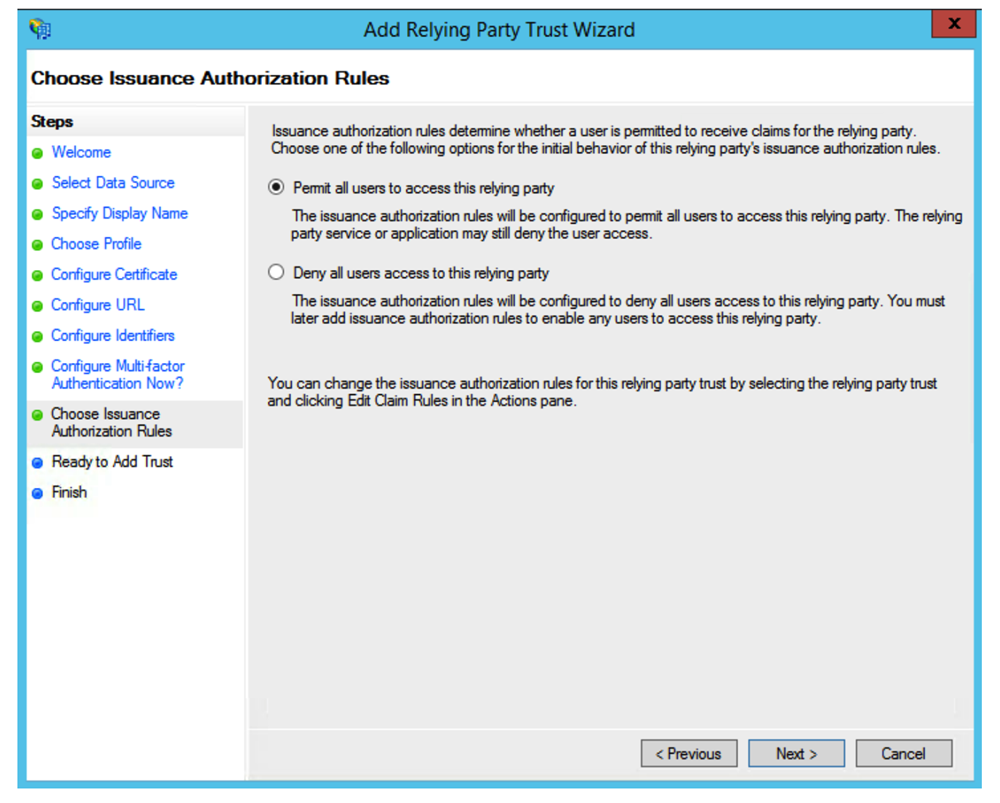
Select the Permit for all users to access this relying party radio button and click Next.
Screen Ready to Add Trust
Review your settings and click on Next.
Screen Finish
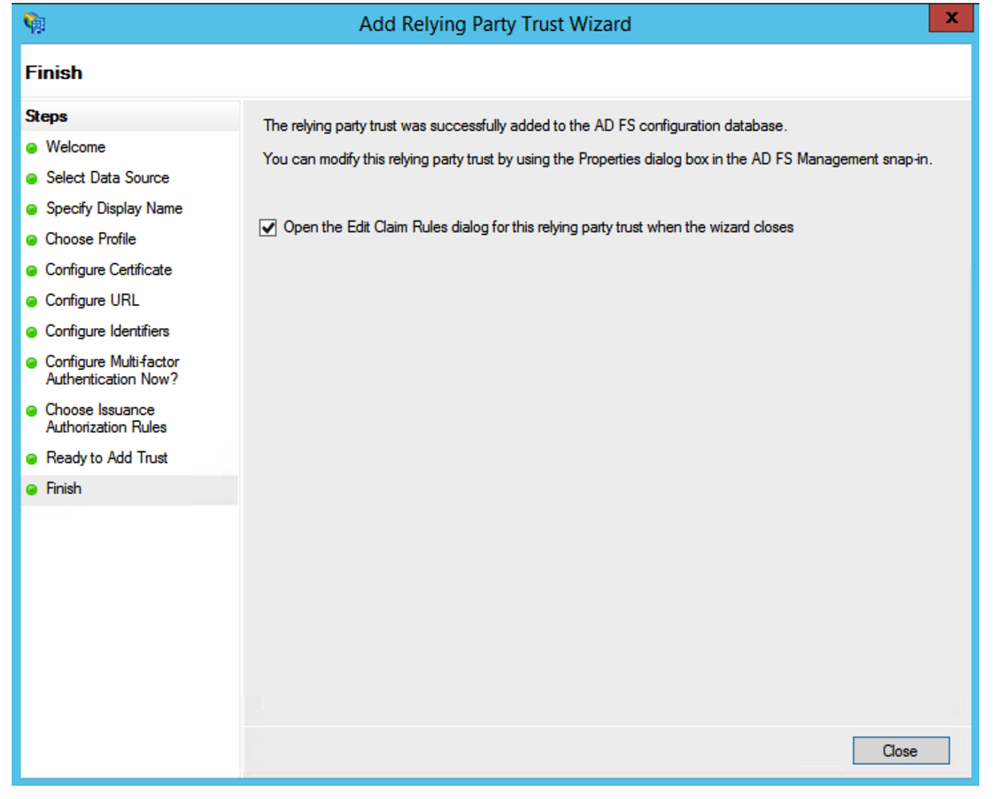
Click on the Close button to exit the wizard and go to the Claim Rules editor.
Step 2: Creating claim rules
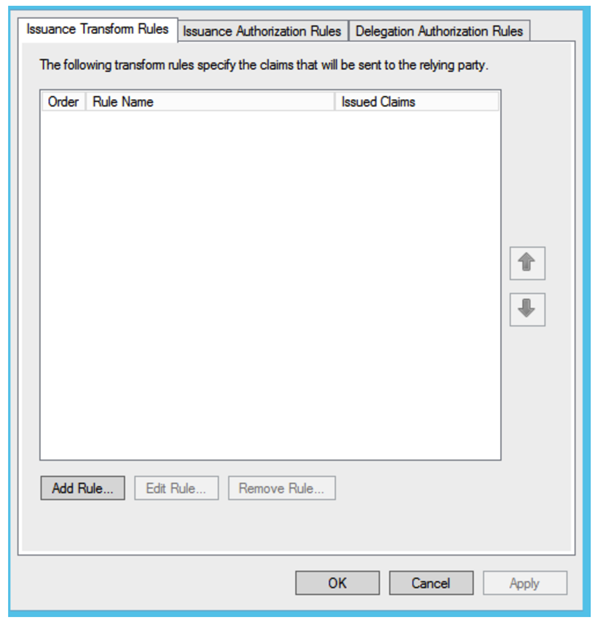
Create a first rule by clicking on Add Rule. Screen Choose Rule Type.
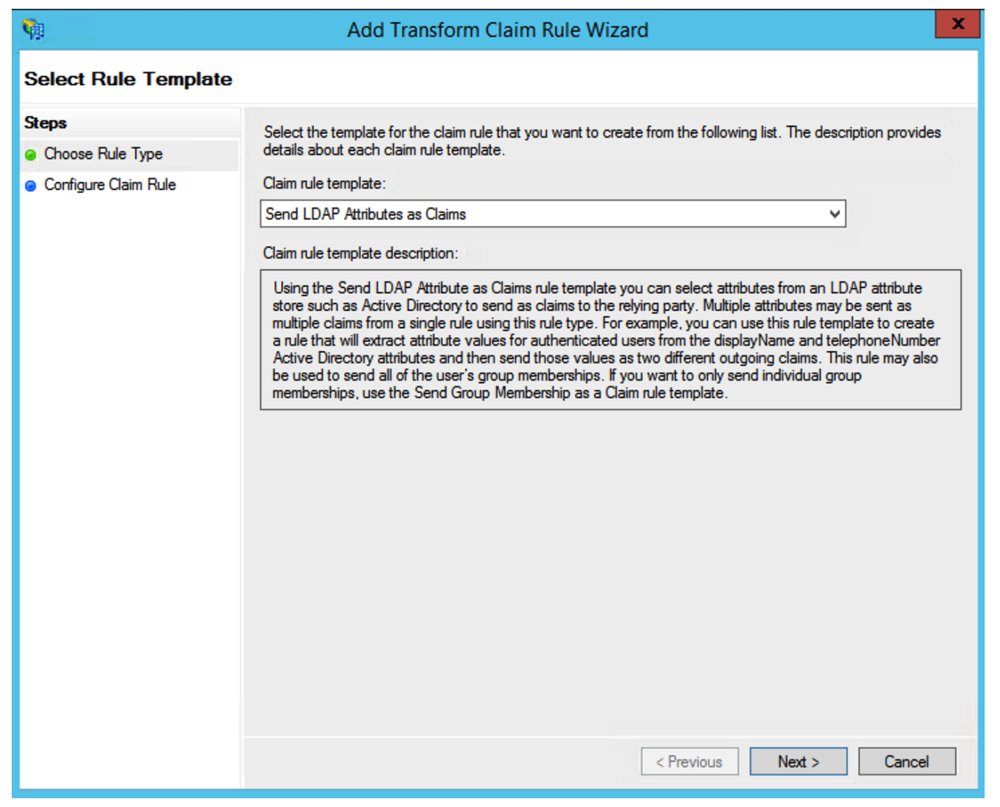
Select Send LDAP Attributes as Claims in the rule template list. Click on Next.
Screen Configure Claim Rule
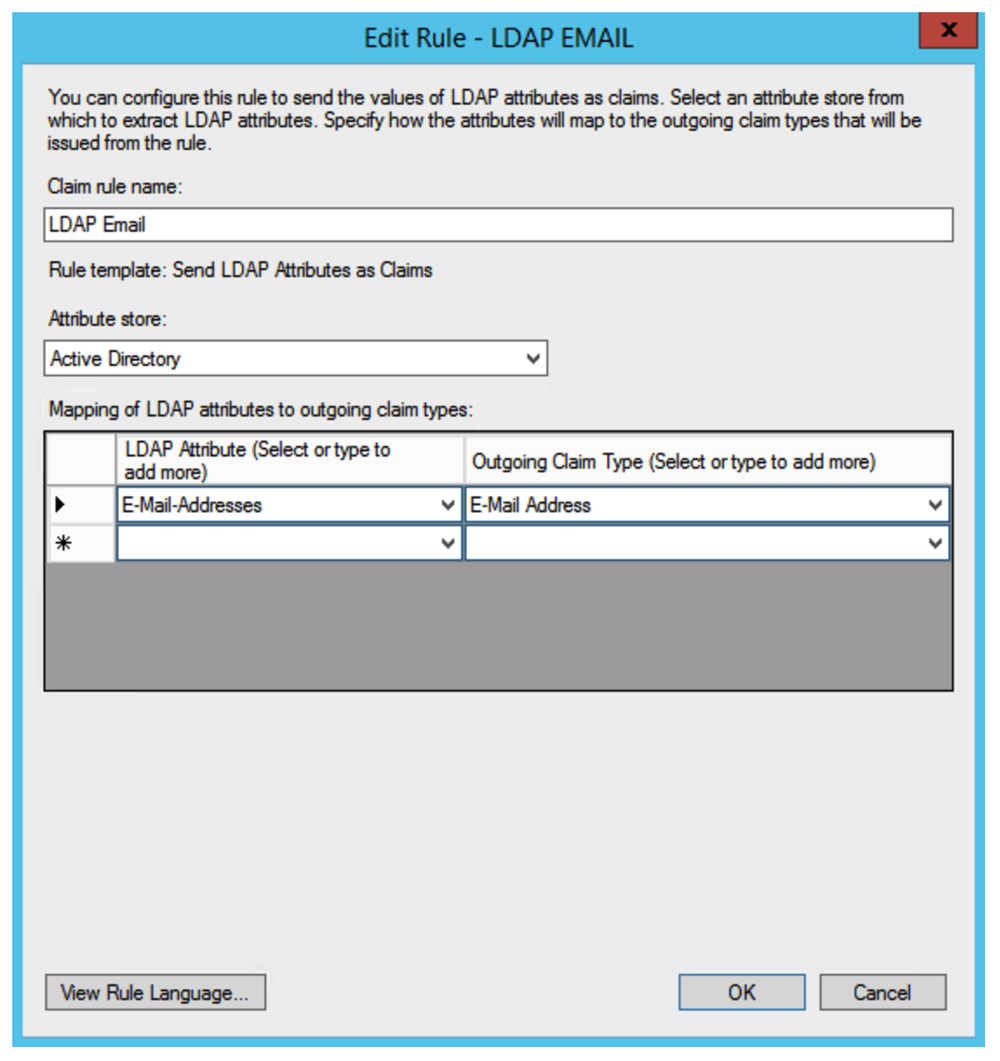
Enter a Claim rule name (e.g., LDAP Email). Select Active Directory in the Attribute store list. Choose Email Addresses for the LDAP Attribute column and Email Address for the Outgoing Claim Type column.
Click on OK to create the new rule.
Create a second rule by clicking on Add rule.
Screen Choose Rule Type
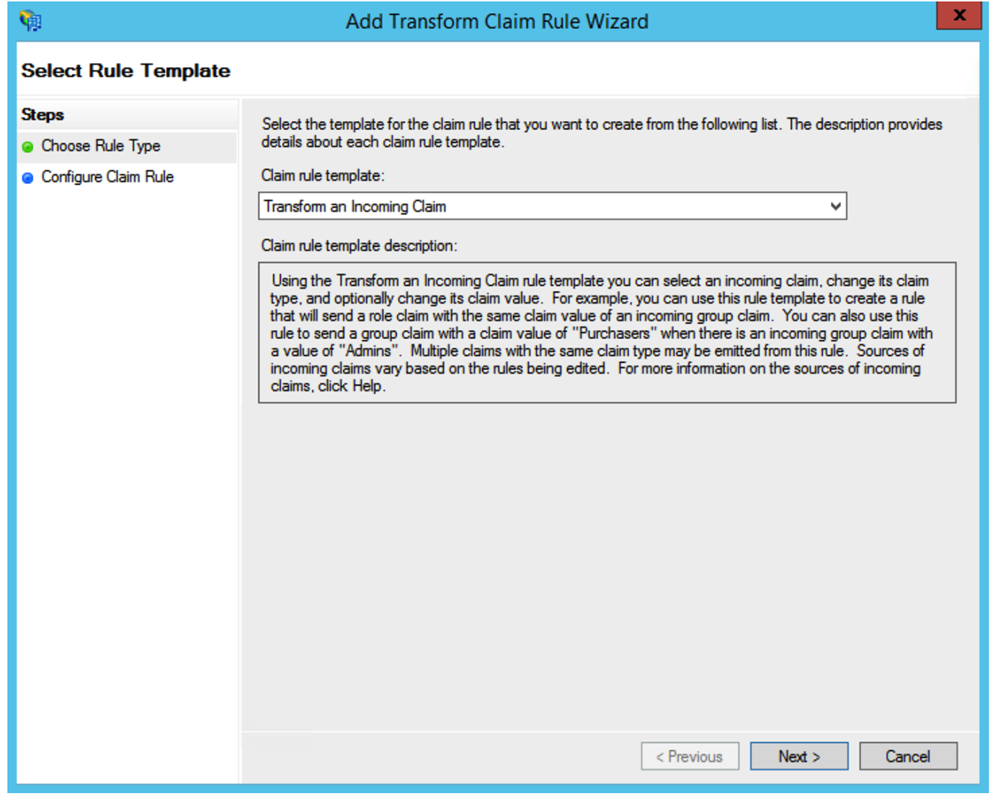
Select Transform an Incoming Chain in the rule template list. Click on Next.
Screen Configure Claim Rule
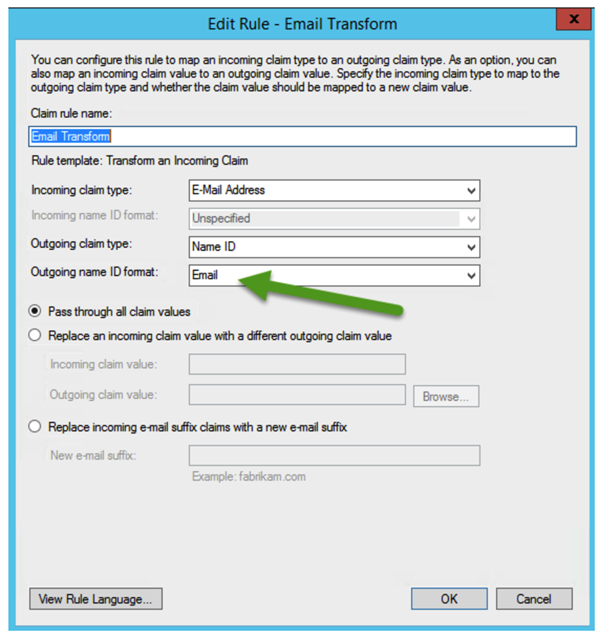
Enter a Claim rule name (e.g., Email Transform). Select the Email address for the Incoming Claim Type. Select Name ID for the Outgoing Claim Type and select Unspecified (not Email) for the Outgoing name ID format (see green arrow). Leave Pass through all claim values selected.
Click OK to save the claim rule.
Step 3: Configuring SAML in Proxyclick
Go back to the AD FS configuration page in Proxyclick and complete the following information:
-
Issuer (“entityID” in the metadata file).
-
SAML 2.0 Endpoint URL (URL of your AD FS login page).
-
Certificate (“Token signing” certificate) (including BEGIN and END header and footer).
Optional: in case you request a signature, you can enable the SAML Requires Signature option, and you will have a button to download the Certificate.
Click on Save.
Your AD FS connection is ready. You can now use the URL in the Second relying party trust identifier (should look like: https://saml.proxyclick.com/init/CO-XXXX where CO-XXXX is your company id) field to log into Proxyclick using AD FS SSO or log into AD FS as a user and choose the Proxyclick app. But you will still need to add users in Proxyclick before you try to log in with SSO.
ADFS is currently available with our SSO add-on.