Printing from the iPad via Proxy
In order to access this feature, you will need a valid pack or subscription and admin access to Proxyclick.
Examples of non-AirPrint printers which you can connect via this option are:
- Zebra QL ZXP Series1 (prints in color on plastic badges)
- Evolis Primacy (prints in color on plastic badges)
- Dymo LabelWriter 450 (or 450 Turbo)
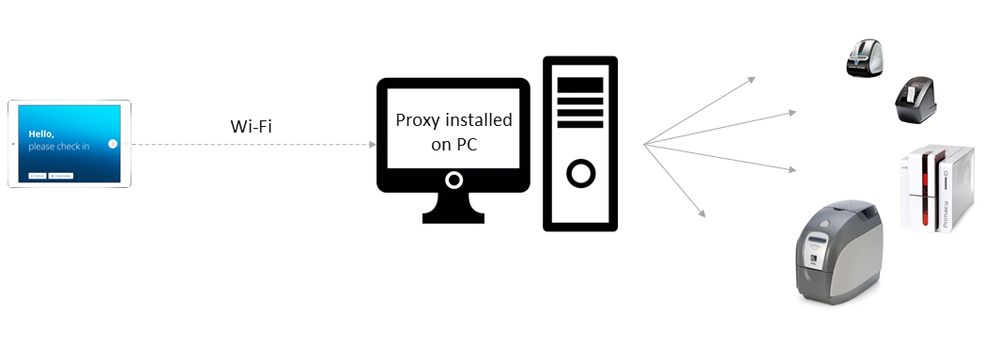
For this, you’ll need to have a Windows PC between the iPad and the printer (AirPrint printers do not require this intermediary PC). The printer needs to be connected to that PC, and the PC needs to be on the same network as the iPad (most often the Wi-Fi network; see the diagram below).
Two programs need to be installed on the PC:
- The driver of the printer: this guide assumes you already have installed the printer driver.
- Proxyclick proxy: needed for the communication between the iPad and the printer.
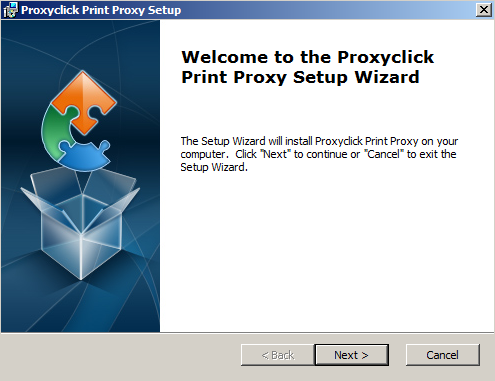
Step 1. Install Proxyclick Print Proxy
Install the Proxyclick Proxy (proxyclick-print-proxy-1.7.0-win-x86.exe) (v.1.70) on your PC. Then, run the wizard and install the proxy.
Step 2. Configure the proxy
Now that the proxy has been downloaded, let’s ensure the proxy points to the right printer and badge in the printer.
From the PC, complete the following:
-
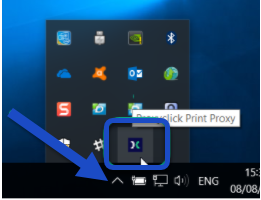
Look for the Proxy Application icon in the Notification area (normally on the bottom right of your screen).
-
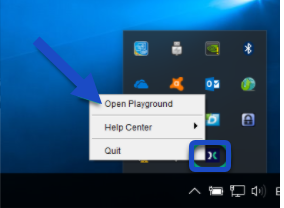
Right-click on the icon to open the menu, then click on Open Playground.
This will open the following window:
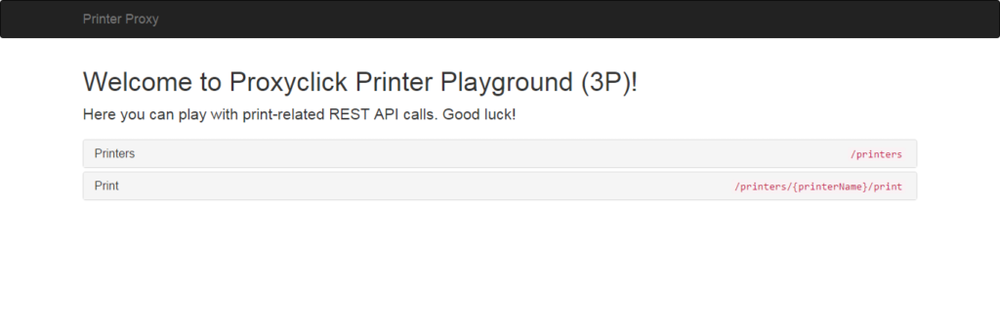
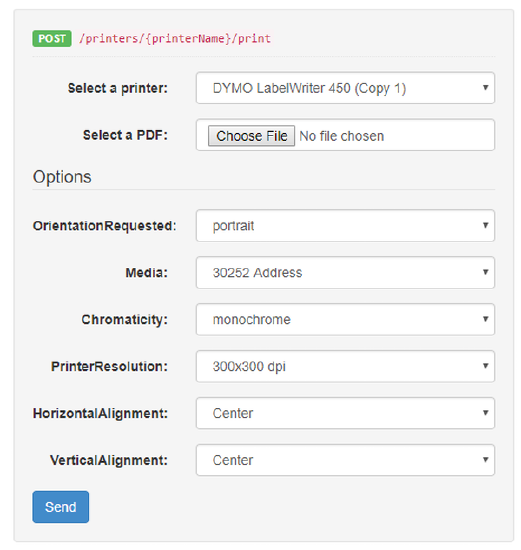
-
Click on Print, then select your printer and select the correct Media, which is the reference of the badge placed in the printer (this is very important). For most printers, Horizontal and Vertical Alignment is “Center” (e.g., Dymo Labelwriter, Brother QL820NW, etc.).
Step 3. Select the print method
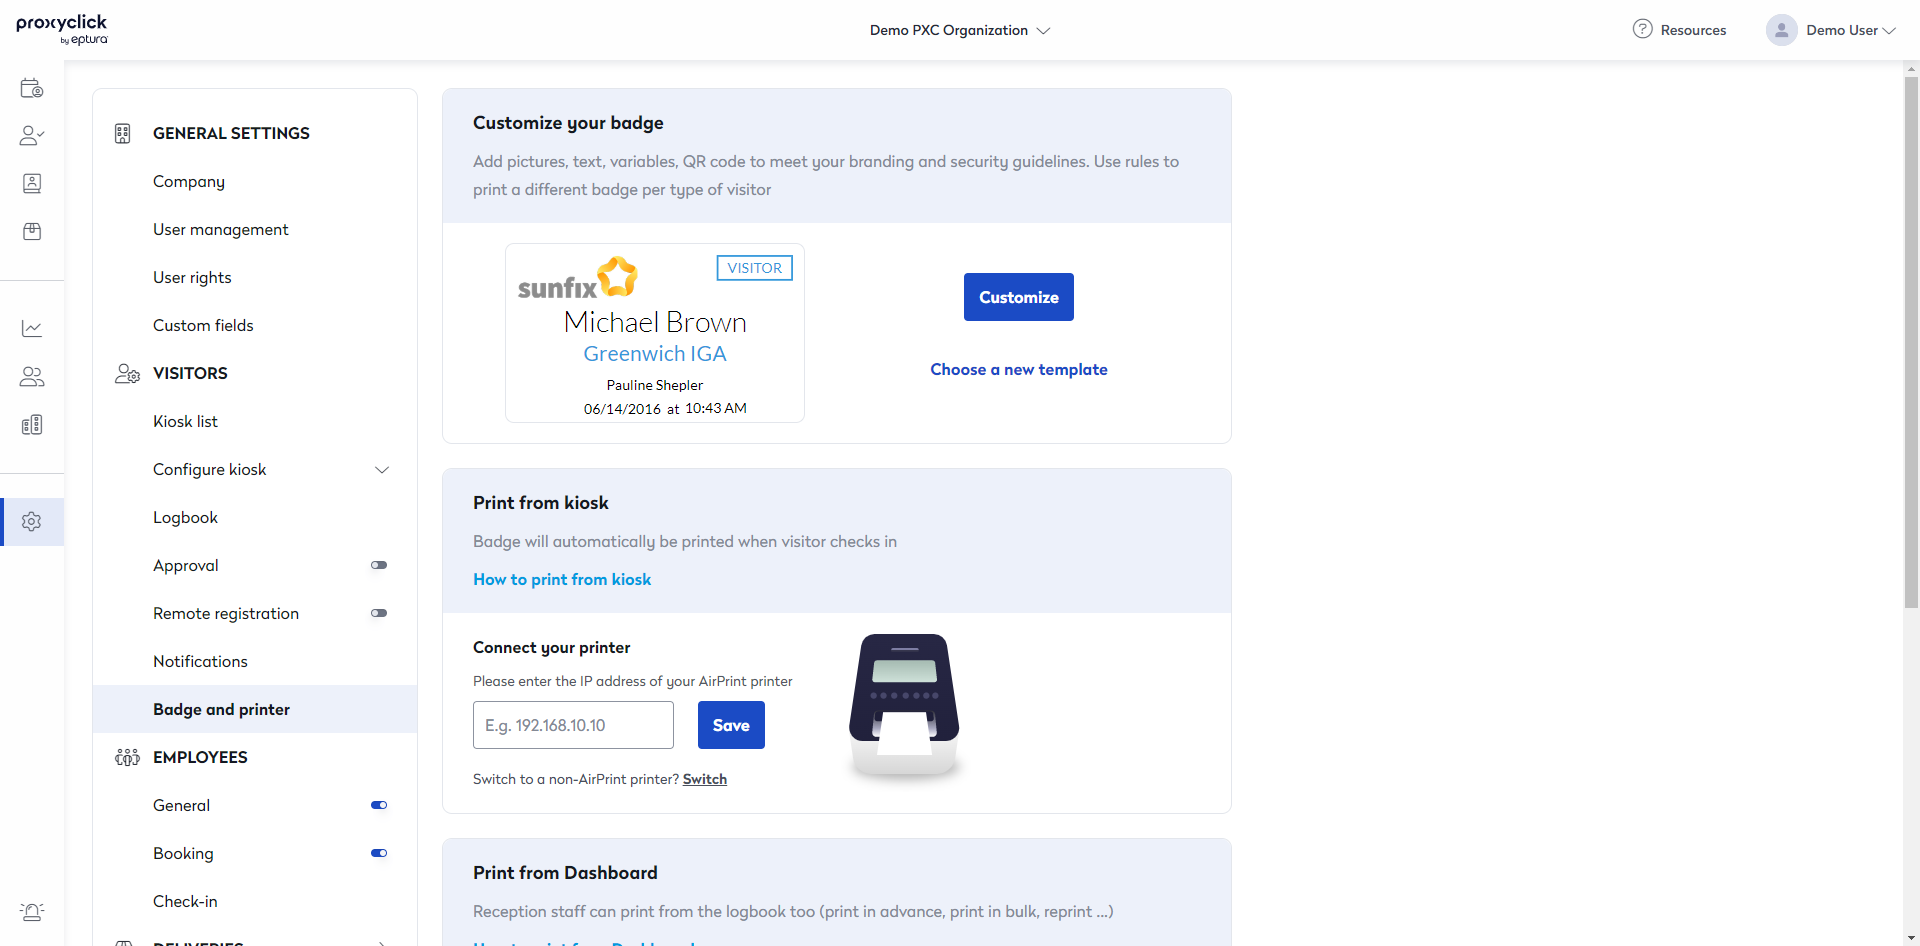
Now is the time to specify to the Proxyclick iPad app to point to the proxy on the PC. This is done from the dashboard in Settings > Badge and Printer.
The default printing setting is AirPrint; the settings page will look like this.
If so, please get in touch with us and we will switch the printing method to non-AirPrint.
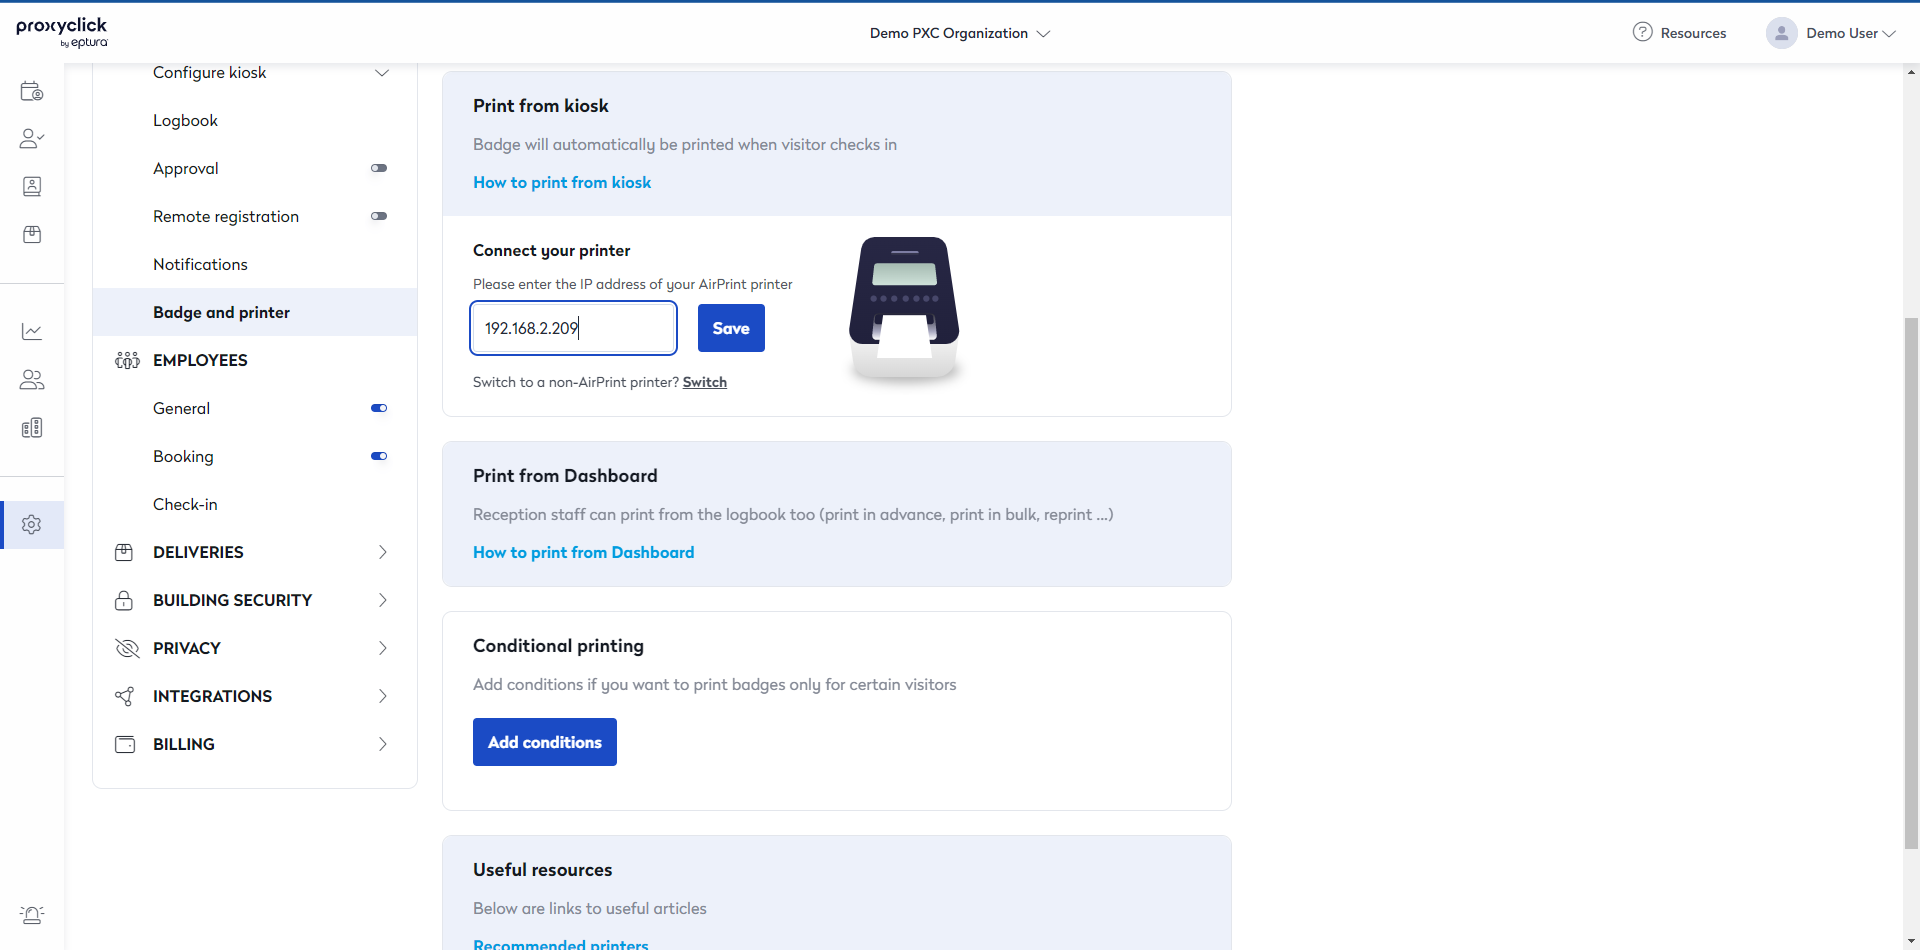
After the change, the page will look like the one below:
-
Write the IP address of the PC on which the proxy is installed (and not the printer's IP).
Make sure:
- The IP address is fixed (static).
- Port 50080 and 50443 are accessible.
- The iPad and the PC are on the same network (often the WiFi network).
-
Click on Get printers. The list of printers displays.
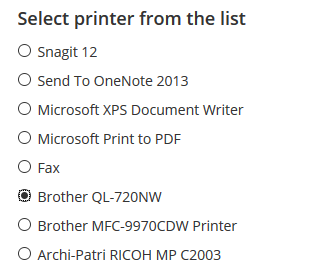
-
Select the printer from the list.
Now go to the iPad, close and relaunch the Proxyclick iPad app, and check two visitors in. Your badge should now be printed.
If you cannot print, check the Troubleshooting when printing from the iPad via Proxy.
Install Proxyclick Universal Print Proxy on a Windows server
When printing from the iPad kiosk, you can decide to install the print proxy on your server. If you want to have the proxy running as a service, please download the version available download the ProcxyClick executable (proxyclick-print-proxy-1.7.0-win-x86.exe).