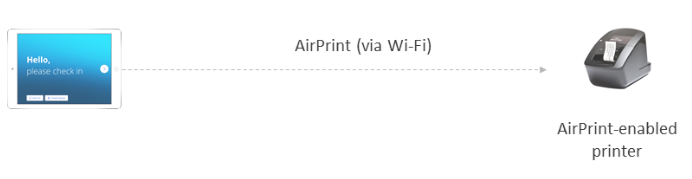
Printing from the iPad via AirPrint
This article explains how to instantly print from the Proxyclick iPad app on an AirPrint-enabled printer.
You’ll need to perform three steps in order to set up printing. This is normally fairly easy and fast.
Step 1. Make sure the iPad and the printer are on the same network
Ensure your iPad and the AirPrint-enabled printer are on the same WiFi network. Printing will not work if the iPad and the AirPrint printer are on different networks.
Step 2. Test printing from iPad
Confirm the iPad can connect and print to the printer outside of the Proxyclick environment. For this, please follow the steps below:
- Open an image in your iPad gallery.
- Press and hold on to the image to bring up the print option, and try printing to your badge printer.
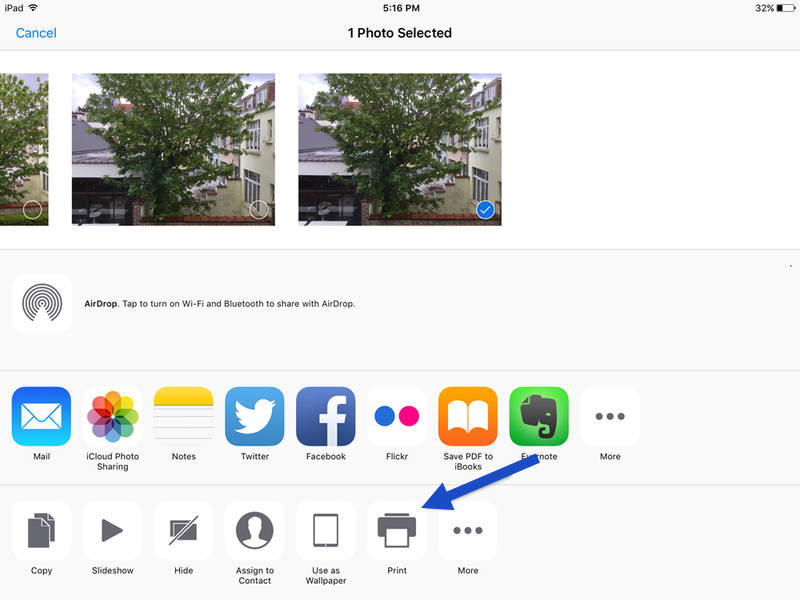
- Confirm that printing is successful
If not, please double-check the following elements:
- Are the printer and the iPad on the same network?
- Is the printer on?
- Is the printer AirPrint-enabled?
Step 3. Enter the IP address of your printer in the Proxyclick settings
The third step is to retrieve the IP address of your printer.
For Brother printers, you will retrieve the IP address of your printer by performing the following steps:
- Press the Menu and down arrow buttons to go to “WLAN” settings.
- Press the Up arrow button to go to “WLAN Status” and press the OK button.
- Select “Infrastructure Mode” and press OK.
- The IP address will be listed there, usually as a couple of sets of numbers separated by periods (for instance, 123.123.1234.123)
- When you have the printer's IP address, you need to place it in the dashboard under Settings > Badge and printer.
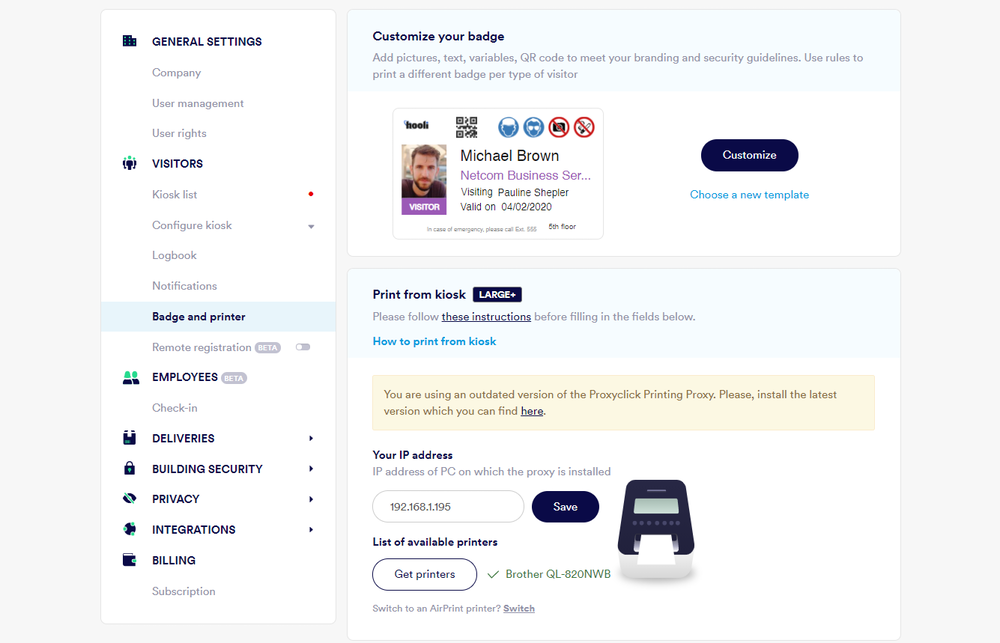
- After the IP address has been added, click on Save.
- Re-start the kiosk, and you are ready to print!