Delete spaces no longer present in the file for a floor
For an existing floor you can delete spaces no longer present in the file.
Prerequisites
Before you proceed to use the Floorplan Importer Tool to update an existing floor, make sure you have the following:
- Building exists in Serraview.
- Floor exists in Serraview.
- Floor has an existing floorplan and mapped spaces.
- AutoCAD file has changes to space shapes, space name and deleted spaces.
Purpose
Follow the steps in this section to:
- update the floorplan image.
- deletes all existing mapping that has not been changed.
- only maps spaces that are new in the drawing or that have been renamed.
- remove any team or occupancy allocations to the spaces on this floor as seen in the VBS.
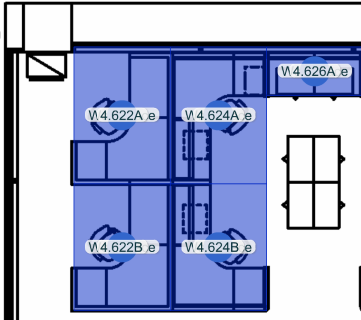
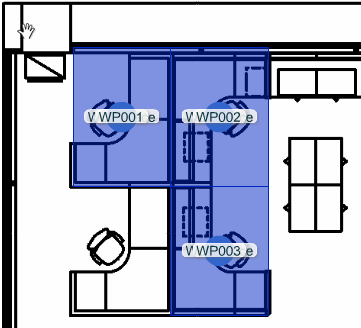
If a space's name has been changed, the existing space will be deleted and re-mapped with the new name. Any spaces that did not have any changes will be deleted.
|
|
|
|
BEFORE |
AFTER |
Floorplan Importer Tool Required Fields
Complete the following:
- Navigate to Admin Settings > Data Imports > Floorplan Imports. The Floorplan Importer Tool displays.
- From the Select building drop-down, select the building.
- From the Select floor drop-down, select the floor.
- Click the Choose File button to upload the AutoCAD file.
- Check Delete spaces no longer present in the file check box.
No other options are required.
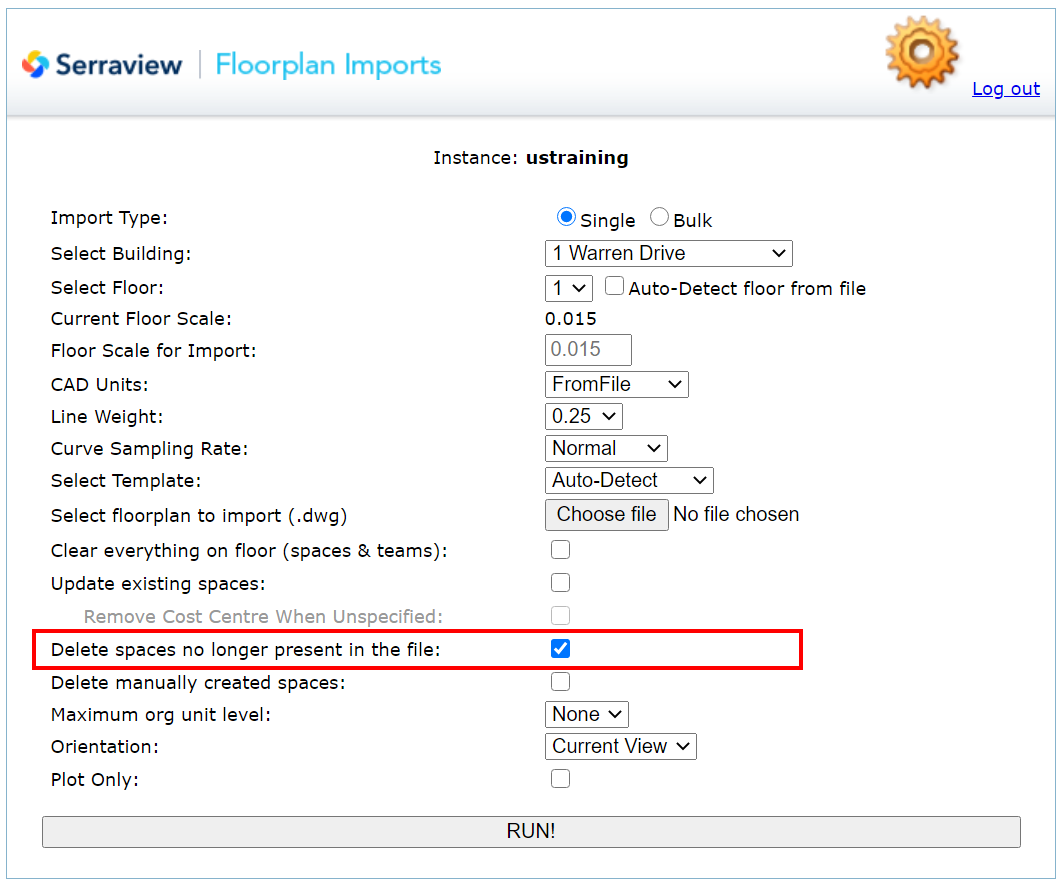
5. Click the RUN! button.
6. Review the Import Results and Warnings, refer to Floorplan Importer Tool Import Results.
7. Review the floor in the Spaces module.