Understand the Floor Map
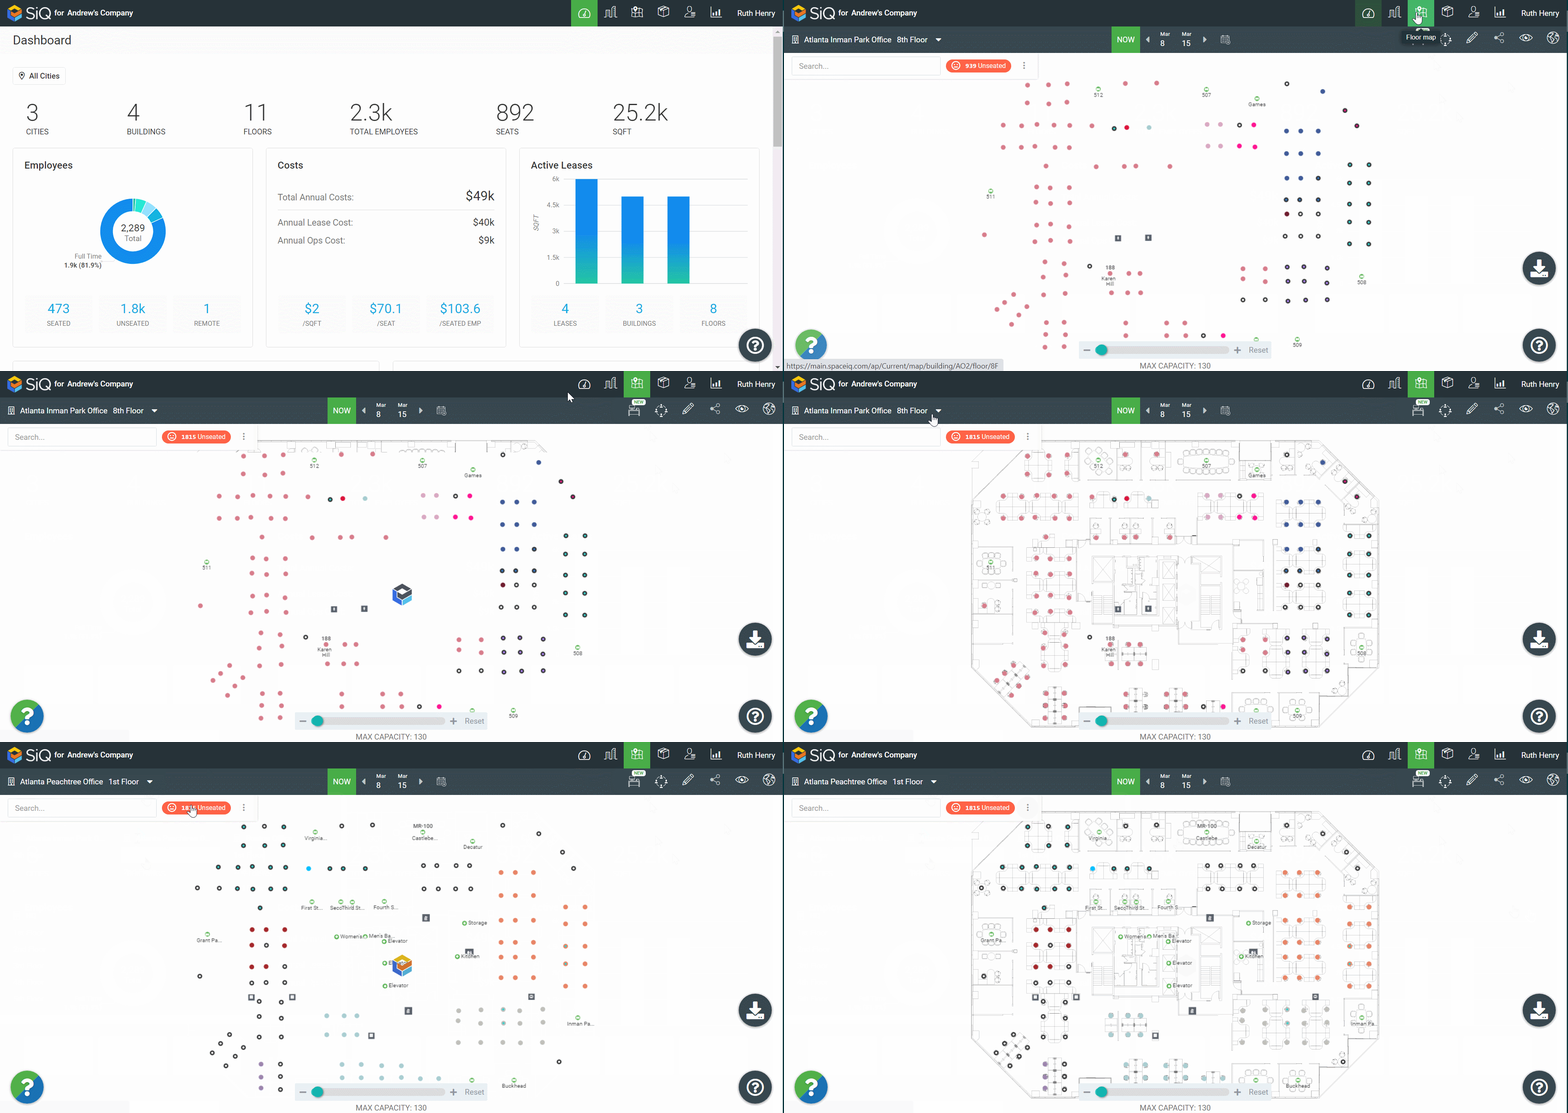
The Floor Maps are found in the following:
- From the top menu, click the Floor Map
 icon.
icon.
The screen consists of the following:
- Buildings and Floor Selector
- NOW view and Move Plans
- Floor Map Toolbar
- Floor Map Search
- Floor Map Controls
- Floor Map Icons
Buildings and Floor Selector

The top left corner shows the current building and floor on display. Click on the current building/floor name to display the Building and Floor Selector. From the selector, you can quickly toggle between different Floor Maps in your Portfolio.
NOW view and Move Plans

This area has a NOW view, which contains what is currently on the Floor Map. When you create a Move Plan for a date, it will be a copy of the NOW view, and then when you create a subsequent Move Plan it will be based on the previous plan.
Click the Move Order ![]() icon to create a new Move Plan. For more details, see Move Orders and Add Move Plan via the Floor Map.
icon to create a new Move Plan. For more details, see Move Orders and Add Move Plan via the Floor Map.
Floor Map Toolbar

This toolbar consists of the following:
![]() Book Desk icon - this lets you book a hotel desk. For details, see Book a Desk as an Admin.
Book Desk icon - this lets you book a hotel desk. For details, see Book a Desk as an Admin.
![]() Go to the Neighborhood Management icon - this takes you quickly to Manage Neighborhood.
Go to the Neighborhood Management icon - this takes you quickly to Manage Neighborhood.
![]() Floor Map Editor icon - this takes you to the edit screen where you can Edit the Floor Map.
Floor Map Editor icon - this takes you to the edit screen where you can Edit the Floor Map.
![]() Share icon - this lets you Share the Seats.
Share icon - this lets you Share the Seats.
![]() View icon - this displays the Filter Drawer, which lets you customize what you see on the Floor Map. For details, see Change Floor Map Views.
View icon - this displays the Filter Drawer, which lets you customize what you see on the Floor Map. For details, see Change Floor Map Views.
![]() Location icon - the Location Views are applied across SpaceIQ and this takes you to the Location Filter.
Location icon - the Location Views are applied across SpaceIQ and this takes you to the Location Filter.
Floor Map Search

You can search by an employee's name, space code, department name, or map item name, such as a meeting room. For more details, see Search the Floor Map.
Floor Map
The map background is an image created and imported from AutoCAD or similar floor drawing software.
Floor Map Controls
The following controls can be used.
Zoom
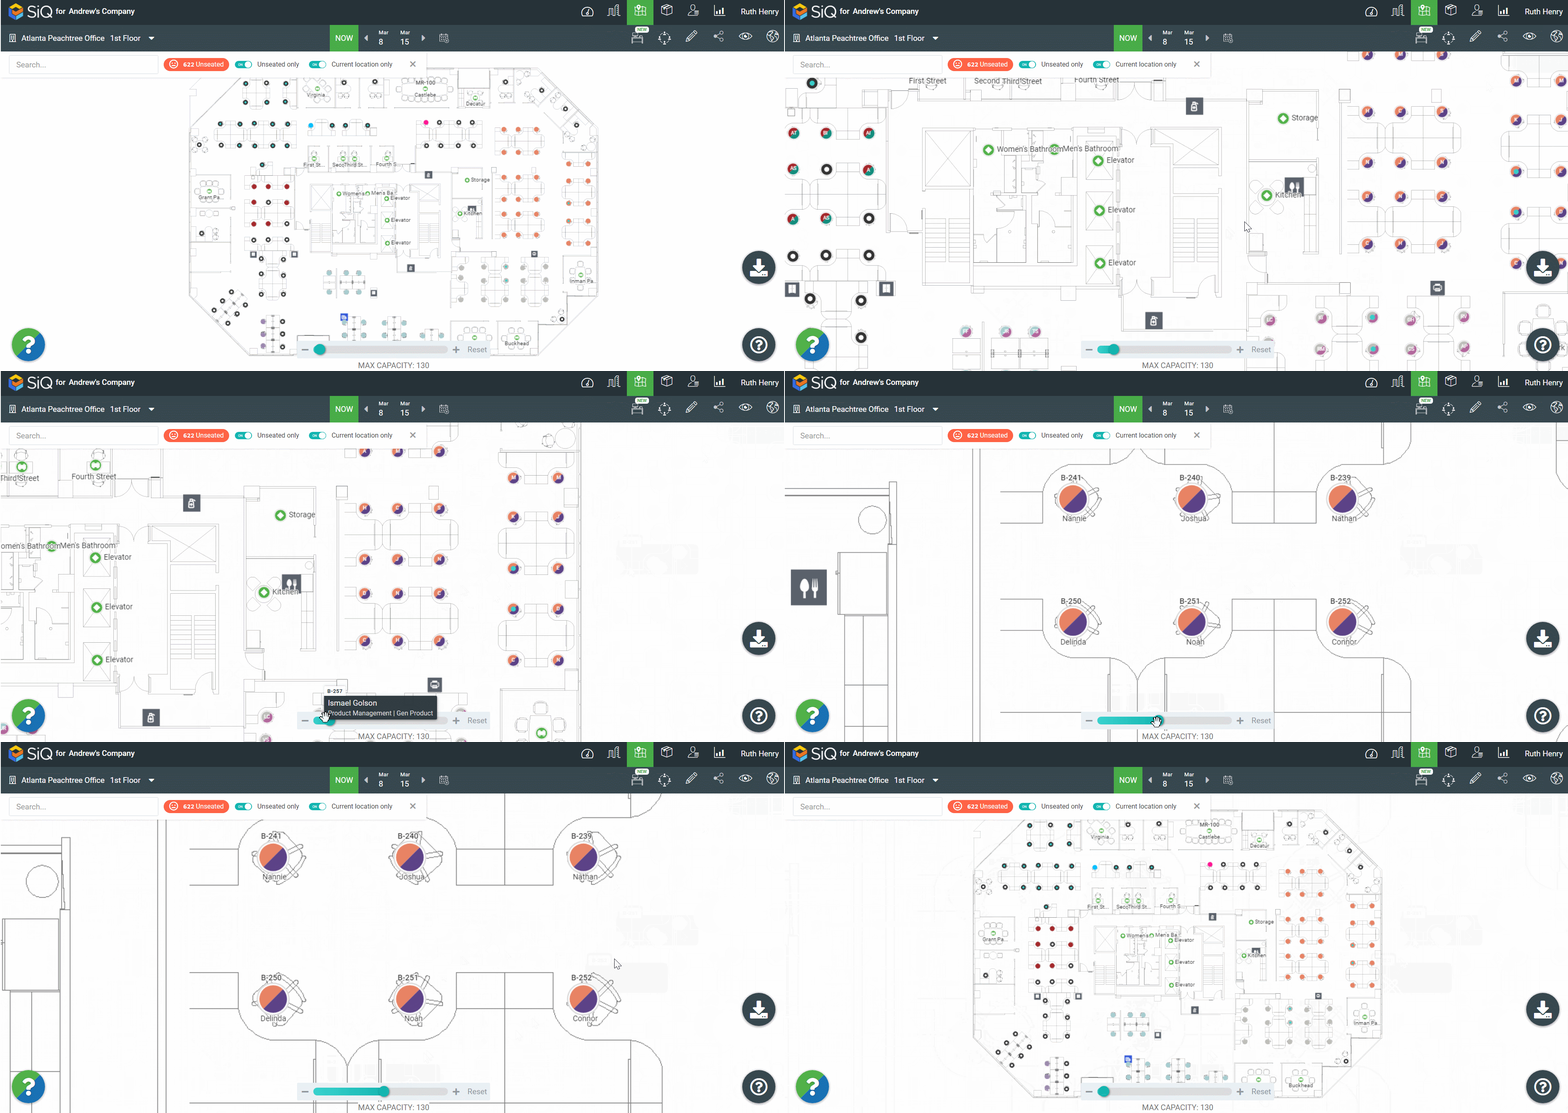
Move the Floorplan
- Use the cursor to click and drag the floor plan to move around the floor plan.
Zoom In and Out
Use the scroll wheel on your mouse to zoom in or out on a floor plan.
- Point your cursor on the area you want to zoom in to.
- Use the mouse's scroll wheel to scroll forward. The closer you get, the more detail you see, including multi-tone seat colors, employee names, and seat numbers.
- When zoomed in, use the cursor to click and drag your way around the floor plan.
- To zoom out, use the mouse's scroll wheel to scroll backward.
Zoom Toolbar
There is a Zoom Toolbar that you can use to zoom in or out, and if needed, you can quickly Reset the floor plan view.

Download
![]()
The Download icon lets you generate a printable image file of your Floor Map that can be shared or used in a presentation. For more details, see:
Unseat or Color Legend
![]()
The Unseat / Color Legend icon has two purposes.
Unseat Employees
You can select and drag an employee onto the Unseat / Color Legend icon to remove them from their assigned seat. For more details, see Seat or unseat an Employee.
Display Color Legend
Click the Unseat / Color Legend icon to display the floor map colors. For more details, see Floor Map Colors.
Help
![]()
The Help icon will display the Help widget where you can access the SpaceIQ Help Center's documentation.
