Upload a Floorplan
Your Admin has the ability to upload floor plans into the product during and after onboarding.
Important Note: If you are updating the floor plan, use the same size/scale as the previous floor plan, as you want the dots to line up with the seats.
Floor plan Preparation
The floor plan will be published as a PNG image uploaded into SpaceIQ. The Floorplan Preparation article details what preparation needs to be completed on the source file:
- .DWG
- .PNG
If you are using Blocks to set up furniture blocks, see the Floorplan Preparation article for how to set up the .DWG Source File and Blocks Preparation.
Upload Floor plan
You have a choice for how you load the floor plan either you can:
- Upload the PNG image Manually - manually upload a high-resolution floor plan image as a PNG file.
- Upload DWG file using the SiQ AutoCAD Plugin - if you use furniture blocks, you will upload a floor plan using the SpaceIQ AutoCAD Plugin.
Upload the PNG image Manually
The maximum dimensions is 7000 X 6000 and maximum file size of 16 MB.
- From the menu, click the Manage
 icon.
icon. - From the sub-menu, click Buildings/Floors. The Manage Building and Floor screen displays.
- Find the building in the list and click the Expand
 icon to display the floor details.

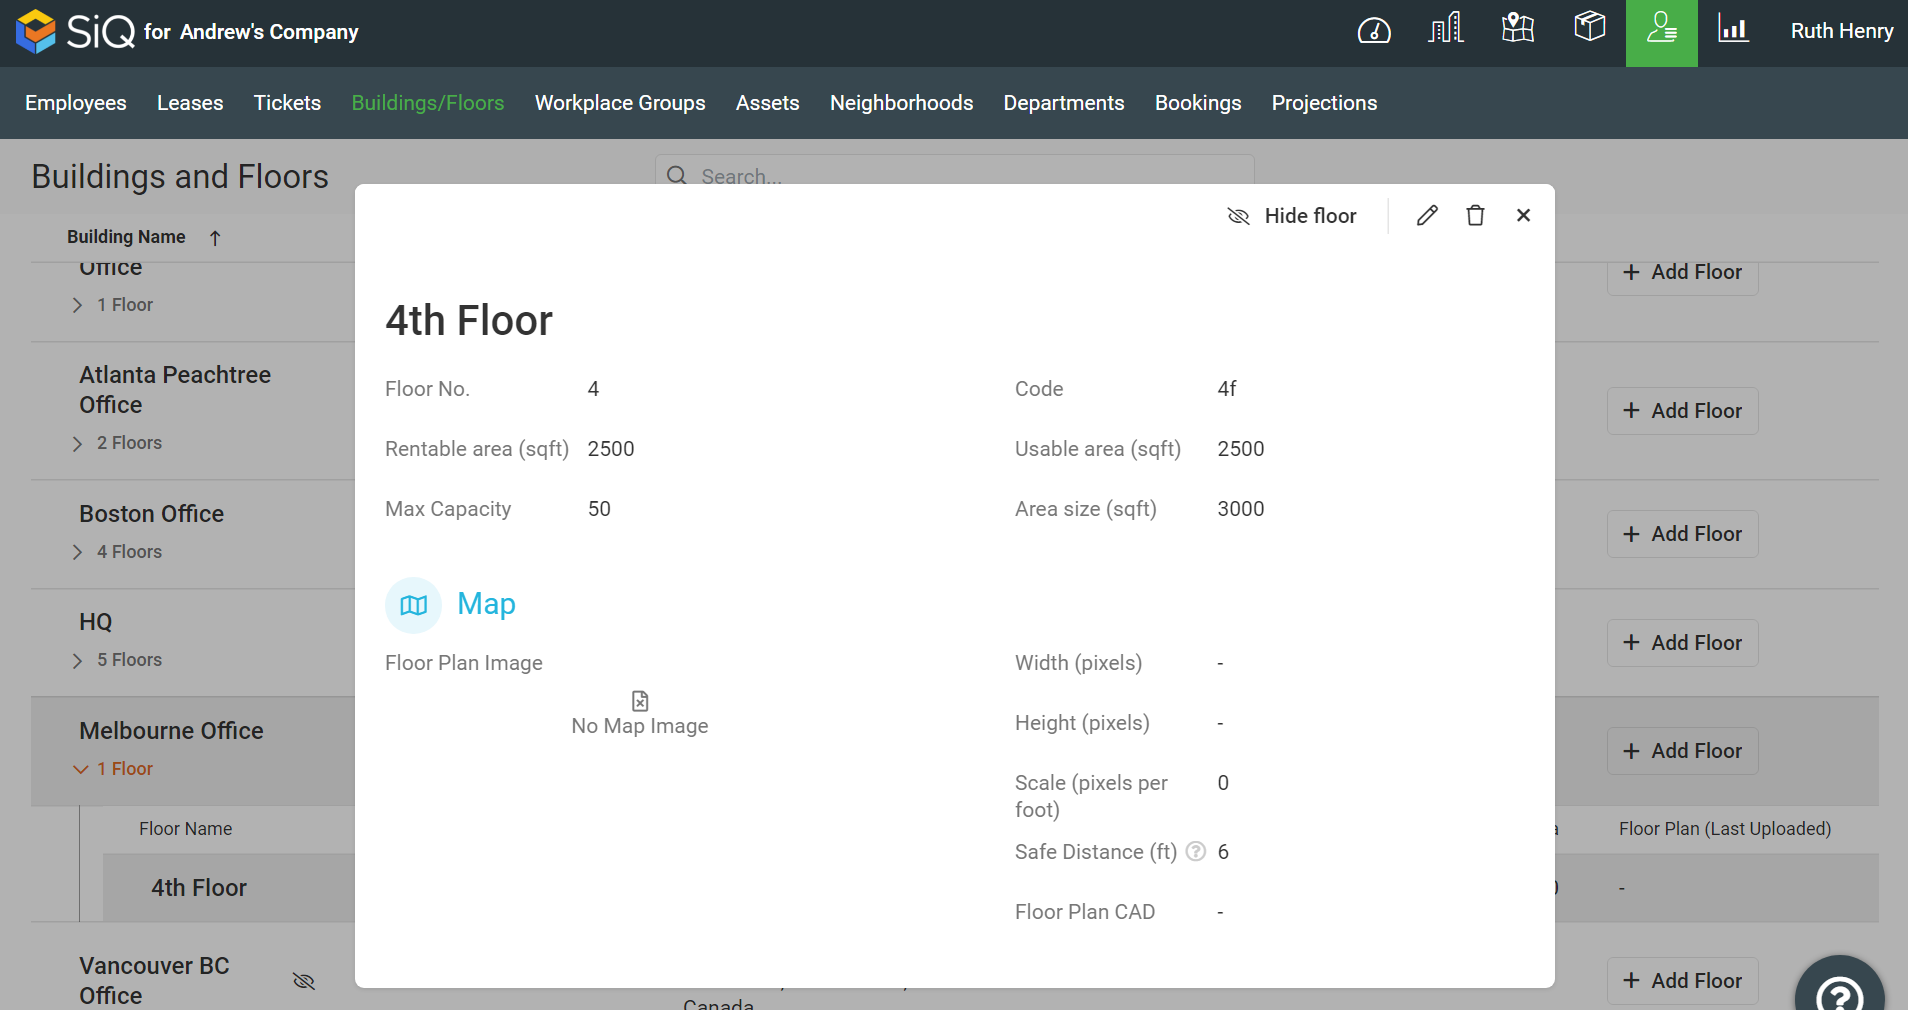
- Click the Floor Name. The Floor Details dialog displays.
- Click the Edit
 icon.
icon. - In the Floor Plan Image area, either drag and drop the file or browse to select the high-resolution floor plan image.
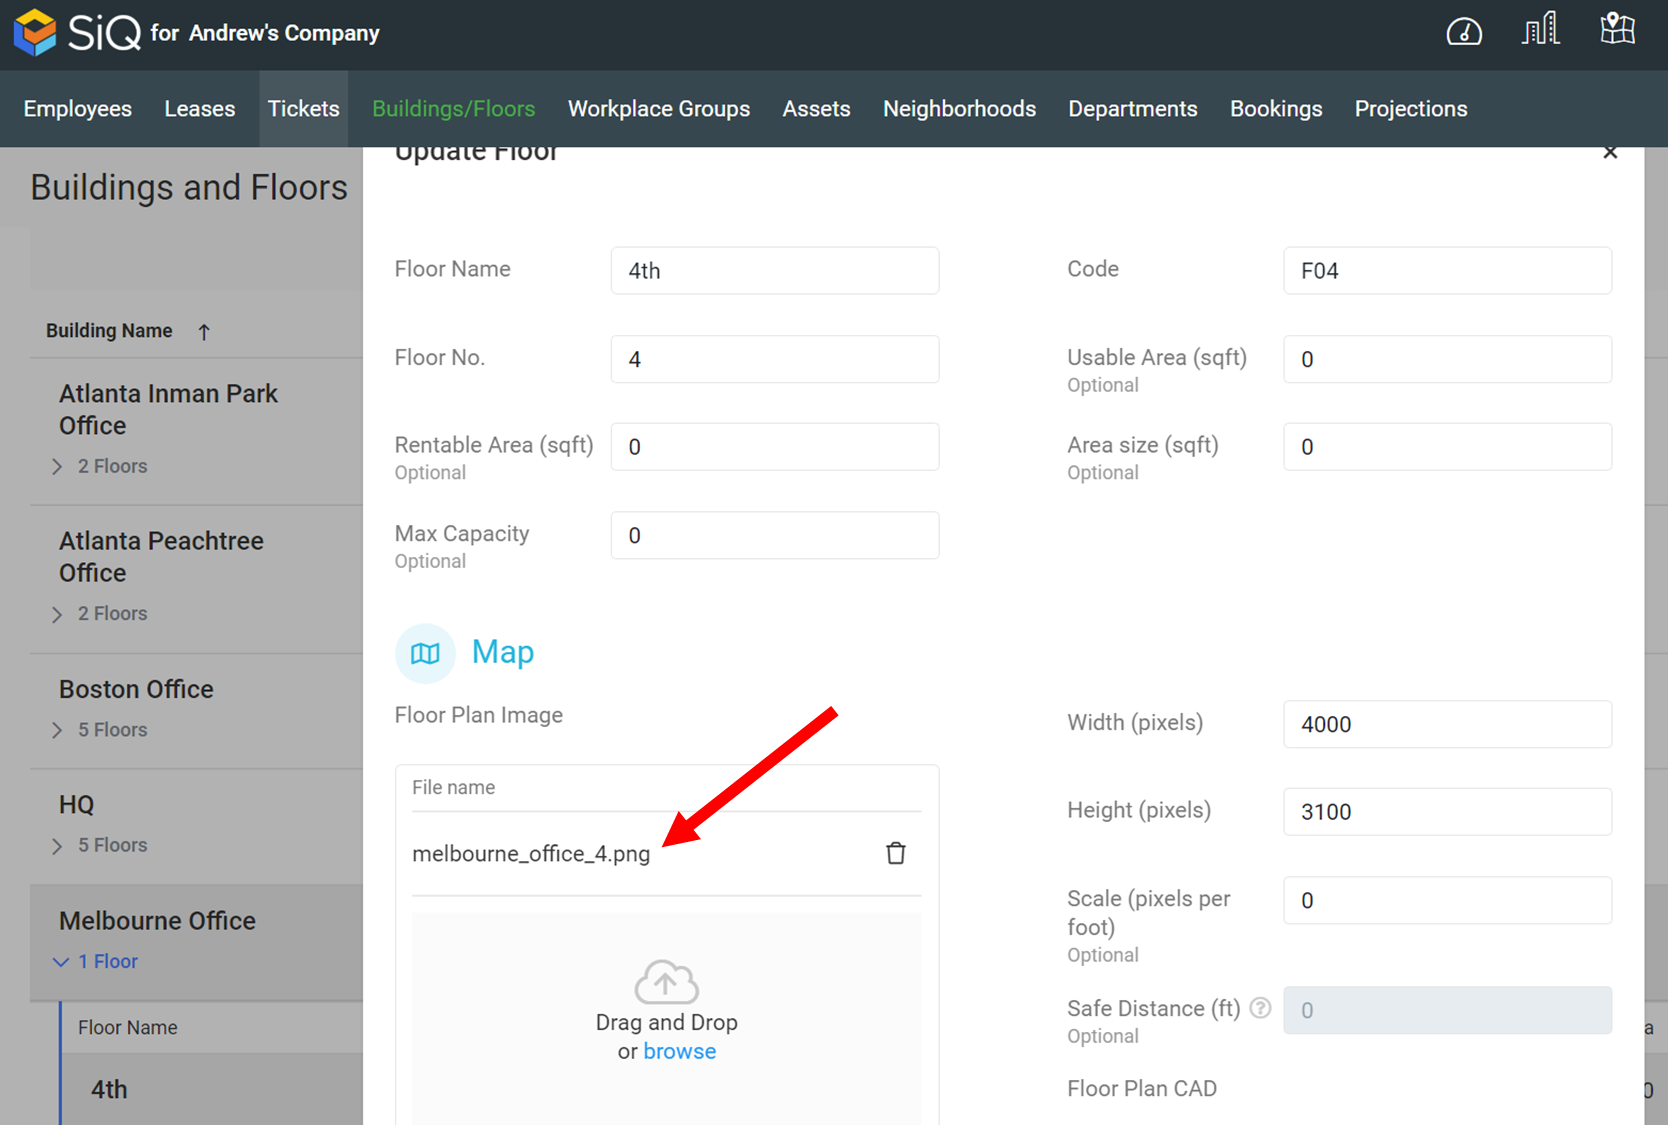
When you have manually uploaded the floor plan image, the Map area will be populated, where:
- Floor Plan Image displays the image.
- Width and Height fields are populated with the SpaceIQ Paper Size of Width (pixels) 4000 and Height (pixels) 3100.
- Click the Save button. The floor plan PNG image is saved.
Upload DWG file using the SpaceIQ AutoCAD Plugin
You need to follow the instructions in SiQ AutoCAD Plugin Installation & User Guide, which explains how to Publish a New Floor plan OR Open an Existing Floor plan with Blocks.
The DMG files size needs to be below or equal to16MB.
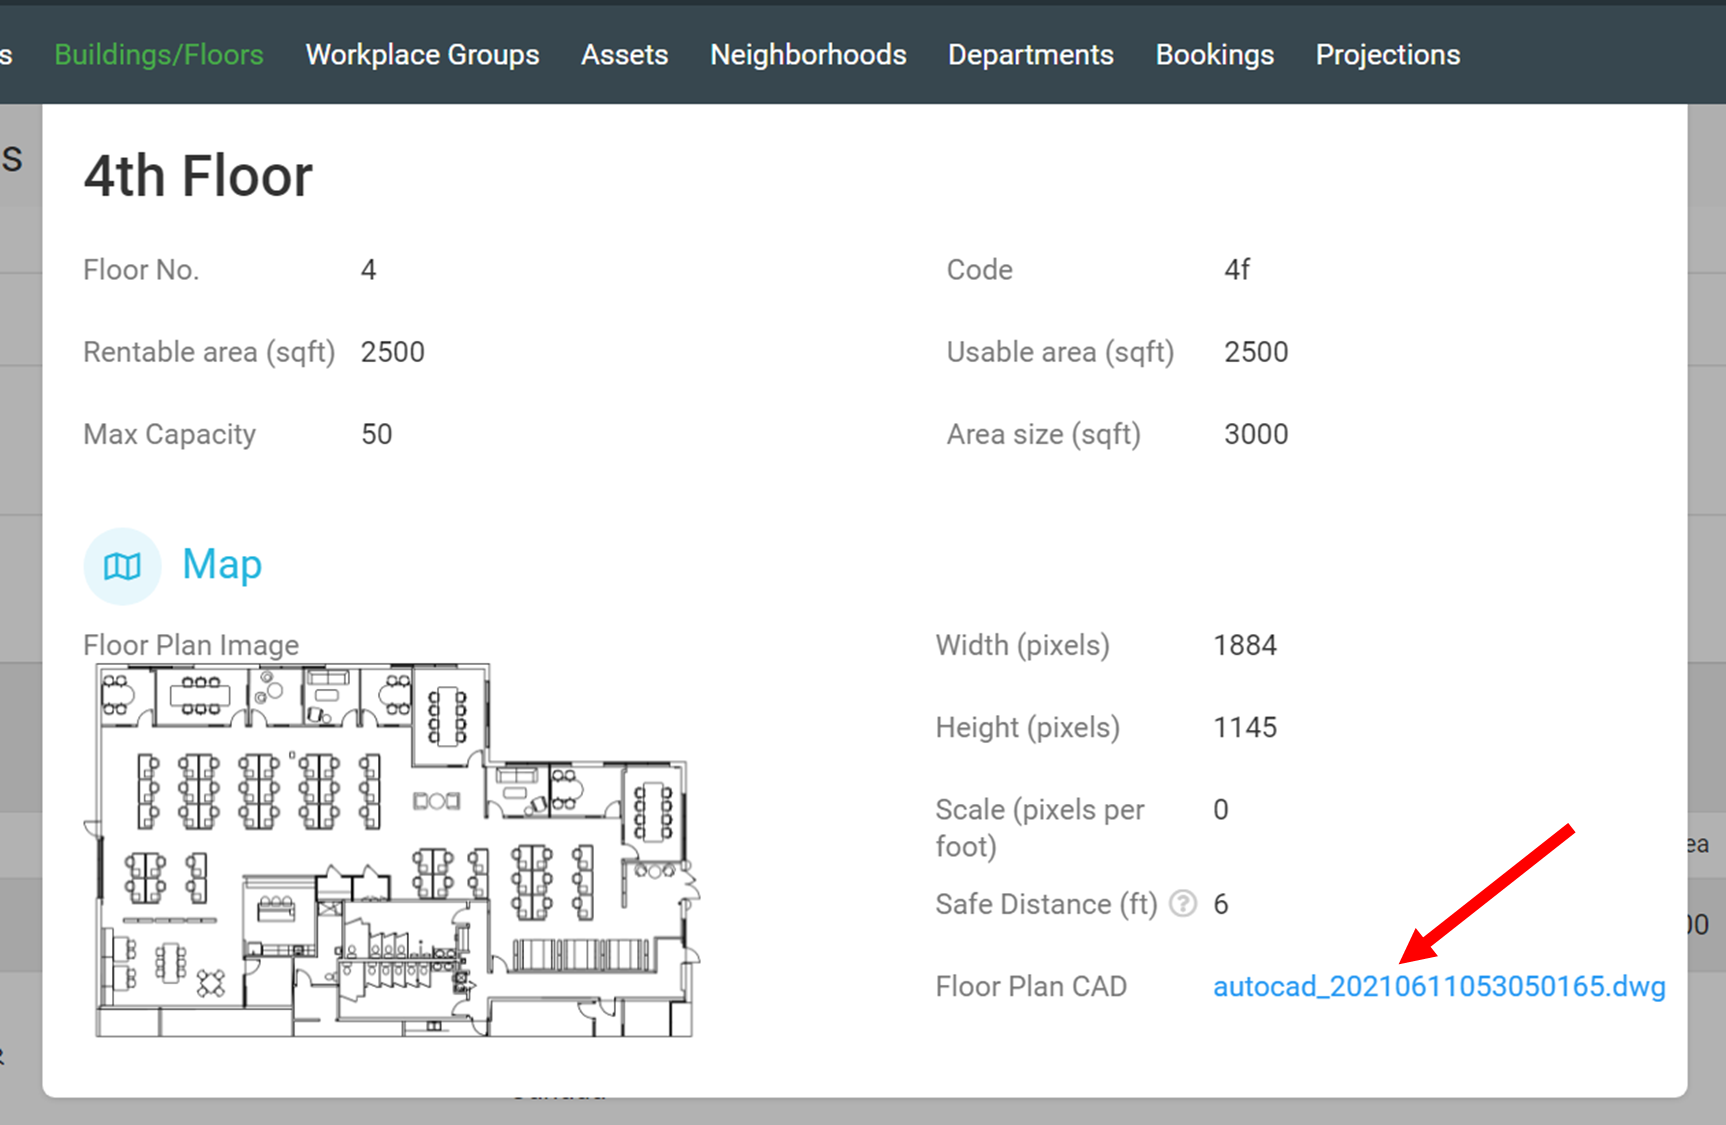
When you have used the SpaceIQ AutoCAD Plugin to publish the floor map, the Map area will be populated where:
- The floor plan CAD file displays the DWG filename.
- The floor plans Image area displays the floor plan image.
- Width and Height fields are populated.
Important Note: You will notice that the width and height fields may not display the SpaceIQ Paper Size. In the screenshot above, you will see it displays as Width (pixels) 1884 and Height (pixels) 1145. This is still correct, as this is the scale of the DWG file. If you make modifications to the DWG file then make sure you use the same size/scale as the previous floor plan, as you want the dots to line up with the seats.
Now, you can manage your blocks in the Map Editor; see Manage Furniture Blocks.