Add or Remove a Temporary Employee Manually
Important Note: This procedure only applies when your Employee data is transferred via SFTP or upload via Manual Import.
When you have temporary employees such as Auditors or short-term Contractors that have a requirement to be seated at a desk, you will need to include these people in SpaceIQ.
Normally, employees are imported into SpaceIQ either Employee import via SFTP or manually uploaded. If you do not want to include temporary employees in the Employee Import, then you can manually add or remove these employees.
When the Employee import is loaded into SpaceIQ and any employees not included in the import file but exist already in the SpaceIQ Employee list, those employees coming in through the import will be deleted. Any employee manually added to the SpaceIQ Employee list will not be deleted.
Add a Temporary Employee
You can add an employee manually.
- From the menu, click the Manage
 icon. By default, the Manage Employee screen displays.
 - Click the +New Employee button.
The New Employee dialog displays.

- Complete the following fields:
The following are the required fields, and the other fields are optional.
- In the Name field, enter the first name and last name of the employee.
- In the Email field, enter the email address of the employee. This needs to be a unique email address.
- From the HR Location drop-down, select the HR Location for the employee. This is important to select the HR Location as this is used in the Floor Map's Unseated List. See Building and Employees Location Relationship for more details.
- From the Department/Team field, select Department/ Team that the employee belongs to.
- In the Title field, enter the title of the employee.
- In the Phone number field, enter the phone number of the employee.
- From the Manager drop-down, select the person the employee reports to.
- From the Type drop-down, select the type of employee. For example, contractor.
- In the Badge field, enter the badge card number of the employee. For more details on the badge, see Badge Integration.
- From the Start Date calendar picker, select the start date of the employee.
- From the End Date calendar picker, select the end date of the employee.
- Click the Create button.
The temporary employee is created.
Edit a Temporary Employee
If needed, you can edit a temporary employee. For example, if a contractor's contract end date is extended, you can update the employee's end date.
- In the Search field, enter the temporary employee's name.
- Click the employee's name. The Employee details dialog displays.
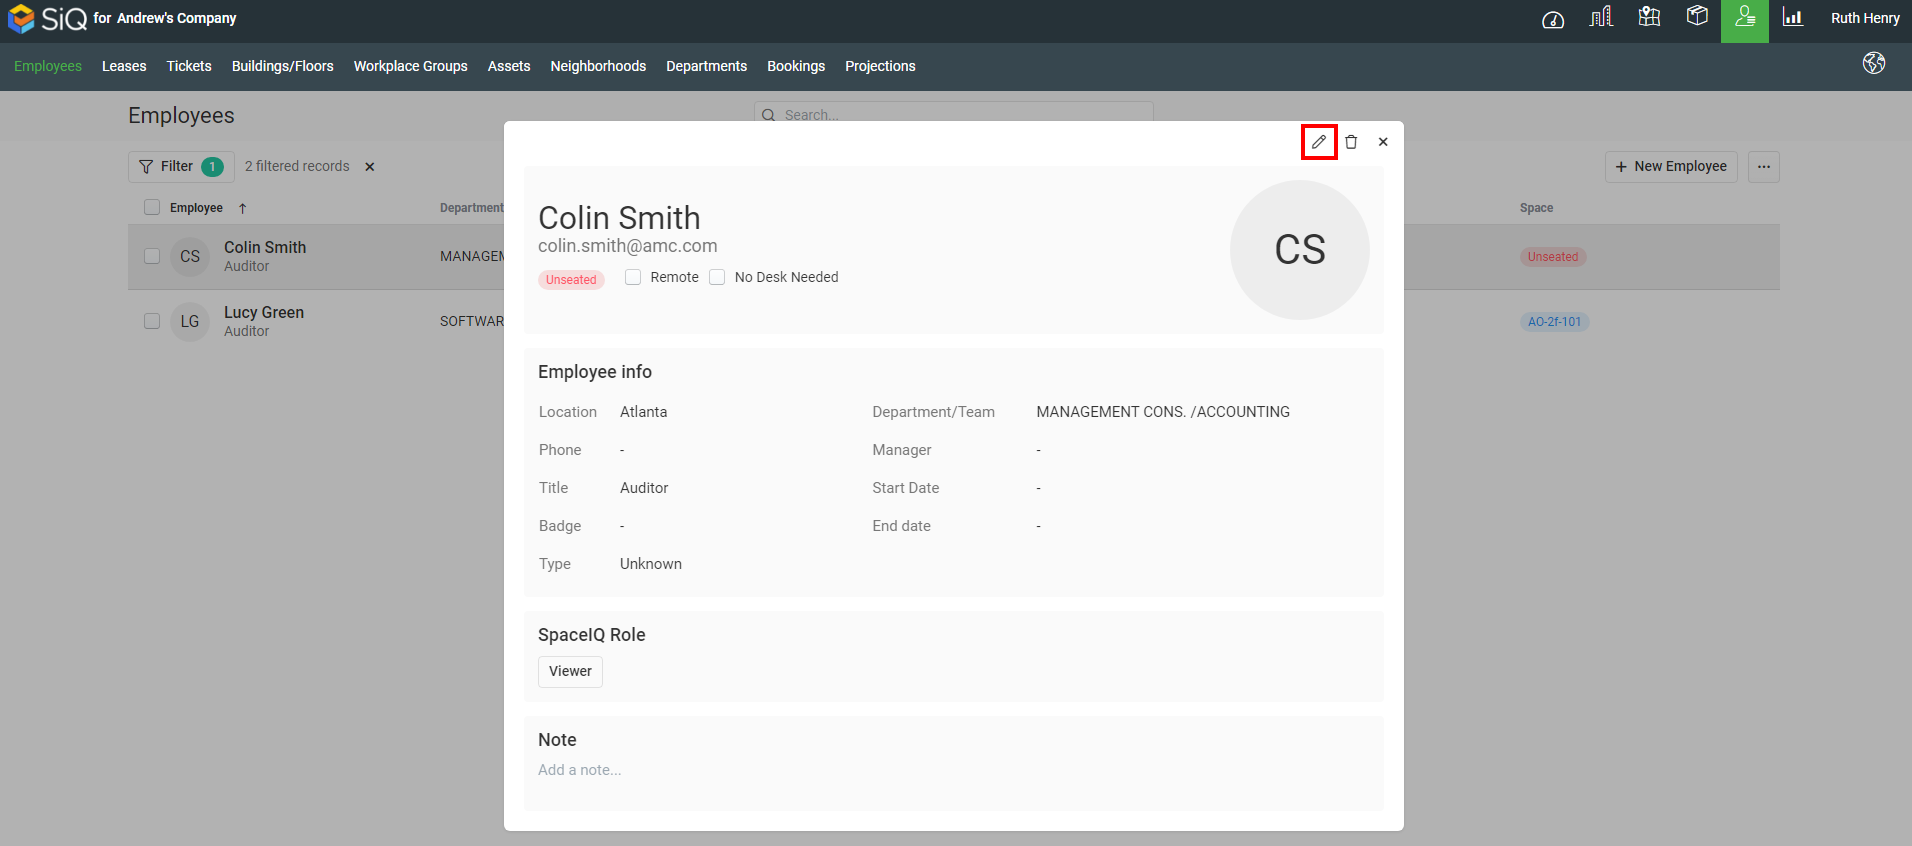
- Click the Edit
 icon.
icon. - Edit the employee's details.
- Click the Update button.
The temporary employee is updated.
Remove a Temporary Employee
You can delete temporary employees that have been manually created, such as an Auditor or short-term contractor.
- Click the Filter button.
- Click the Manually Added check box. The employee list is filtered.
- Click the employee. The Employee details dialog displays.

- Click the Delete
 icon. The warning message "Delete this employee?" displays.
 - Click the Yes button.
The temporary employee is automatically deleted.