Import Leases
You can import your leases via a CSV file.
Follow the Steps
Complete the following steps to import your leases.
Step 1. Export the Leases and then set up the Import Lease file
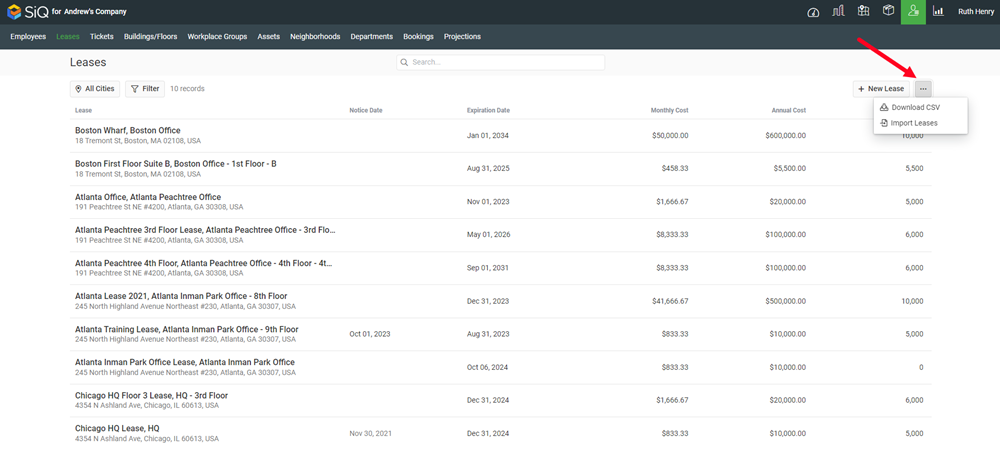
1. From the main menu, click the Manage icon and then click the Leases tab.
2. Click the More Action ![]() icon and then click Download CSV.
icon and then click Download CSV.
3. Open the CSV file in Microsoft Excel.
4. Set up the Lease import file with the following columns:
| Title |
Building Code | Floor Code | Annual Cost | Start Date | Expiry Date | Lease Area | Name | Owner | Contact Info | Notes | Property Type | Lease Premises |
|---|---|---|---|---|---|---|---|---|---|---|---|---|
If you need a Lease Import Template, this can be found More Actions > Import Leases and the template is in the Import Leases dialog.
Step 2. Import the Lease Import as a CSV File
1. Click the More Actions ![]() icon and then select Import Leases.
icon and then select Import Leases.
2. When Import Leases dialog displays, you can upload the CSV file, do this by either drag and drop the CSV file on to dialog or click the browse link to navigate to and select the CSV file.

3. Click the Import button.
When the import is completed you will see an import summary.
Step 3. Check the Import History
If needed you can view your lease import history.
1. Click the More Actions ![]() icon and then select Import Leases.
icon and then select Import Leases.
2. From the Import Leases dialog, click the Import History to display the history.