Assign Employees to Neighborhoods in Bulk via Import
You can assign employees to existing neighborhoods via import. Using a bulk import is an efficient way to add many employees to neighborhoods. Below are examples of how you can use bulk import:
- Employee doesn't belong to a Neighborhood - An employee who doesn't belong to a neighborhood can be added to a neighborhood.
- Employee to belong to Muliptle Neighborhoods - An employee who belongs to a neighborhood can be added to another neighborhood (they will belong to multiple fneighborhoods).
- Employee can be moved to another Neighborhood - Employees who already belong to a neighborhood can be removed from the existing neighborhood, and added to another neighborhood (therefore, they will only belong to one neighborhood).
Notes:
- The Neighborhood import only allows you to import 500 rows at a time.
- The neighborhood and employee must exist in SpaceIQ before you import neighborhood seating assignments.
Follow the Steps
- Step 1. Create a CSV file with Employee and Neighborhood Columns
- Step 2. Import the CSV File
- Step 3. Check the Import History
Step 1. Create a CSV file with Employee and Neighborhood Columns
Import File Format
The import must be set up as a CSV file and contain the following columns:
| Column Name | Description | Column Required? |
|---|---|---|
| Employee Email | Employee's company email. | Yes |
| From Neighborhood Name |
Either:
|
No |
| To Neighborhood Name | Enter the neighborhood's name to which the employee will be added. | Yes |
You can download a sample CSV file at the end of this article.
Import Examples
Below are examples of how you use the From Neighborhood Name and To Neighborhood Name columns.
Example 1 - Employee doesn't belong to a Neighborhood
In this example, the employee doesn't belong to the neighborhood, and you want to add the employee to a particular neighborhood. In the CSV file, the following is specified:
- From Neighborhood Name column is blank as the employee has no neighborhood.
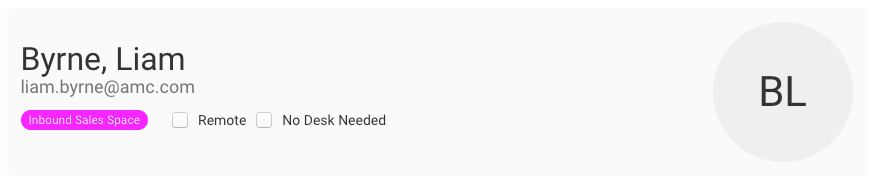
- To Neighborhood Name column contains the neighborhood called Inbound Sales Space as this is the neighborhood the employee will be added to.

After the CSV file is imported then Liam is added to the Inbound Sales Space neighborhood, and when you look at the employee, they will display their neighborhood as a label, for example:
Example 2 - Employee to belong to Multiple Neighborhoods
In this example, the employee who belongs to a neighborhood called Inbound Sales Space can be added to another neighborhood called Corporate Sales Space. In the CSV file, the following is specified:
- From Neighborhood Name column is blank.
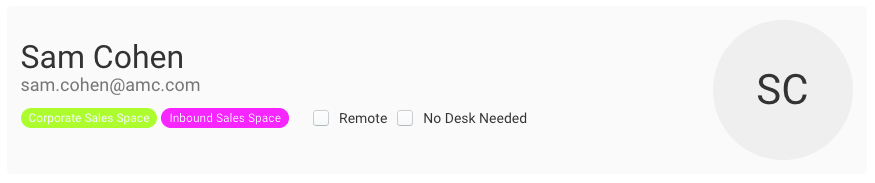
- To Neighborhood Name column contains the neighborhood called Corporate Sales Space as this is the neighborhood the employee will be added to.

After the CSV file is imported then Sam will belong to multiple neighborhoods, and when you look at the employee, they will display their neighborhoods as a label, for example:
Example 3- Employee can be moved to another Neighborhood
In this example, the employee who already belongs to a neighborhood can be removed from the existing neighborhood. In the CSV file, the following is specified:
- From Neighborhood Name column contains the neighborhood called Inbound Sales Space as this is the neighborhood to be removed from.
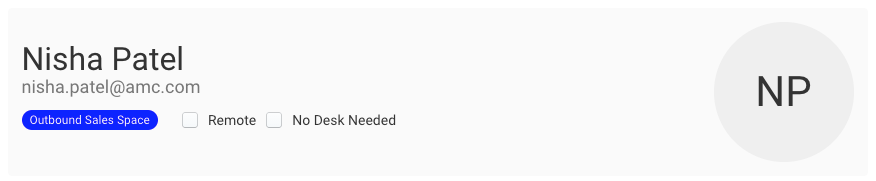
- To Neighborhood Name column contains the neighborhood called Outbound Sales Space as this is the neighborhood the employee will be added to.

After the CSV is imported, then Nisha will be removed from their existing neighborhood and added to the Outbound Sales Space. When you look at the employee information, they will display their neighborhood as a label, for example:
Step 2. Import the CSV File
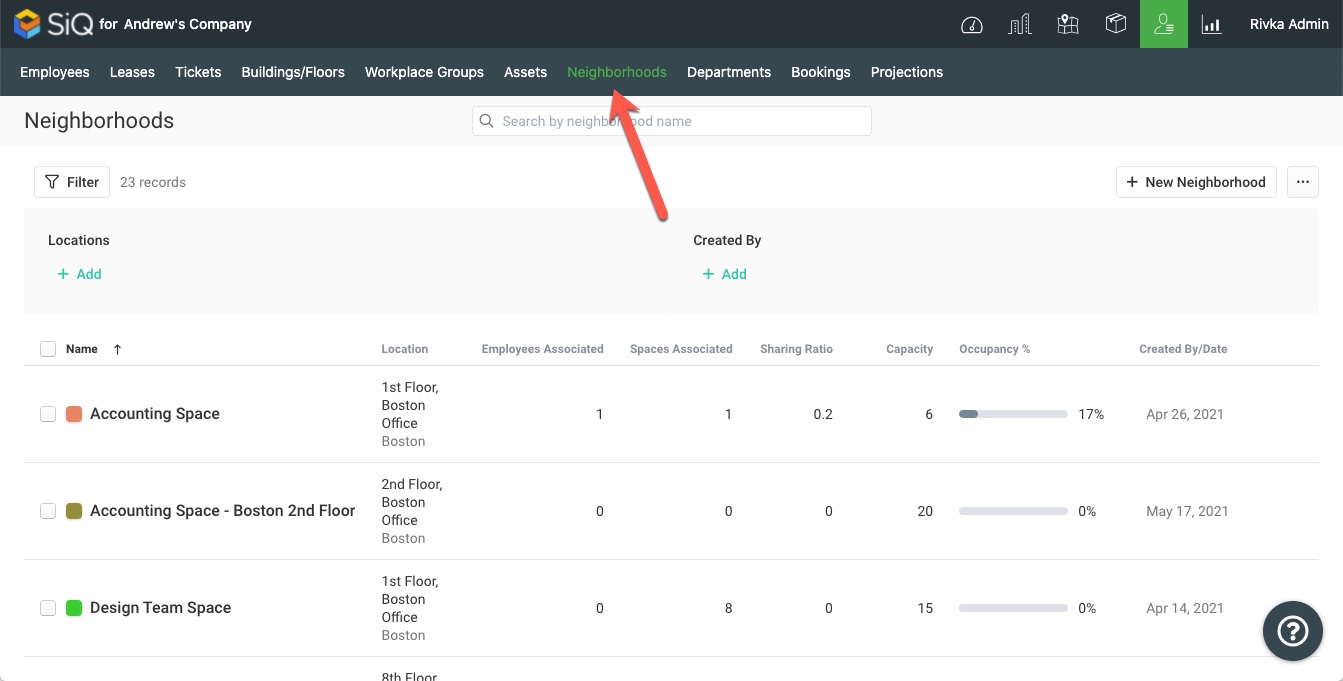
Click the Manage ![]() icon and then click the Neighborhoods tab.
icon and then click the Neighborhoods tab.
Click the More Actions  icon and then select Import.

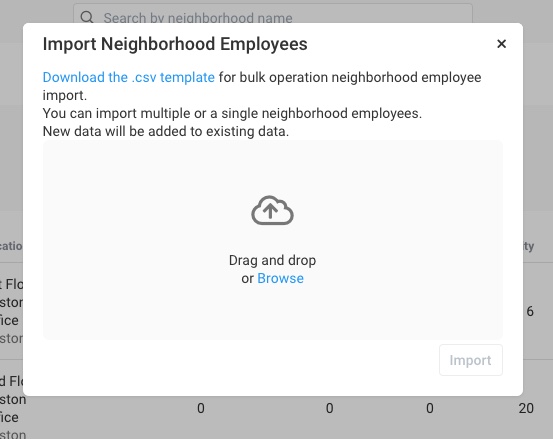
When prompted, you can upload the CSV file, do this either drag and drop the CSV file on to dialog or click the browse link to navigate to and select the CSV file.
The CSV file is ready to be imported.
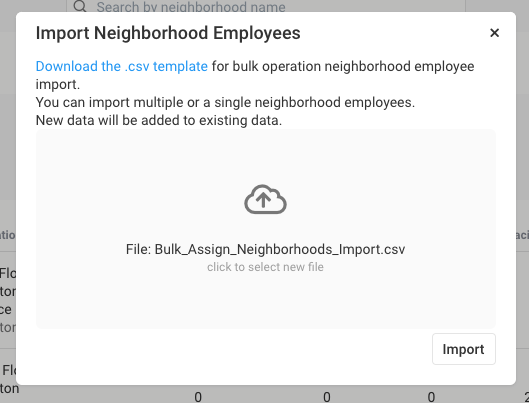
Click the Import button.
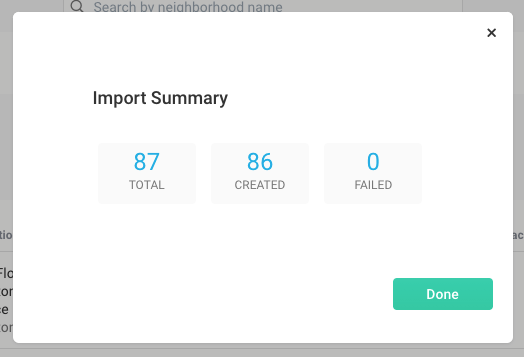
You'll see an import summary when the import is complete.
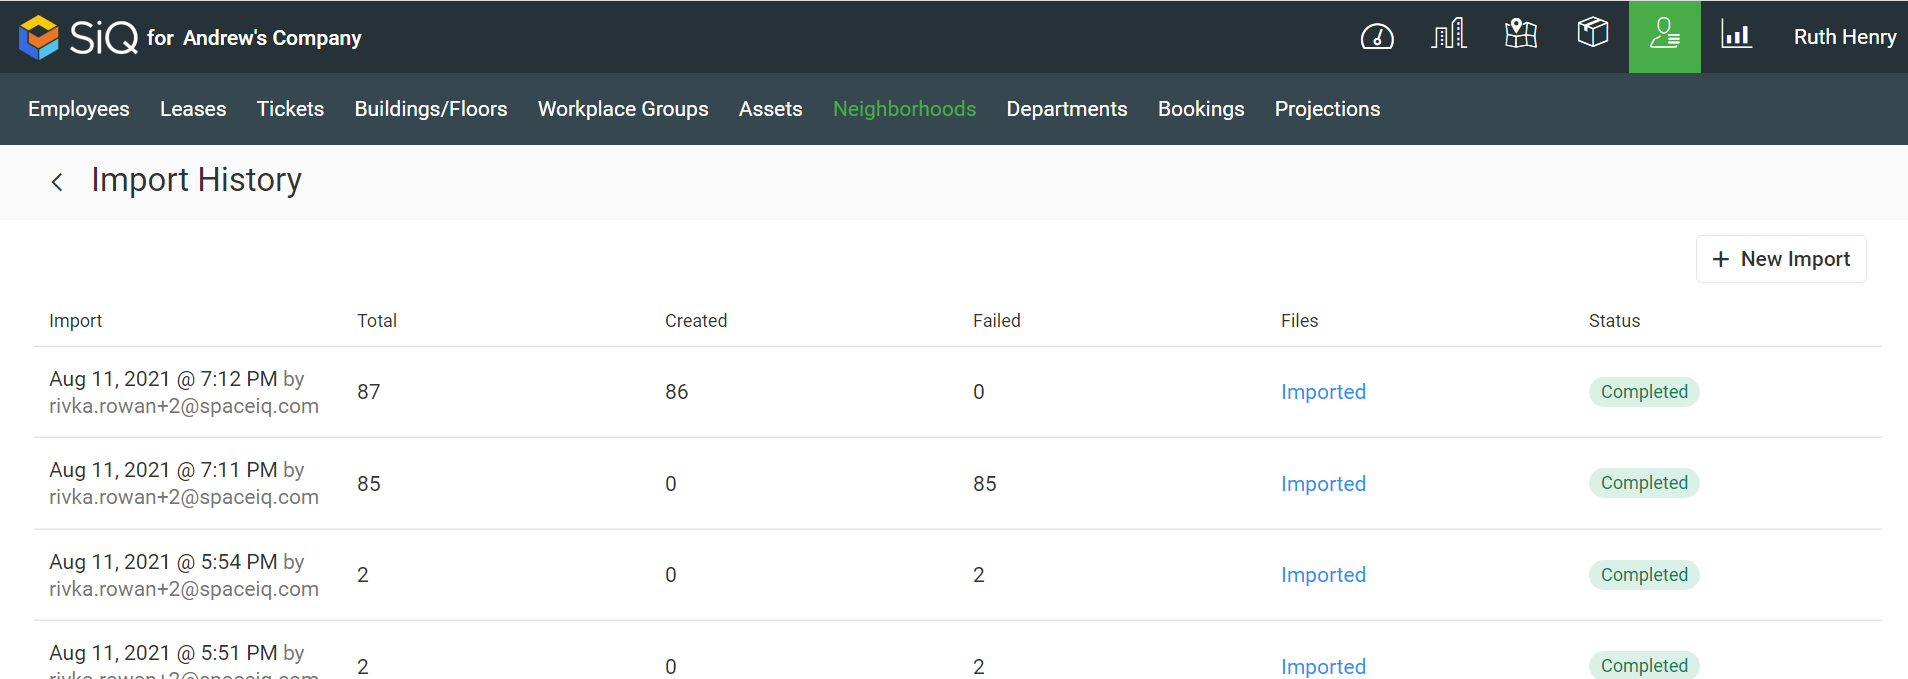
Step 3. Check the Import History
If needed you can view your neighborhood assignment import history.
Click the More Actions  icon and then Import History.

The import history displays.
Download the template - neighborhood_import_template.csv