Connect using Insights Direct Connect from PowerBI to Snowflake
Prerequisites
- You must have purchased a license for Insights Direct Connect.
- Download and install Microsoft PowerBI Desktop.
Your Customer Success Manager will provide you with:
- Connection String and Warehouse Name.
- Website link to set up your credentials to Snowflake. Before you complete the connection to Snowflake, make sure you follow the link and set up your credentials.
Snowflake Direct Connect
After you have completed the prerequisites, you can set up the connection to Snowflake.
- Open Microsoft Power BI Desktop.
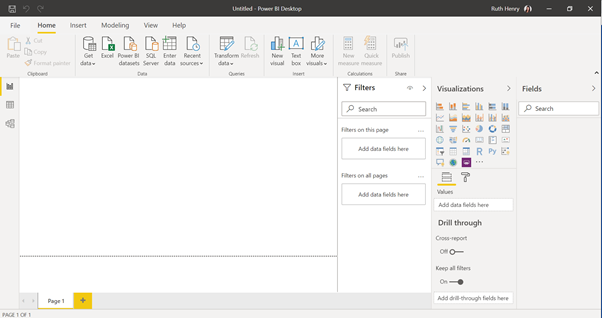
- From the ribbon menu, click Get Data. The menu expands.
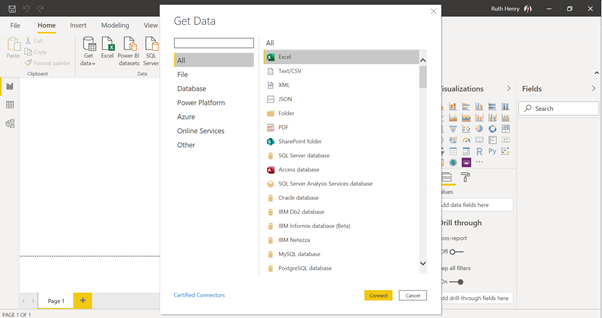
- In the Search field, enter Snowflake. The search result displays.
- Click on Snowflake.
- Click the Connect button. The Snowflake dialog displays.
- In the Server field, enter the name of the server. Details are provided by SpaceIQ.
- In the Warehouse, enter the name of the warehouse. Details are provided by SpaceIQ.
- Select the Data Connectivity mode, either Import or DirectQuery.
- Click the OK button. The Snowflake user account dialog displays.
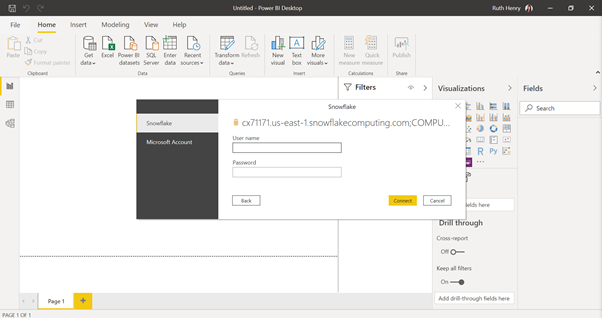
- In the User name field, enter the user name. The user name and password are provided by SpaceIQ.
- In the Password field, enter the password.
- Click the Connect button.
When the connection is successful, the shared tables display.
- Navigate and select the table(s).
- Click either the Load button or the Transform Data button.
Now you can start to build your visuals and always remember to save your work.