ServiceNow Integration
Customer IT / SpaceIQ Onboarding Team
ServiceNow is an enterprise-grade platform used to manage various maintenance tickets or other workflow-related tasks. It can be extended with custom ticketing functionality.
You do need to have a ServiceNow account and a SpaceIQ account in order to integrate these systems. The names and emails must match between the two systems in order for tickets from SpaceIQ to be properly assigned in ServiceNow.
Tickets get pushed to ServiceNow in near real-time, but updates from ServiceNow to SpaceIQ happen daily.
SpaceIQ has built a custom integration using ServiceNow's REST interfaces to perform the following functionality:
- Import three types of tickets
- Problems
- Incident
- Sc_requests
- Push employee moves created in SpaceIQ to ServiceNow tickets (only Now, not future).
- Push mobile service tickets from SpaceIQ to ServiceNow upon creation or update.
- Undo moves also updates both systems.
Contents
Prerequisites
You will need ServiceNow admin privileges to complete this integration, and for the SpaceIQ setup, you must have a SpaceIQ Admin or an IT role.
Integration Activities
Step 1. Activate the ServiceNow Integration in SpaceIQ
From the SpaceIQ application, complete the following steps:
- In the top-right corner, click on your Profile Name, and then click on Settings.

- From the left menu, click Integrations.
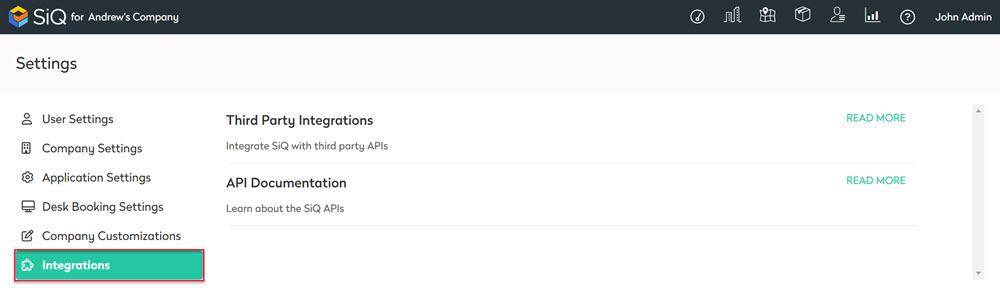
- From the Third Party Integrations area, click the READ MORE link.
The Integrations screen displays.
You can either search for ServiceNow in the Search field or navigate to ServiceNow tile. To navigate complete the following:
- From the left menu, click Ticketing.
- For ServiceNow, click the Activate button.
The ServiceNow dialog displays and it contains the Ticketing via ServiceNow tab.
Ticketing via ServiceNow tab
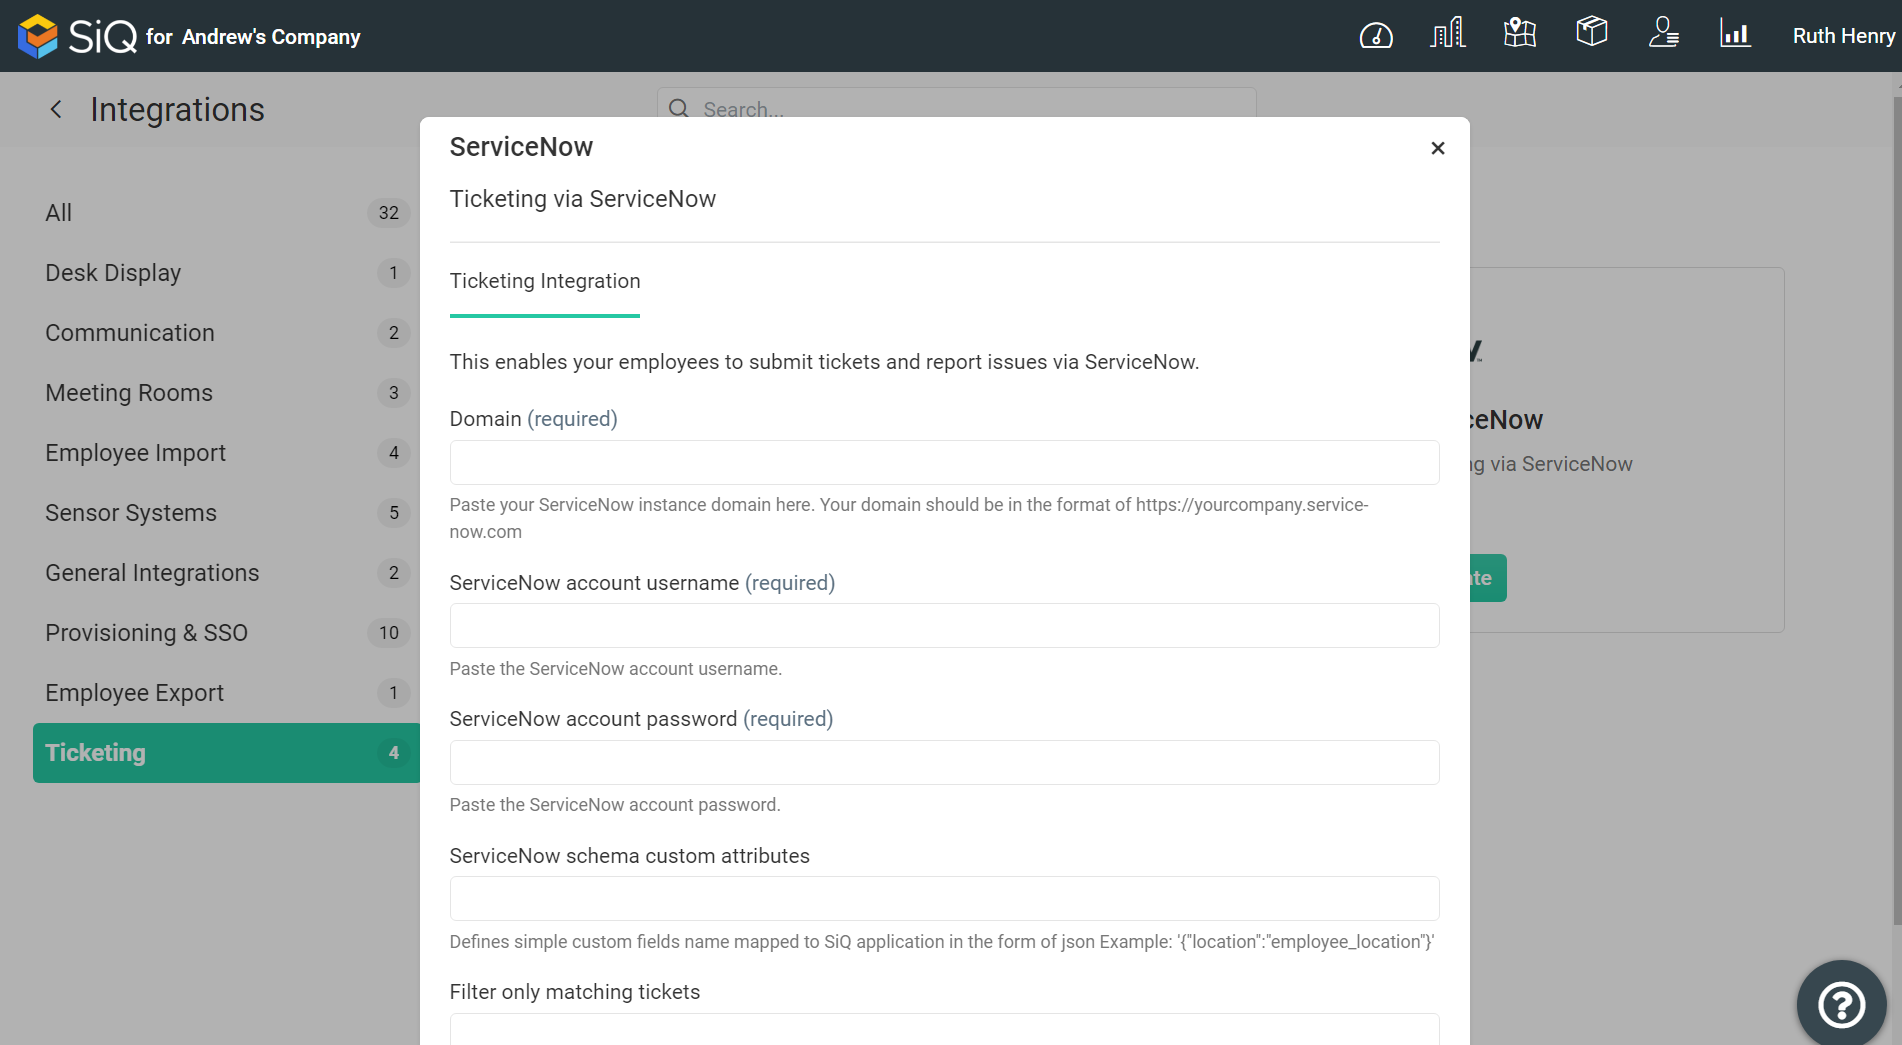
Complete the following fields and note that each field has its own explanation of where the value is found in ServiceNow.
- Domain - Your company's ServiceNow instance domain name, found in your browser's URL bar when you are logged in to ServiceNow.
- Account User Name - Input the username that you will create in the Create API User section below.
- Account Password - Again, input the password for the username you will create below.
- Optional - Schema Custom Attributes - Defines simple custom fields name mapped to SpaceIQ application in the form of JSON. For example '{"location":"employee_location"}'
- Optional - Filter Only Matching Tickets - Defines custom filters to filter out certain tickets in the form of JSON. For example '{"sys_updated_by":"employee"}'
Click the Save button. The ServiceNOW Integration will start to pull in the tickets.
Step 2. Set up ServiceNow to perform CRUD
Step 2.1 Create API User
In the ServiceNow portal, create a user with admin and API access permissions to perform CRUD (Create, Read, Update, and Delete) operations on the tickets.
Step 2.2 Add Custom Application Menu
In order for a SpaceIQ to export move order tickets to ServiceNow, a custom application with a table must be created in ServiceNow.
Follow these instructions to create a custom application, and name your application's menu "SpaceIQ Service Desk" in the category of "Custom Applications". Click Save/Create, then move on to creating a table.
Step 2.3 Create Application Table
You can read more about ServiceNow application tables here.
Follow these instructions to create a table. During or after the table creation, add the following columns to the table:
| Type | Column Label | Column Name | Max Length |
|---|---|---|---|
|
String (Full UTF-8) |
Short Description |
u_short_description |
255 |
|
String (Full UTF-8) |
Description |
u_description |
255 |
|
String (Full UTF-8) |
Employee Name |
u_employee_name |
255 |
|
String (Full UTF-8) |
Employee Email |
u_employee_email |
255 |
|
String (Full UTF-8) |
Employee Phone |
u_employee_phone |
255 |
|
String (Full UTF-8) |
Employee Department |
u_employee_department |
255 |
|
String (Full UTF-8) |
Employee Team |
u_employee_team |
255 |
|
String (Full UTF-8) |
Employee Current Seat |
u_employee_current_seat |
255 |
|
String (Full UTF-8) |
Employee New Seat |
u_employee_new_seat |
255 |
|
String (Full UTF-8) |
Employee Assets |
u_employee_assets |
255 |
|
String (Full UTF-8) |
Employee Notes |
u_employee_notes |
255 |
Import ServiceNow Tickets to SpaceIQ
Custom Attributes
SpaceIQ provides a way to import basic and non-standard attributes into Tickets through integration configuration.
For example:
'{"contact_type":"phone"}'
Ticket Filtering
Also, in order to import relevant tickets from ServiceNow, users have an option to set up filtering criteria by a given field and value. Upon activation of filtering, only tickets that match this criteria will be imported into SpaceIQ. All others will be skipped.
For example:
'{"priority":"1"}'
These custom attribute and filtering fields are mapped with JSON, and field names can be found in this ServiceNow API document.
Import Process
SpaceIQ will import tickets according to the following criteria:
- Tickets will be imported every 24 hours.
- The initial import will include tickets (problems, incidents, service requests) up to one year old.
- After an initial import, SpaceIQ will import all the tickets opened or modified. The new tickets will appear in SpaceIQ with a delay of up to 24 hours, depending on the synchronization timing.
The following ticket tables will be imported from ServiceNow into SpaceIQ:
- Problems
- Incidents
- SC_Requests
Upon the import, SpaceIQ will:
- Associate ServiceNow ticket owner user(s) with the corresponding user in SpaceIQ.
- Associate “Assigned To” user(s) with the corresponding user in SpaceIQ.
- Associate “Assigned To” department(s) with a department in SpaceIQ.
- Associate tickets with a building in SpaceIQ using the building's address. The addresses must be identical between SpaceIQ and ServiceNow
Move Order Ticket Creation in ServiceNow
SpaceIQ will export move(s) tickets performed in the SpaceIQ on the NOW Plan.
The following scenarios are supported:
- Seating an employee in a new seat in SpaceIQ will create a ticket in the SpaceIQ Service Desk in ServiceNow.
- Unseating an employee in SpaceIQ will create a corresponding ticket in ServiceNow.
- Seating an employee and then undoing the action will result in creating and deleting the corresponding tickets in ServiceNow.
- Moving an employee from seat to seat will create a corresponding ticket in ServiceNow.