Add, Edit, or Delete a Floor
You can add one floor or multiple floors to your building.
Add a Floor
From Teem Web, complete the following:
1. Navigate to Manage > Locations > Directory. The locations in your directory display.
2. Click the Campus and the details display.
3. Click the Floors tab.
4. Click the NEW FLOOR button.

The New Floor dialog displays.
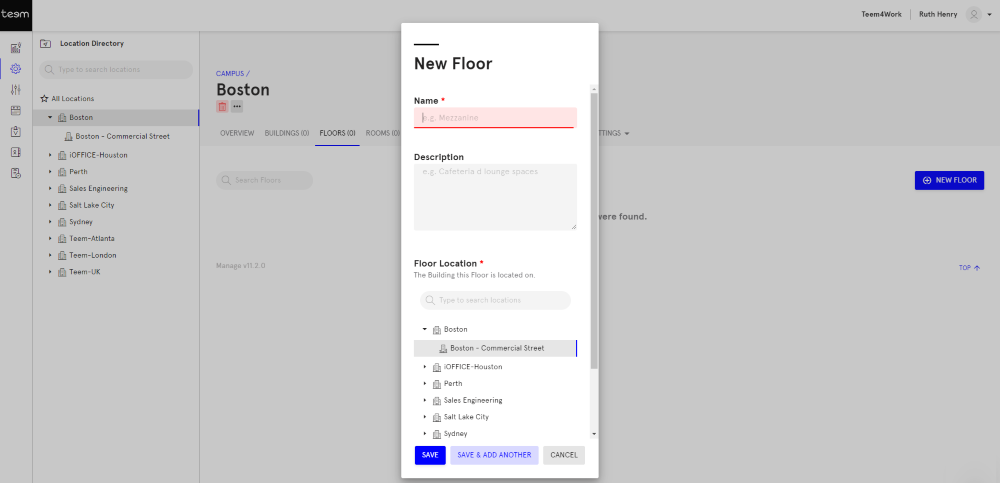
5. In the Name field, enter the floor's name.
6. In the Description field, enter a short description.
7. By default, the Floor Location will be selected.
8. Either click the SAVE button or click the SAVE & ADD ANOTHER button.
The floor details are saved.
Edit a Floor
From Teem Web, complete the following:
1. Navigate to Manage > Locations > Directory. The locations in your directory display.
2. Navigate the All Locations list to the building and then select the floor.
3. Edit the details.
4. Click the SAVE button.
The floor details are saved.
Note: If needed you can click the REVERT button to remove your edits.
Delete a Floor
If needed you can delete a floor from the Locations Directory.
From Teem Web, complete the following:
1. Navigate to Manage > Locations > Directory. The locations in your directory display.
2. Before you can delete a floor you must delete the desks and rooms first.
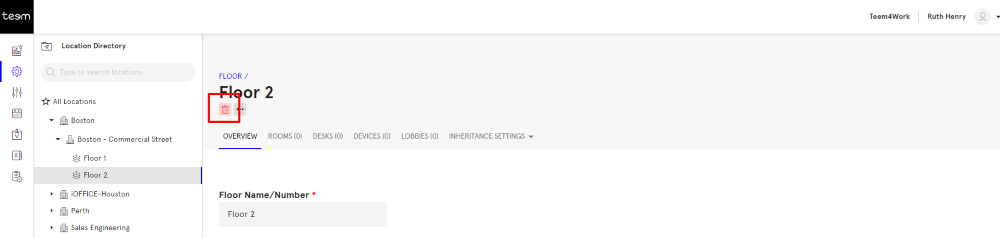
3. Navigate the All Locations list to the building and then select the floor.
4. Click the Delete  icon.
icon.
5. The warning message "Are you sure you want to delete this Floor? This cannot be undone." displays and then click the DELETE button.
The floor is deleted from the Location Directory.