Set up a Space Profile to allow a Team to Book Desks
When you set up the desk reservations this can be completed for a team so they can reserve any desk that is assigned to their team. Also, if an employee needs a desk assigned so that only they can reserve a desk then you can assign a desk to them.
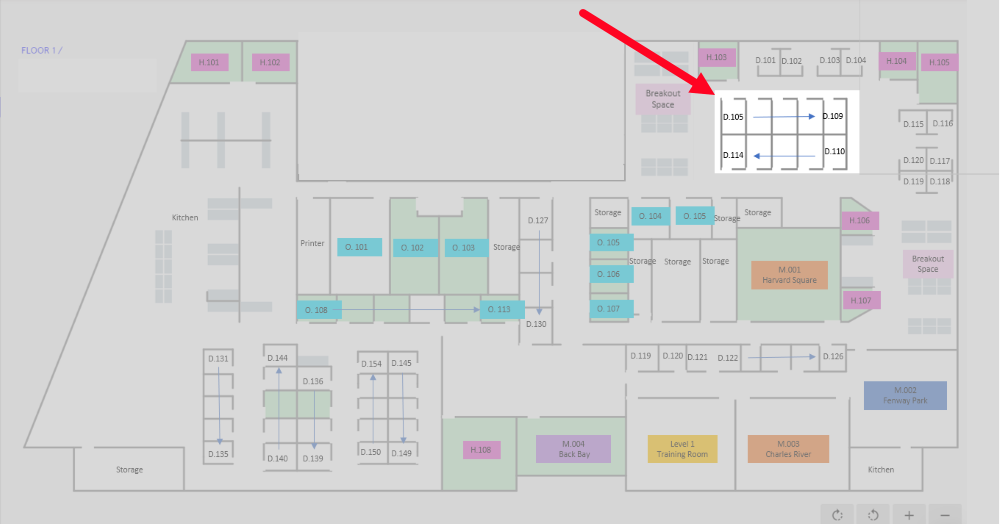
This example will explain how to assign the desks D.105 to D.110 to the Sales team and then how to assign desks D.105 to an employee so only they can reserve the desk.
Step 1. Add User Group
As you want to restrict the desks to the Support team, CSM team, and Technical Support team you will need to add a user group. Learn more in Add, Edit, or Delete a User Group
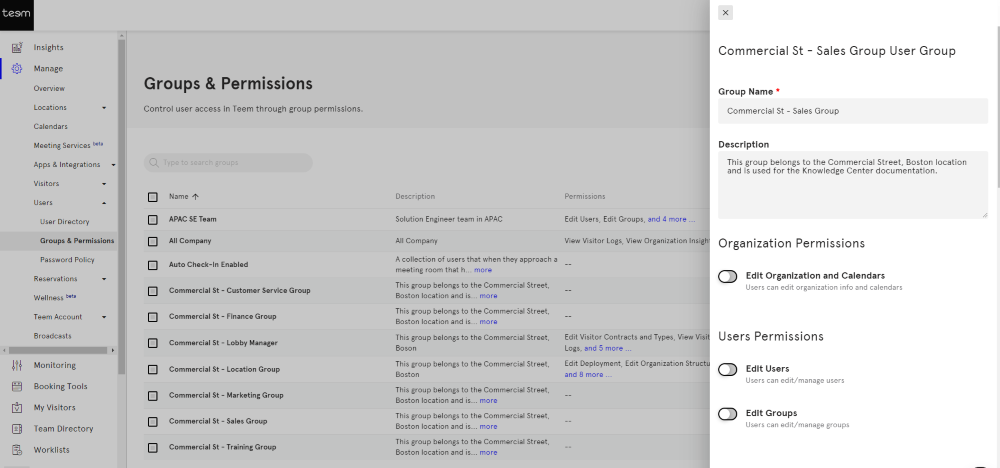
Step 2. Assign User Accounts to the User Group
Next, add the user accounts to the user group. Learn more in Add a User Account to a User Group.

Step 3. Add a Space Profile to the Desks
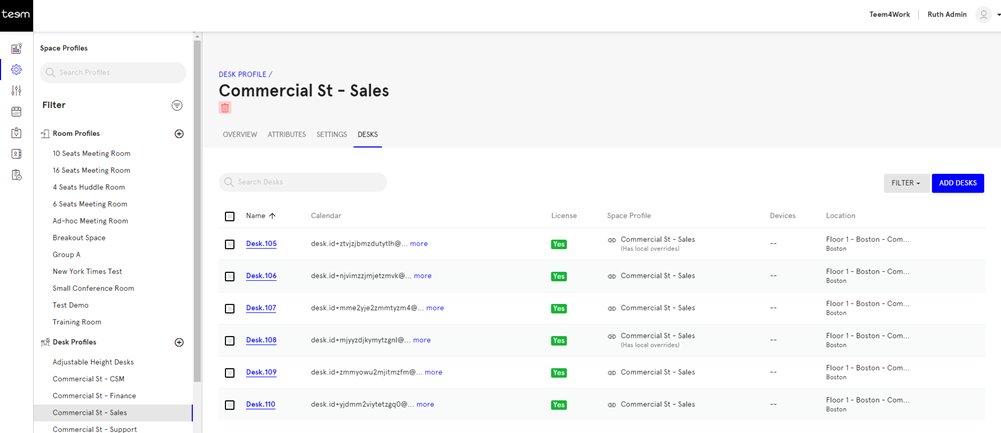
As each team will be able to reserve certain desks you will need to create a space profile for the desks.
Before you create the space profile for the desk you will need to know the team's desk numbers. In this example, Desks 105 to 110 will have the space profile assigned.
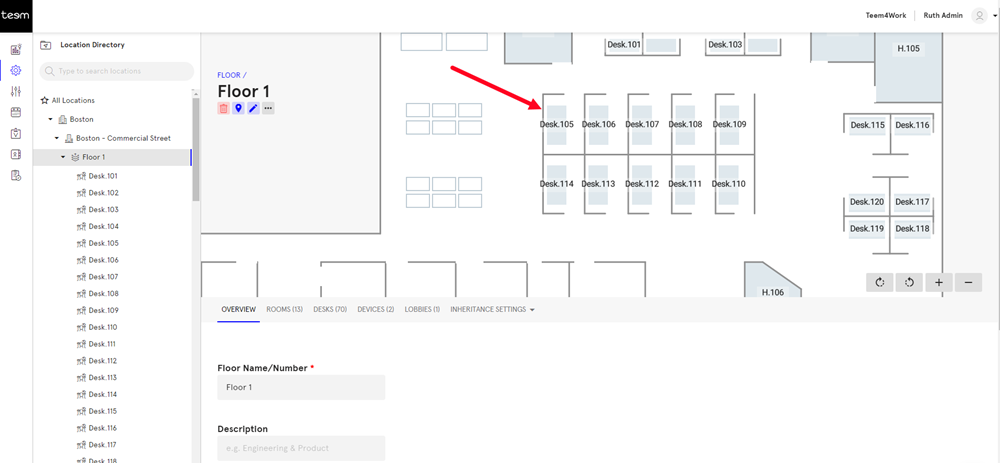
Then you can set up the space profile and add the desks to it. Learn more in Add Space Profile for a Desk.
Now, your team can reserve any desk assigned to the team.
Step 4. Optional - Assign a Person to a Desk
If you have an employee who needs a particular desk then you can assign the employee to a desk.
Assign the person via their user account, see Assign a User to a Desk.