Set up a Space Profile for your Lobbies
You can use a space profile to set up a template to define settings for your lobbies in your portfolio.
Remember space profiles can be edited or deleted, see Edit or Delete a Space Profile. Also, the article Booking and Display Settings Overview details an overview of the settings found in the space profile.
Step 1. Add a Space Profile for a Lobby
From Teem Web complete the following:
1. Navigate to Manage > Locations > Space Profiles.
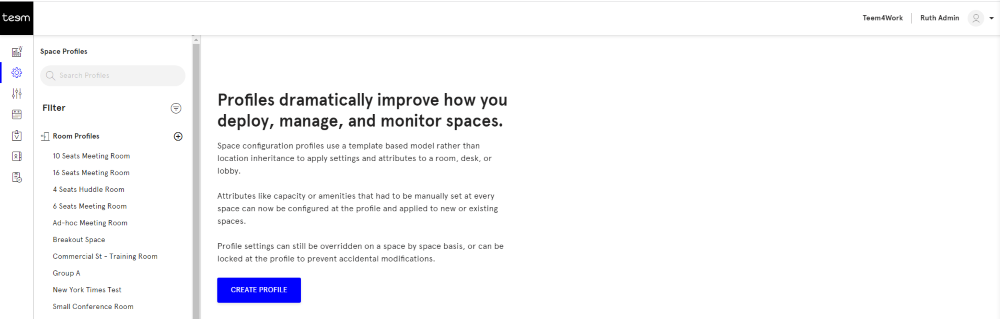
2. Click the Create Profile button. The New Profile dialog displays.
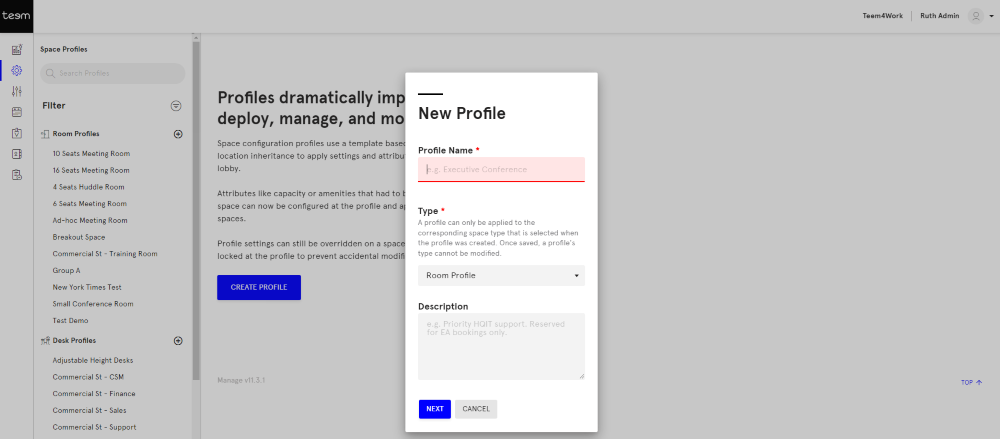
3. In the Profile Name field, enter the name.
4. For the Type drop-down, use the default Lobby Profile.
5. In the Description field, enter a short description.
6. Click the NEXT button.
Step 2. Set up the Settings
The lobby space profile is saved and the Settings tab displays.
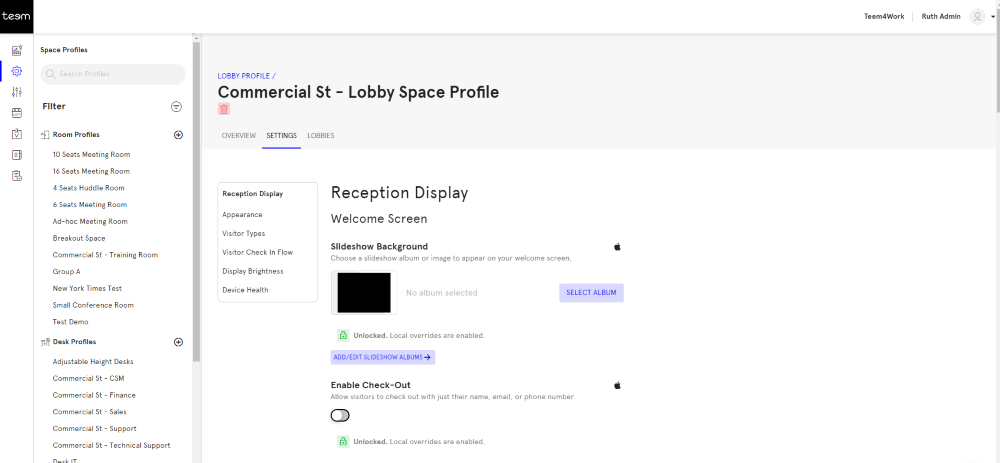
You can lock a setting at the space profile level or leave it unlocked, which means:
- Unlocked attributes can be overridden at the space level.

- Locked attributes cannot be overridden at the space level.

By default, the attributes are unlocked and if you want to lock an attribute then click the unlocked  icon (and to unlock an attribute click the Locked
  icon).
Learn more about Space Hierarchy and Override Settings.
7. Complete the settings;
- Reception Display
- Appearance
- Visitor Types
- Visitor Check In Flow
- Display Brightness
- Device Health
Learn more about the settings in the article called Reception Display Settings.
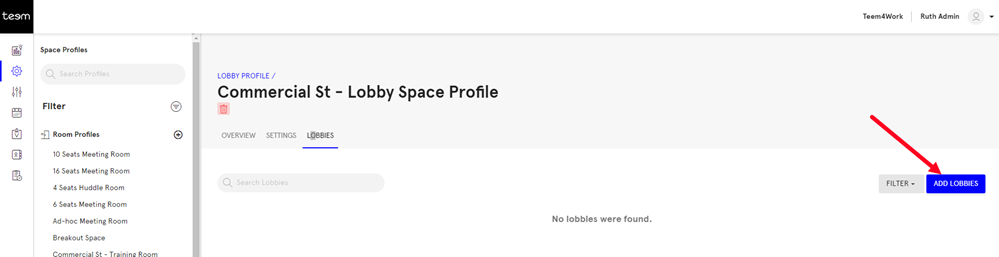
Step 3. Assign the Space Profile to the Lobby
When you first set up your rooms during Onboarding your room(s) will not exist yet. We recommend that you create your space profile first (which are you doing now) and then add your lobbies. When you add the lobbies this is where you will assign the lobbies to the space profile.
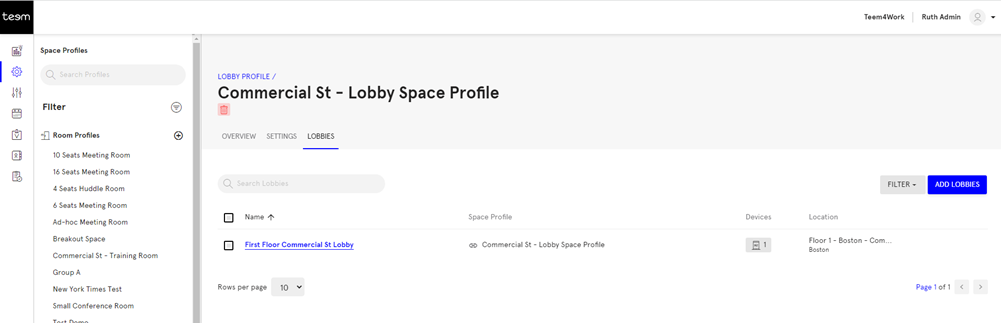
8. Click the Lobbies tab.
9. Click the Add Lobbies button.
4. Either search, filter, or browse for the room.
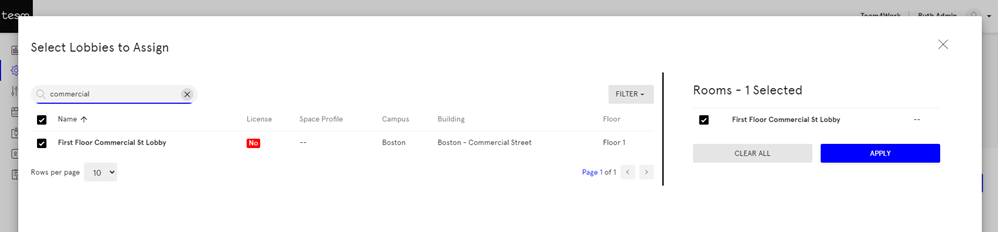
Search for a Lobby
- If you know the name of the room then in the Search Lobby field, enter the name. The list will display the search results.
Filter for a Lobby
- Click the FILTER button to display the filters.
- Select the filters for either Licensing, Location, Space Profile, Operating System, Capacity, or Device, and then click the APPLY FILTERS button. The list will be filtered.
Assign the Lobby
- Tick the lobby or lobbies and then click the APPLY button.