Lobby Connect and Visitor Settings Overview
Teem has a number of options and settings you can manage. We suggest setting your LobbyConnect app organization settings first, then applying overrides further down the hierarchy as you see fit.
Learn more about the Space Hierarchy and how this is used with the following settings:
- Default Settings - You can set default settings for your Organization (at the top of the hierarchy).
- Override Settings - You can override default settings at any lower level of the hierarchy (Campus, Building, Floor, Room, and Device). Overrides allow you to make an exception to any of the default settings you have made for your organization and apply that exception to all levels below in the space hierarchy.
Learn more about Space Hierarchy and Override Settings behaviors.
Below we have outlined each setting and our recommendations for them. These recommendations are based on what we have seen that work well for our customers.
These options can be found by following these steps:
1. Log in to Teem Web
2. Click on Apps & Integrations > LobbyConnect
Appearance
Slideshow Background
Recommendation: Select a slideshow album or add your own slideshow album.
Choose a slideshow album or image on your welcome screen.
Welcome Message
Recommendation: Set up a Welcome Message for your visitors to see.
The message appears above the initial check-in screen after the user taps the screensaver.
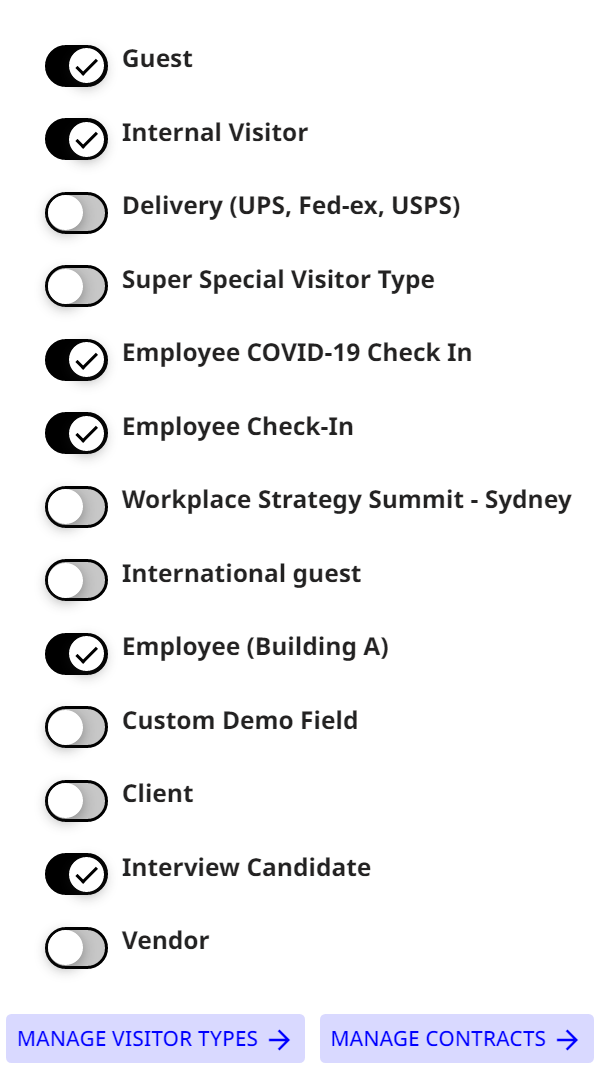
Visitor Types
Customize the required fields, Contracts or NDAs, and streamline the check-in experience for guests based on the reason for their visit. Different Visitor Types can be enabled or disabled by location using Inheritance Setting Overrides.
Enable Visitor Types
Recommendation: Set up the different visitor types
Activate the visitor type options you want to display to a visitor at Check-In.
Self Check-Out
Enable Check-out
Recommendation: If you want your visitors to check out, turn this setting ON.
Allow visitors to check out with their name, email, or phone number.
Deliveries
Delivery Contacts
The Delivery button on Reception Display's home screen notifies the user(s) designated for deliveries. If no one is selected to receive deliveries, the feature is disabled, and the Delivery button will not show.

Host Lists
Need Help? When visitors check-in, they can contact a host to let them know they've arrived. By default, we'll show all hosts. You can use groups to have more control over which hosts show on the Reception Display.
Host Whitelist
Recommendation: Set up the Host who can be contacted.
Use the Host Whitelist to hand-select which hosts can be contacted from the Reception Display. Leave this section blank to have all hosts available for contact from the Reception Display.
Host Blacklist
Recommendation: Set up if you have a Host who cannot be contacted.
Use the Host Blacklist to hide hosts from displaying on your Reception Display. Groups added to the Hosts Blacklist will not be available for contact even when added to the Host Whitelist.
See also the page detailing how to Set up Host Lists for Lobby Connect.
Notifications
Skip Contact Host
Recommendation: If you want your visitors to select what host to contact, then turn this setting ON.
Turn this on to skip the screen allowing visitors to select the host to contact.
Message
Recommendation: Set a message to display to your visitor after they have checked in.
The message to display to a visitor after they are done checking in. You can use the [visitor_name] or [employee_name] tokens in your message.
Contact Method
Recommendation: Set how the hosts will be contacted.
This is how hosts will be notified when visitors arrive and check in either by email, SMS, or both.
Display Brightness
Awake Brightness
Recommendation: Set the awake brightness percentage of your lobby devices.
The brightness of the display when scheduled to be operational.
Asleep Brightness
Recommendation: Set the asleep brightness percentage of your lobby devices.
The brightness of the display when scheduled to be in power-saving mode.
Device Brightness Hours
Recommendation: Set the brightness schedule for your lobby devices.
Adding schedules for your devices allows you to conserve energy and lengthen the life of the device screens. Outside of the defined set Brightness Hours schedule, the devices will automatically enter power-save mode and dim to the Asleep Brightness setting. Interacting with a device will awaken it for a short period of time.
Device Health
Show Warning Indicators
Recommendation: ON
Show on-screen warning indicators for low battery or no Wi-Fi.