Create and Enable Visitor Types
Level: Admin
Visitor types allow you to set the fields and contract that each visitor type is required to fill out at check-in. Examples of visitor types are Interview Candidate, Vendor, Customer, and Internal Visitor. This can then be used to inform business decisions by exporting visitor logs and utilizing Visitor Insights.
Create Visitor Types
From Teem Web, complete the following:
1. Navigate to Manage > Visitors > Types.
The list of visitor types displays.
2. Click the VISIT TYPE button.
The New Visit Type form displays.
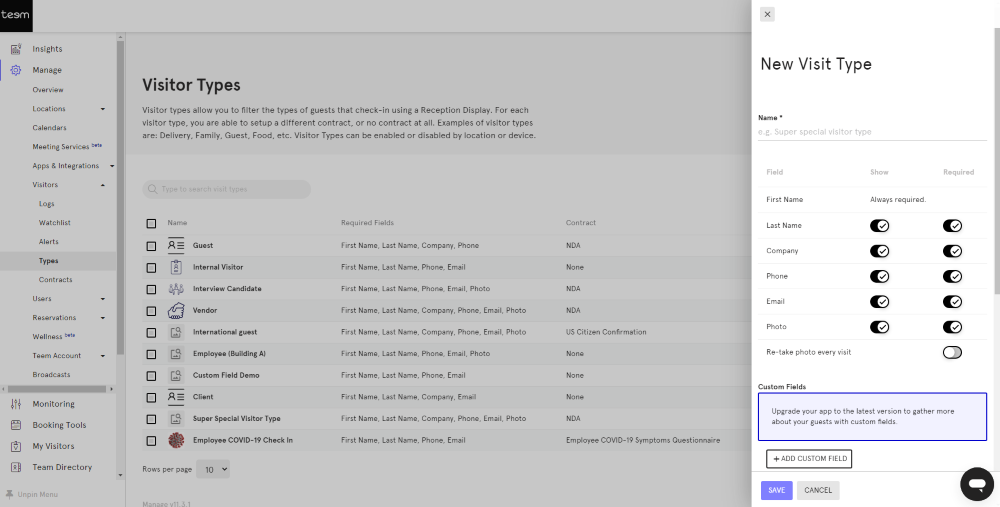
3. In the Name field, enter the visitor type name. For example Delivery, Interview Candidate, Vendor, or Guest. This is used when visitors arrive and select the reason for their visit during the visitor check-in.
Set the Default Fields
4. From the field selection you can toggle ON the default fields that a visitor will be asked to fill out on the initial registration screen. You can set the fields to be Show or Required.
Set the Custom Fields
5. If you need any custom fields then click the ADD CUSTOM FIELD button. You can add up to 5 custom text fields.
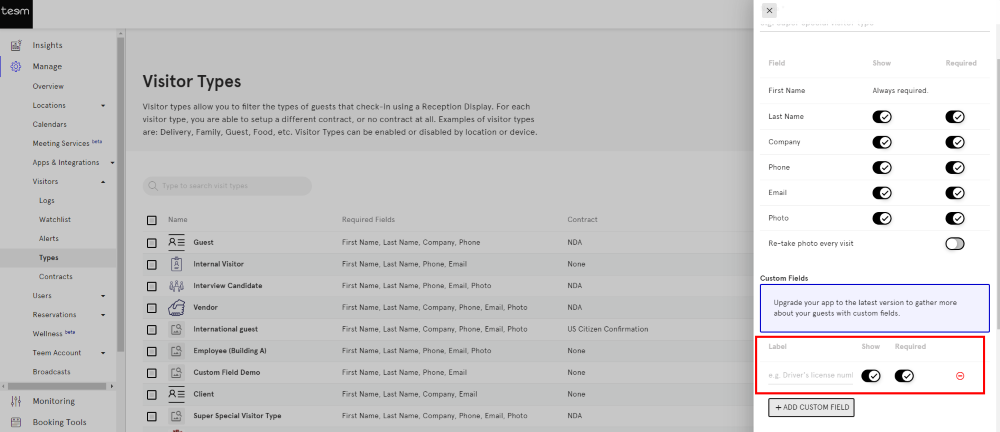
5.1 In the Label field, enter the custom field's name.
5.2 For the Show toggle and Required toggle ON the settings.
The custom field is automatically saved.
The more fields you add, the longer the guest check-in experience will be.
Set the Contract
6. From the Contract drop-down, select a contract that you want your guests to sign when they check in. If you leave the selection to the defaulted None option, no contracts will be shown. For more details about contracts, see Create and Edit Visitor Contracts.
Set the Visit Type Icon
7. From the Visitor Type Icon section, click the +ICON button.
The Visitor Type Icon Image Library displays.
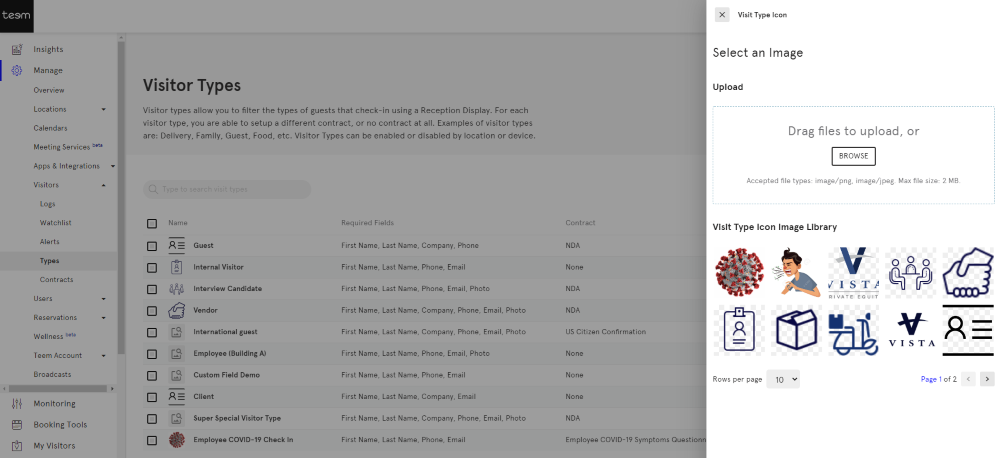
7.1 Either select an image from the library or upload an image.
7.2 Click the SET IMAGE button.
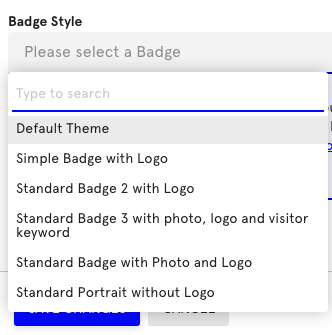
Set the Badge Style
8. From the Badge Style drop-down, select the visitor badge style. For more details on the Badge formats, see Print Visitor Badges. If you leave the defaulted None option, no badge will be printed.
9. Click SAVE button.
Repeat the process to set up all the visitor types that you would like to use when guests visit your office. If you have multiple lobbies, you can specify what visitor types are shown in each lobby using Device Overrides.
Set up Visitor Types for the Organization
After Visitor Types have been created, it will not automatically show on your device, unless it is enabled as an active visitor type under your global LobbyConnect settings.
From Teem Web, complete the following:
1. Navigate to Manage > Apps and Integrations > LobbyConnect.
2. Scroll down to the Visitor Type section. You will see a list of all visitor types.
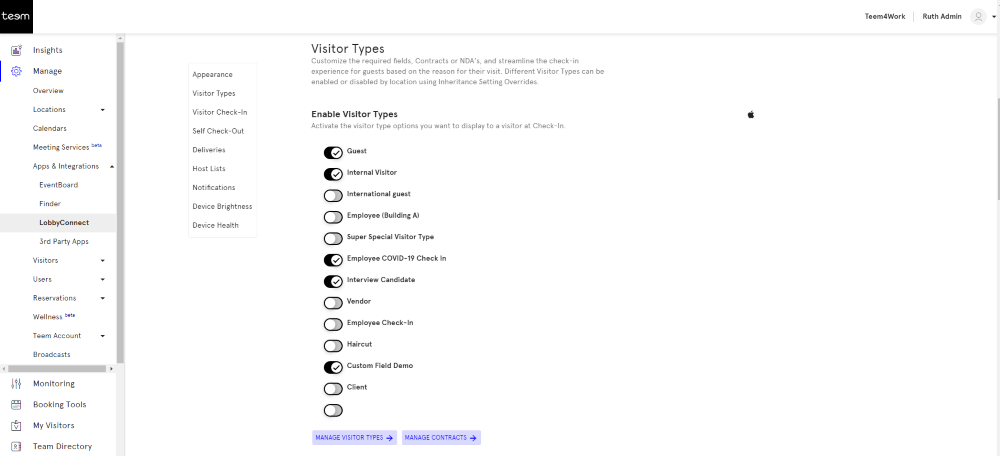
3. Use the toggle to enable the visitor type.
4. Click the SAVE button.
When you launch the app, it will now show as an option for your guests.
Set up Visitor Types for the Location
Visitor types can either follow your account's global settings or can be over-ridden at the lobby or device level.
For example, your company has several global visitor types. You want these visitor types to display at all lobbies at your campus. However, for security reasons, all Interview Candidates need to check-in at a particular lobby. You can change the settings for that specific location to include Interview Candidate to your list of visitor types.
From Teem Web, complete the following:
1. Navigate to Manage > Locations > Directory.
2. Select the location (campus, building, floor) where you want to enable Visitor Types.
3. Click the INHERITANCE SETTINGS drop-down and select Visitor & Reception Displays.
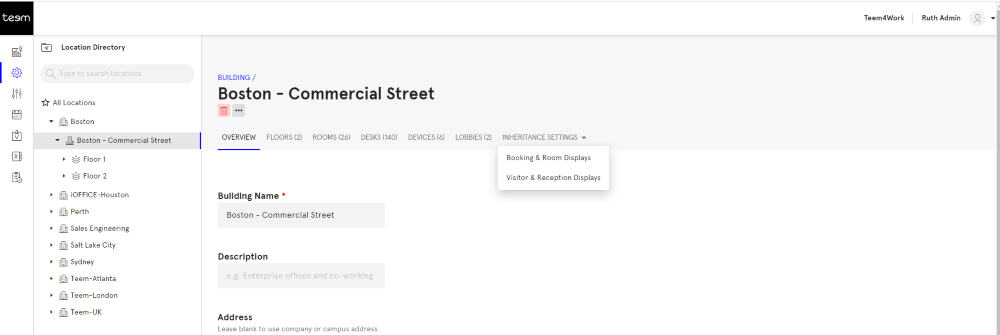
The Visitor & Reception Displays settings appear.
4. Scroll down to Visitor Types.
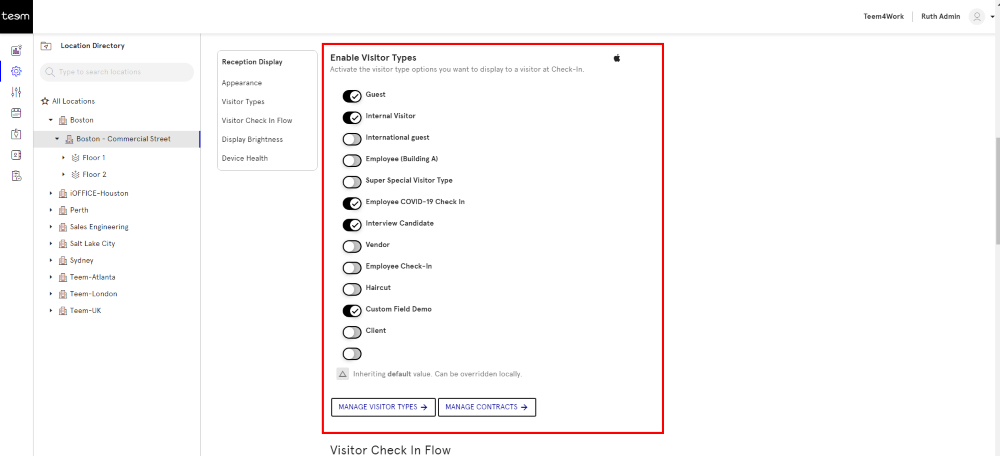
5. Toggle the visitor types to ON or OFF.
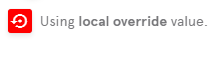
The list will appear and a red icon will display, indicating that you are using a local override instead of the inherited global or default setting. For example:
6. Click the SAVE button.
The settings are saved.