Import Calendar Accounts and Assign to Spaces
After creating additional calendar resources, you must import the calendar accounts into Teem. The calendar accounts look like email addresses.
Step 1. Import Calendar Accounts
From Teem Web, complete the following:
1. Navigate to Manage > Calendars.
2. Click the IMPORT button.
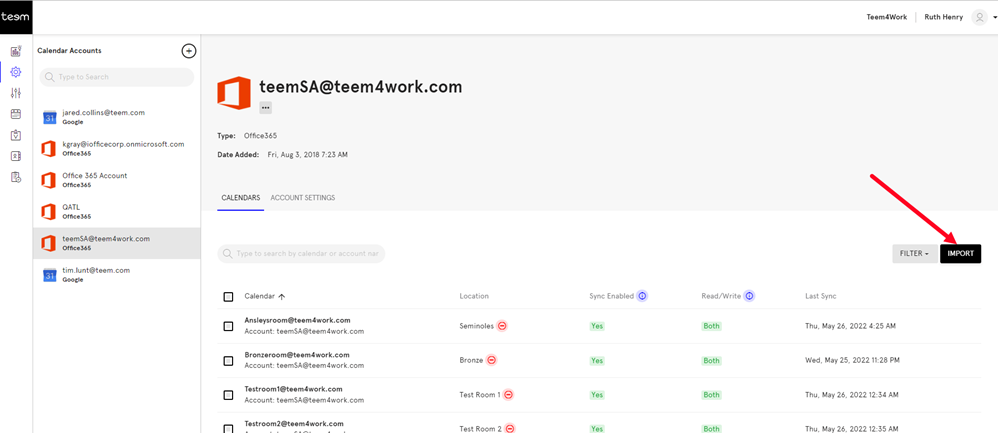
The Import Calendars form displays.
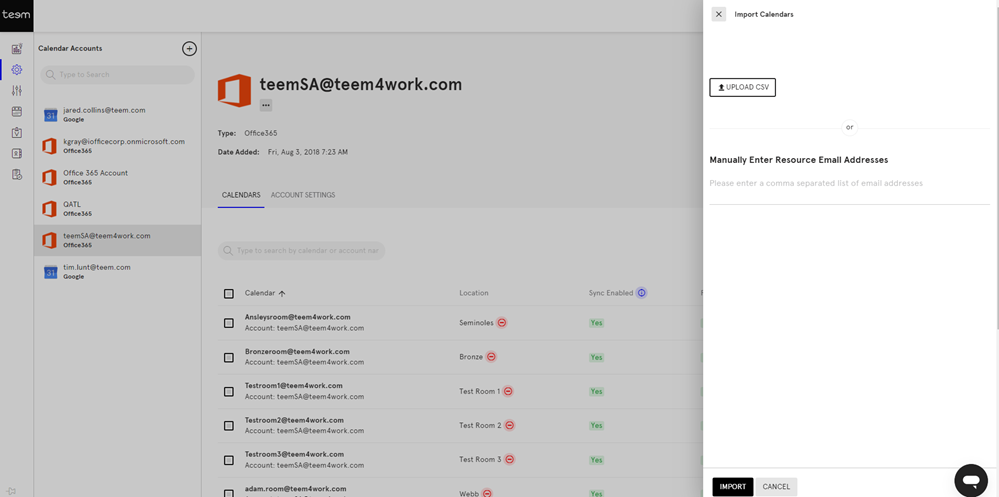
2. Either you can upload a list from CSV or manually enter the resource email addresses.
Bulk Upload
- Set up the resource email addresses in a CSV file.
- Click the UPLOAD CSV button.
- Navigate and select the file.
- Click the IMPORT BUTTON.
Manual
- In the Manually Enter Resource Email Address field, enter the address separated by a comma.
- Click the IMPORT BUTTON.
The resource email addresses are loaded into Teem.
Step 2. Assign the resource email addresses to the Space
Now, that the resource email addresses are loaded in you can assign these to the space.
1. For the calendar you want to assign, click the ASSIGN TO SPACE button.
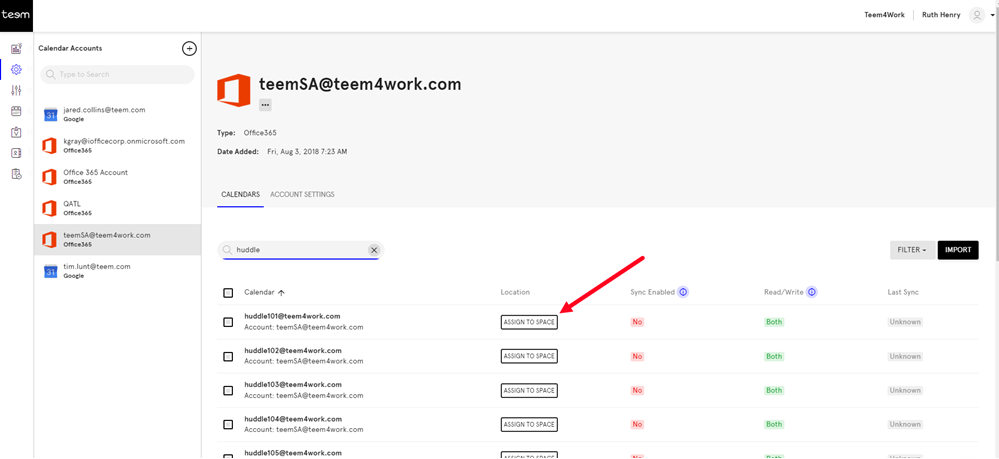
The Select Room form displays.

2. You can either search for the room name or navigate to the room.
3. Select the room.
4. Click the SAVE button.
The calendar is assigned to the designated space. This process will need to be repeated for all the remaining resource email addresses you have imported in.
When you have completed this, your employees can book spaces, such as meeting rooms, conference rooms, training rooms, or ad-hoc meeting rooms.