Enlighted Sensors Integration
Enlighted sensors help you save energy and manage brilliant buildings. With the Teem sensor integration, huddle space availability is more visible than ever for your employees. IT, Facilities, and Real Estate teams also benefit from getting powerful data-driven Teem Insights on huddle spaces, conference rooms, and other collaboration areas.
Prerequisites for the Teem + Enlighted Integration
You’ll need to have a few items prepared before you get started:
- You must be a joint customer of Teem and Enlighted.
- You must have an existing Enlighted Smart Sensor infrastructure.
- You must be a Premium Teem customer.
- You must have a cloud-connected Energy Manager URL or external IP.
- You must have an API user account.
- From Energy Management (EM) > Administration > User Management.
- You must have an API license for occupancy sensing.
Integration Steps within Enlighted
1. Obtain an Energy Management version.
-Get this from the EM login screen.
2. Obtain an EM UUID.
-Get this from going to EM > Administration > Licenses.
3. E-mail Enlighted license support to get a Zone Occupancy license.
-Send requests to license-request@enlightedinc.com.
4. Install license.
-You can do this by going to EM > Administration > Licenses.
5. Create an API user account.
-From EM > Administration > User Management > New User (must have Admin role).
6. Generate an API key for API user account.
-From EM > Administration > User Management > Gen API Key
7. Determine rooms to be integrated.
-Configure rooms as zone (location) Areas in EM (one license per area).
-From EM > Facilities (select campus location) > Settings > Create Area Name.
-From EM > Facilities (select campus location) > Floor Plan > select Area and include sensors.
8. Enlighted setup is complete. Continue to Teem for completing integration.
Note: An Area is defined as a grouping of one or more sensors. You can have one or more sensors in an Area. Occupancy is only reported at the Area level, not the sensor area, which is why the customer needs to have Areas. To add to that, one Teem license will cover one area.
Prerequisites for Teem Platform Setup
- Energy Management server IP address or hostname
- Example: https://50.333.33.3 or https://adam_gates.bigstateu.edu
Note: Ask your installer or IT department for the EM server’s IP address or hostname.
- Example: https://50.333.33.3 or https://adam_gates.bigstateu.edu
- Username
- Example: dal.adams@teem.com
- API Key
- Long string of characters
Steps for Teem Platform Setup
1. Begin in your Teem Admin Dashboard.
2. Under Manage, click on Apps & Integrations on the left menu.
3. Underneath Apps & Integrations, click on 3rd Party Apps.
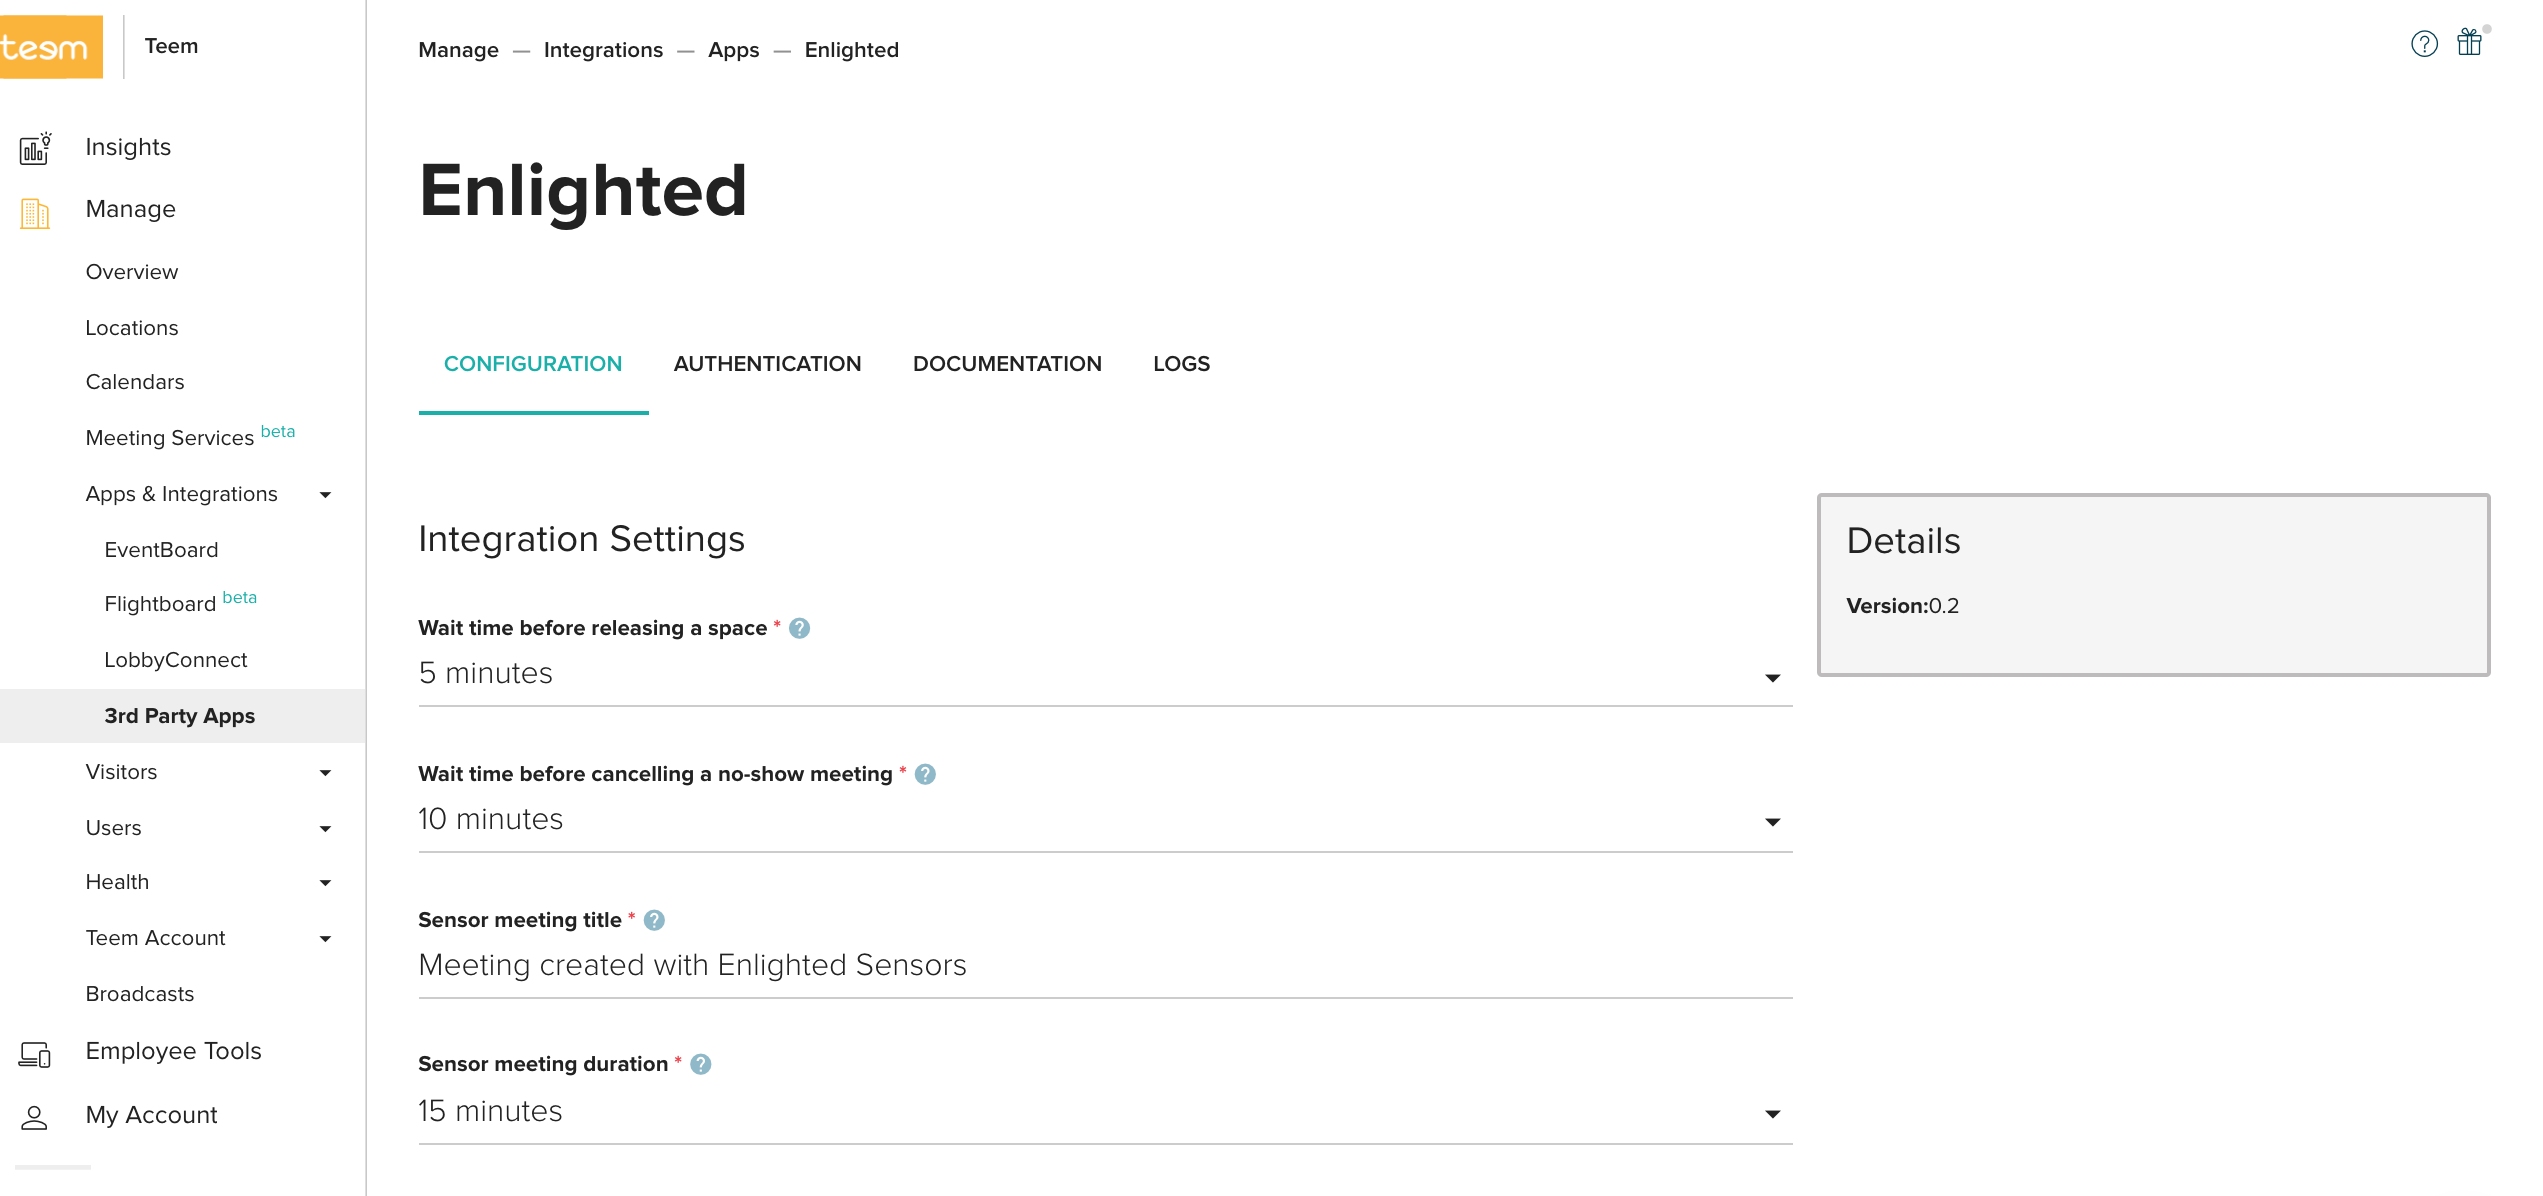
4. You will see a card for Enlighted. Within that card, click the Settings button. This will take you to Integration Settings where you can change and save the settings to fit your preferences. Here are a few descriptions for each setting to help you understand how they affect your setup:
Integration Settings
- Wait time before releasing a space
- How long do you want Teem to wait once collaborators have left a huddle space before displaying the space as “available”? We’ve found that 5 or 10 minutes works well, as participants often leave temporarily to grab supplies or visit the restroom. You have the option of 5, 10, 15, or 20 minutes.
- Wait time for how long before canceling a no-show meeting
- How long do you want Teem to wait before canceling a no-show meeting from a conference room?
- You have the options of 5, 10, 15, or 20 minutes.
- Sensor meeting title
- Customize the meeting title for events created by the integration to indicate an ad hoc event. This title will display on Teem room displays and Flightboard Signage as the “meeting title” where applicable.
- Sensor meeting duration
- How long do you want the integration to reserve rooms for when people walk in?
- You have the options of 5, 10, 15, 30, or 60 minutes.
Note: If your Enlighted server is self-hosted, then you’ll need to whitelist the Teem server IP addresses. This allows Teem to access the Enlighted sensor API that’s hosted within your Enlighted server. You’ll need to whitelist the Teem server IP addresses, < 35.162.41.6 > and <52.37.121.167>, by forwarding inbound traffic from these IP addresses to your Enlighted server’s internal IP.
Deploying Rooms: Mapping Enlighted Areas to Teem Rooms
In order to deploy the integration to your collaboration spaces, you have to map your sensor locations (zones/areas/etc.) to spaces within your Teem setup. Using the steps above to land on the Integration Settings page, scroll down to the Mapping dropdown.
.png?revision=1) 1. Select your Teem room.
1. Select your Teem room.
2. Then select your sensor location that should be mapped to the Teem room.
3. Select which functionality you want to add to the space.
Note: Occupy w/Motion and Release w/o Motion need to be set to Yes for huddle spaces. Also, keep in mind, you cannot edit these settings. If changes need to happen, you will need to Unmap (delete) and recreate the mapping.
4. Click “Add Mapping.”
5. Continue this mapping process for all spaces you want to deploy the integration to.
Good job! Now you’re all set to benefit from the Teem + Enlighted solution.