Aruba ClearPass Integration
Teem’s visitor management solution saves your organization time, improves security, and ensures a smooth experience for visitors in your office. The Aruba ClearPass integration delivers secure, automated guest access to wi-fi. Follow these steps to get the integration and streamline the check-in process for visitors.
Prerequisites
- ClearPass 6.7.2 or later
- LobbyConnect 3.0 or later
Register and Request Skyhook Tenant
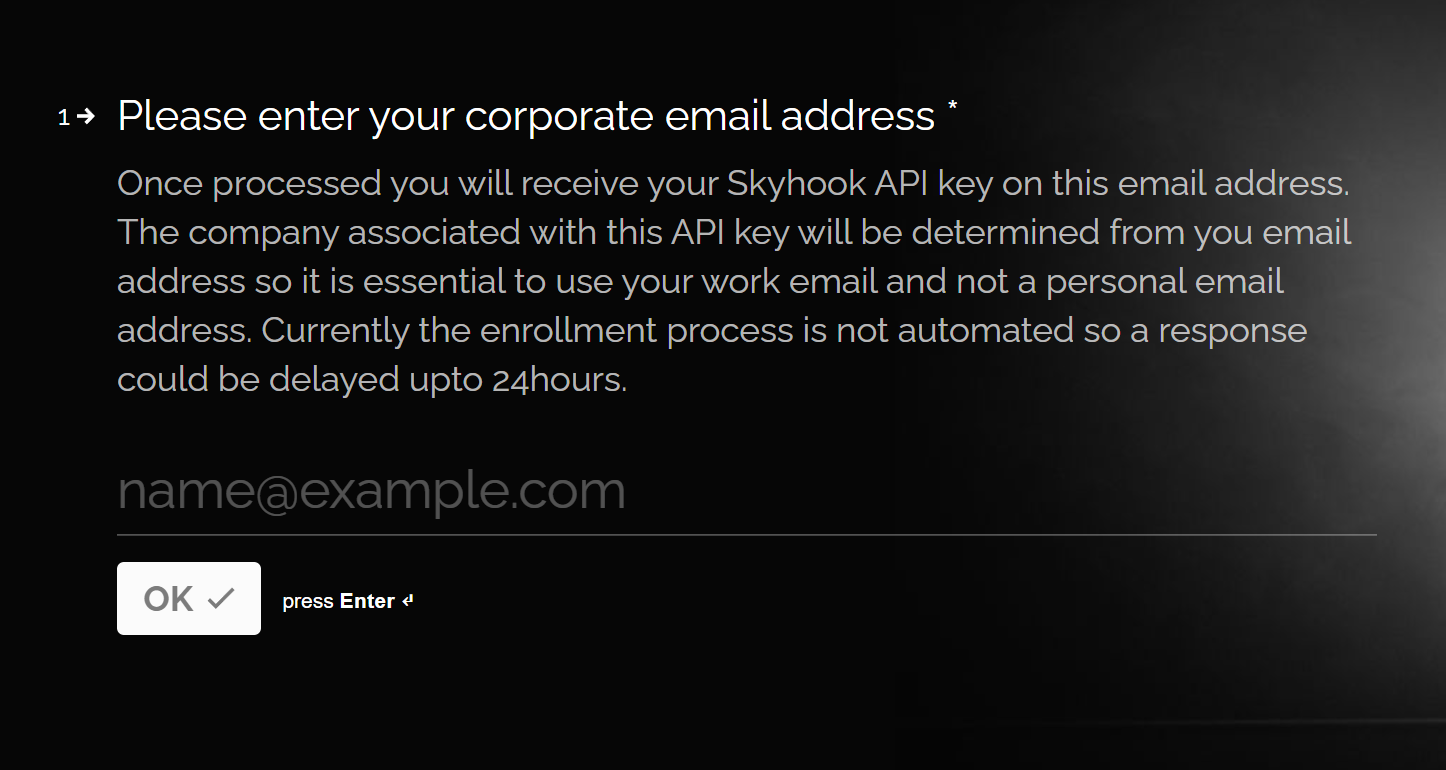
1. Register at https://peoplemove.typeform.com/to/Z80ezD. Be sure to use your company email address.
2. Request a Skyhook tenant ID. This ID is unique per customer.
Configure and Activate in Teem
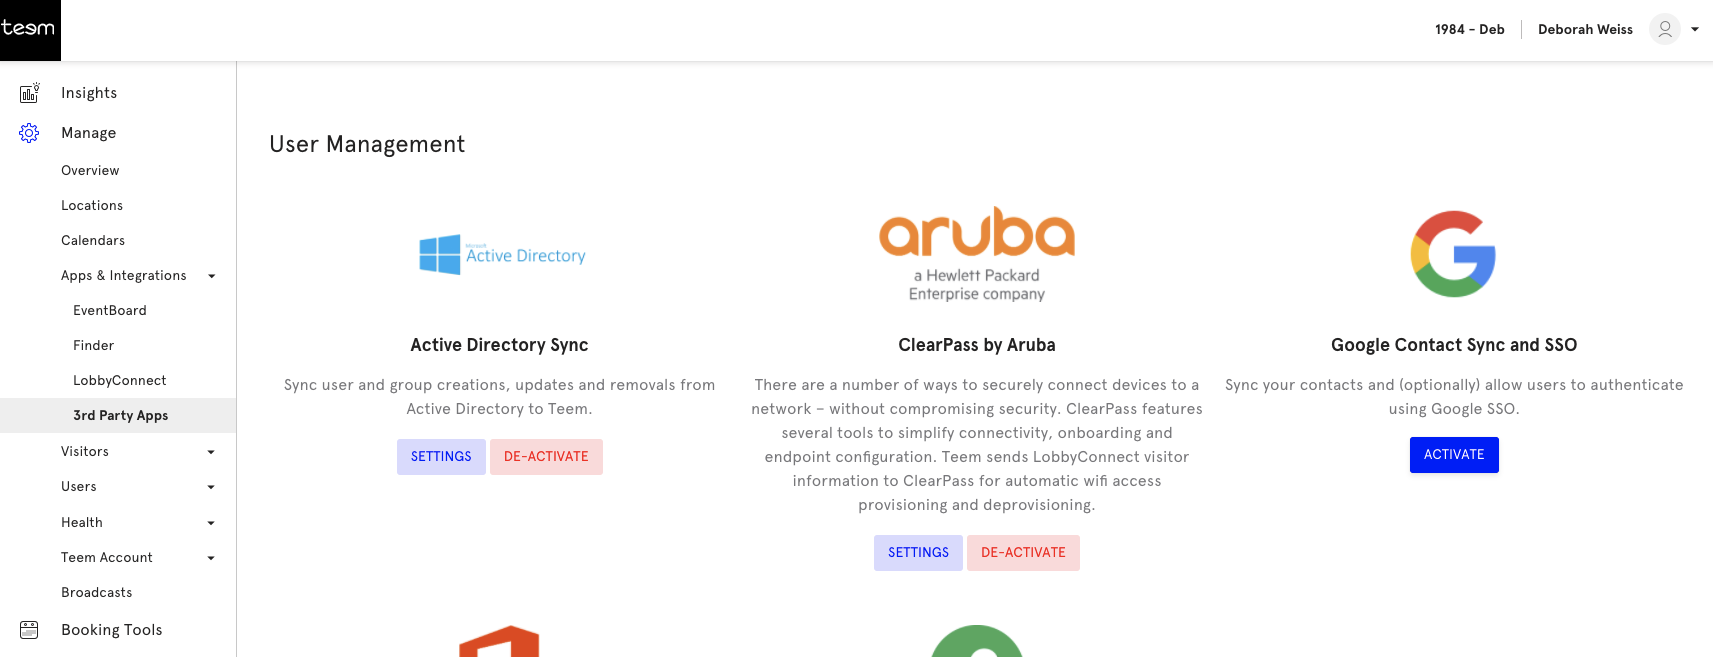
1. Login to app.teem.com and navigate to Manage > Apps &Integrations > 3rd Party Apps.
2. Scroll to the User Management section and the Aruba ClearPass plugin. Multiple Aruba integrations are available, so verify it says "ClearPass by Aruba."
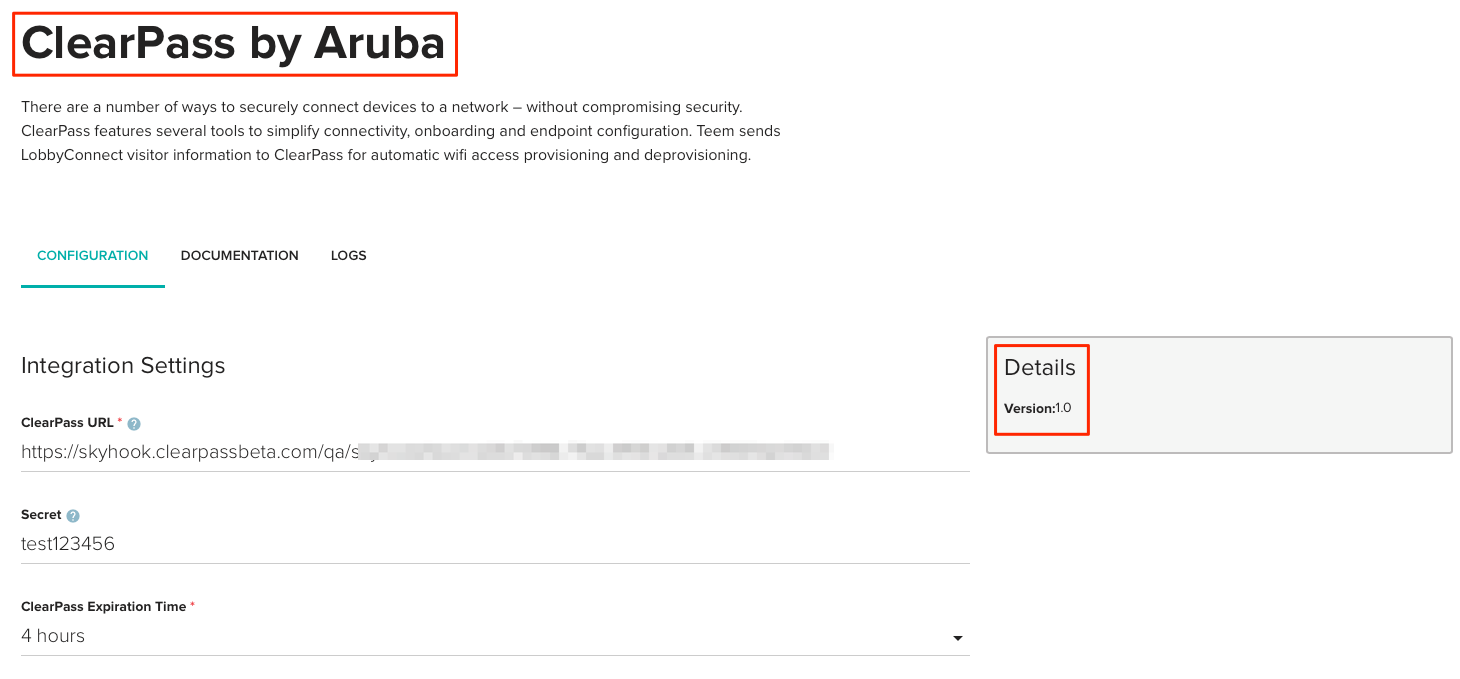
3. Once activated, click on Settings. Set your preferences for the following items:
ClearPass URL: Skyhook Post URL received upon registration.
Teem Secret: A shared secret that needs to be set later in the ClearPass extension. This secret can be set as anything, but it must match what is set here on Teem.
ClearPass Expiration Time: This directly controls the period of time the visitor account can remain active in ClearPass Guest based upon the account creation time.
Send ClearPass SMS: Setting it to yes invokes ClearPass to send credentials for Guest login via SMS with the SMS Gateway configured on ClearPass.
Send ClearPass Email: Setting it to yes invokes ClearPass to send credentials for Guest login via Email with the SMTP Server configured on ClearPass.
Configure and Activate within Aruba
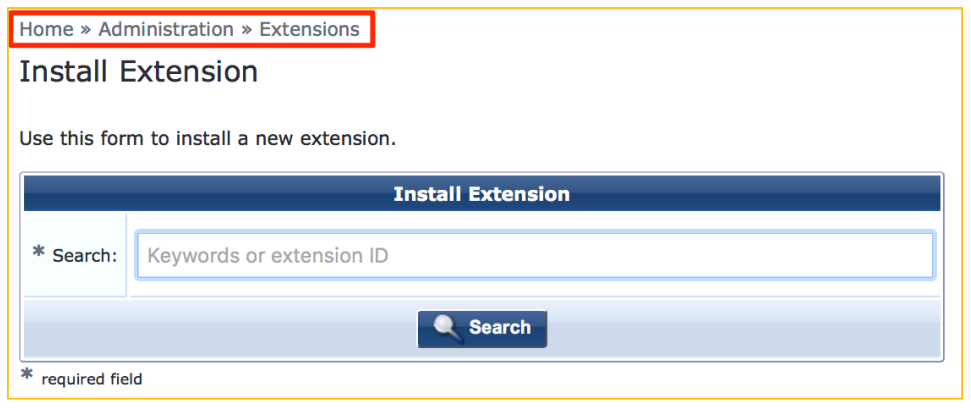
Note: Starting in ClearPass 6.7, a Graphical User Interface (GUI) was introduced to make the process of interacting with the extension framework easier. To access the extension GUI, from the Guest System, under Administration, find the Extension User Interface as shown below.
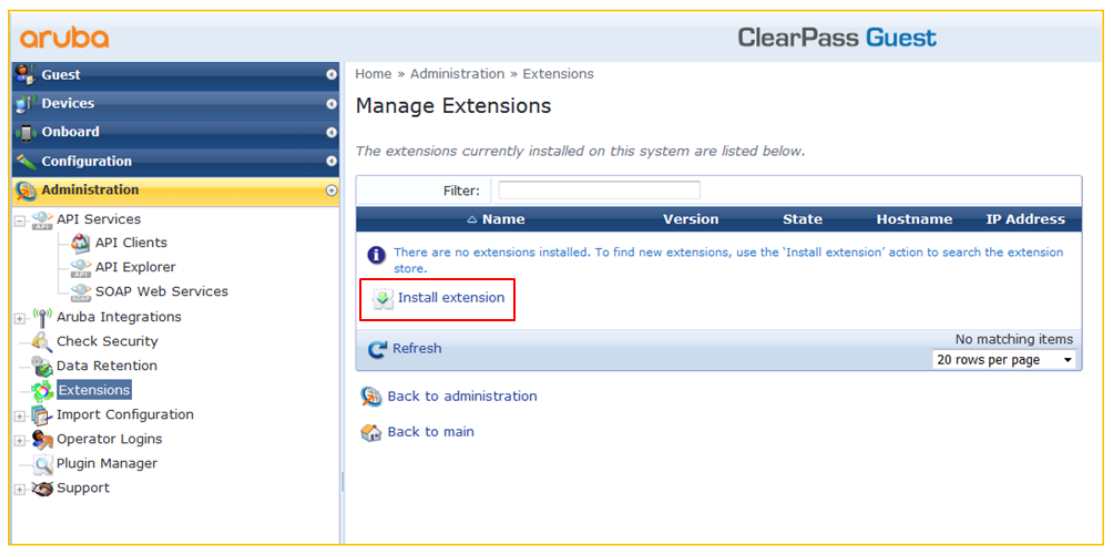
Click Install Extension from here, and the search box below appears.
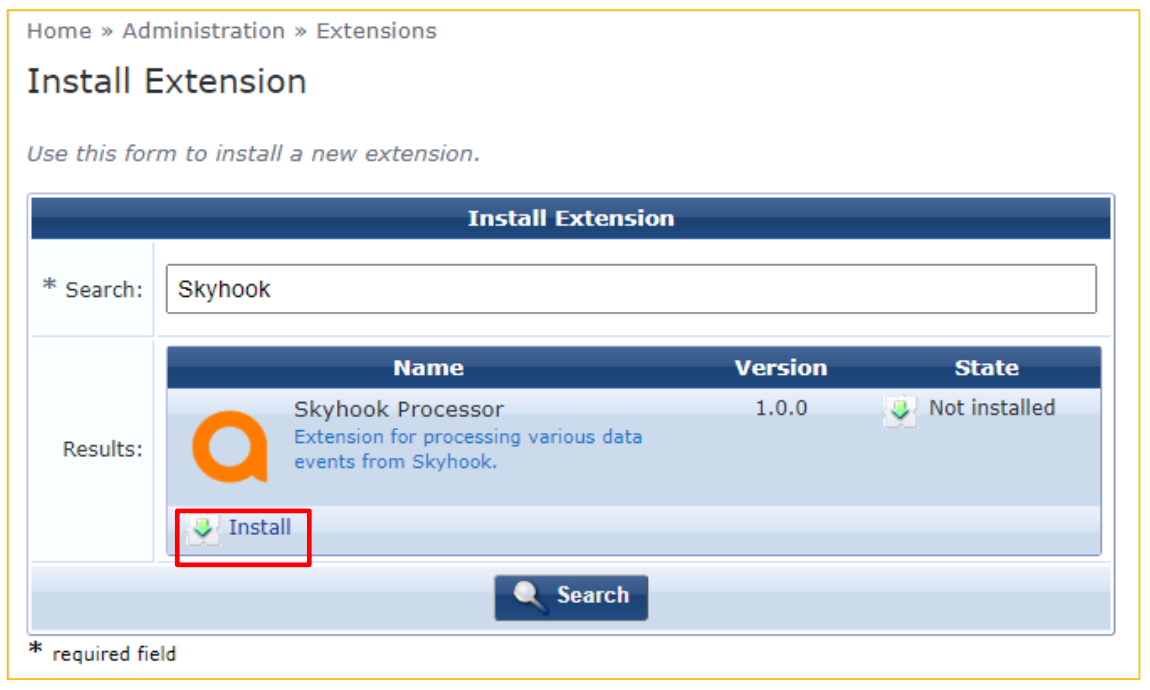
Enter the Store-ID 6732660f-d59b-4c86-929b-080446f1ad1d and click on Search. See the example below:
Click on the extension and then the Install option. If necessary, set the IP address.
Note: It can be set later if required.
After installing the extension, if the option to start automatically was not selected, review the extension configuration as necessary and adjust as needed. Notice the options to Start, Delete, Reinstall, or Show Logs, and the option to review and set the extension configuration.
The default configuration used for extension is below:
{
"logLevel": "INFO",
"verifySSLCerts": true,
"teemSecret": "",
"randomPasswordLength": 6,
"skyhookTenant": "",
"dbAccessToken": ""
}
Configure the teemSecret, skyhookTenant and dbAccessToken and restart the extension.
Extension Configuration Options
The default Teem LobbyConnect Extension will need to be modified for your deployment. Include the teemSecret, skyhookTenant, and dbAccessToken that will be specific to your environment.
Select Restart and click on Save Changes to restart the extension. Following the restart, click on Show Logs. You should see the following:
You can change the logLevel to DEBUG for detailed logs and troubleshooting or include the same before raising a TAC case if necessary.
Great job! Aruba ClearPass has now been configured with LobbyConnect for a simple and easy visitor management experience.