Teem Outlook Add-In Organizational Install
In an effort to keep our information as up-to-date as possible, Teem makes changes to pages on a basis where some details may not be presented as neatly as it could be. Rest assured every effort is being made to keep the information as accurate, detailed, and presented in the best possible way.
The Teem Outlook Add-in lives within your Outlook calendar so that the experience is simple and easy to use for those who are scheduling meetings and want to find a workspace, conference room, or space, that works for their meeting. Book spaces based on location, availability, capacity, amenities, and more.
Prerequisites
The Teem Outlook Add-in requires each user to have a user account on Teem.com. We recommend using Office 365 SSO or ADFS to provision users.
- Outlook for Office 365
- Exchange with OAuth connections
- Admin access in Exchange/Office 365
- We also recommend adding the following to your spaces to get the most out of the add-in:
After you have checked everything off the list, you can decide how to install the Teem Outlook Add-in.
Organization Installation
Teem supports and recommends the Organization installation method for the Outlook Add-in. When installed, the Teem add-in will show for users in Outlook for Office 365 and Exchange with OAuth connections.
Office365 ADMIN Center
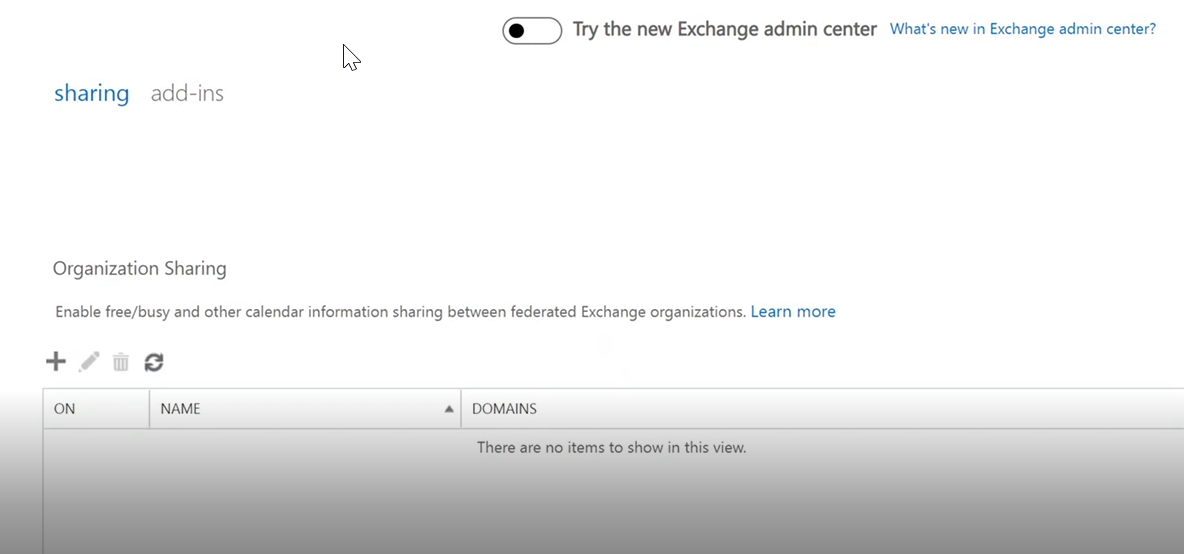
- As an admin, navigate to the Exchange Admin Center by going to outlook.office365.com/ecp for Office 365.
- Click Organization on the left of your screen.
- Click Add-ins.
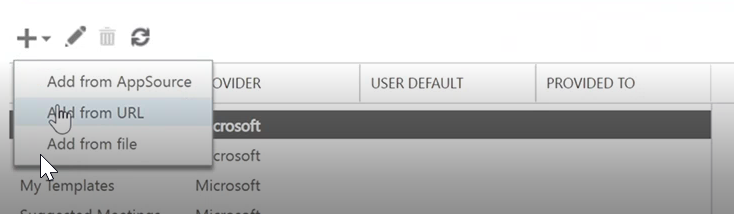
- Near the top of the screen, click the + button.
- Then in the drop-down menu, click “Add from URL”
- Enter this URL into the field:
New steps to use and order out:
1. Click Settings > Organization.
2. Click on the Add-ins text.
4. Click the + icon.
5. From the menu, select Add from URL.
6. In the URL field, enter https://o365.teem.com/manifest.xml
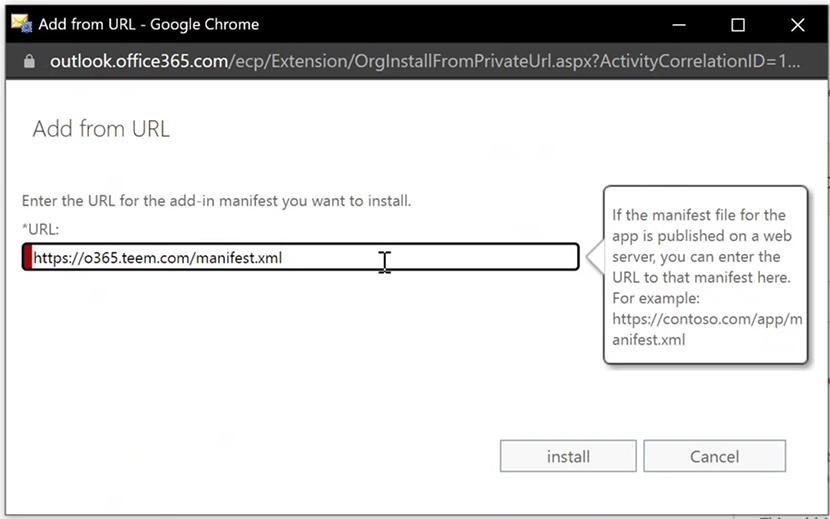
7. Click the install button.
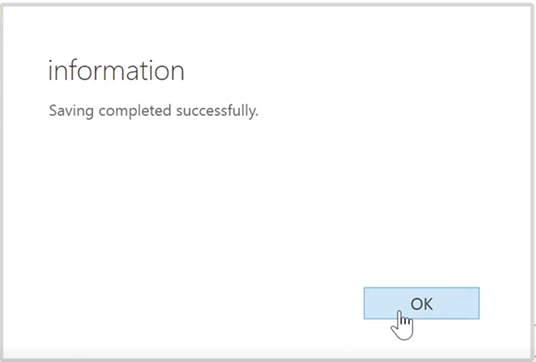
8. Click the OK button to close the confirmation screen.
9. Go back into Office, sign in, and create a new meeting.
10. The Teem add-in will be available to use.
Microsoft 365 Admin Center - Deploy the Add-in
From the Microsoft 365 Admin Center, complete the following:
- Click on Settings > Services & add-ins or
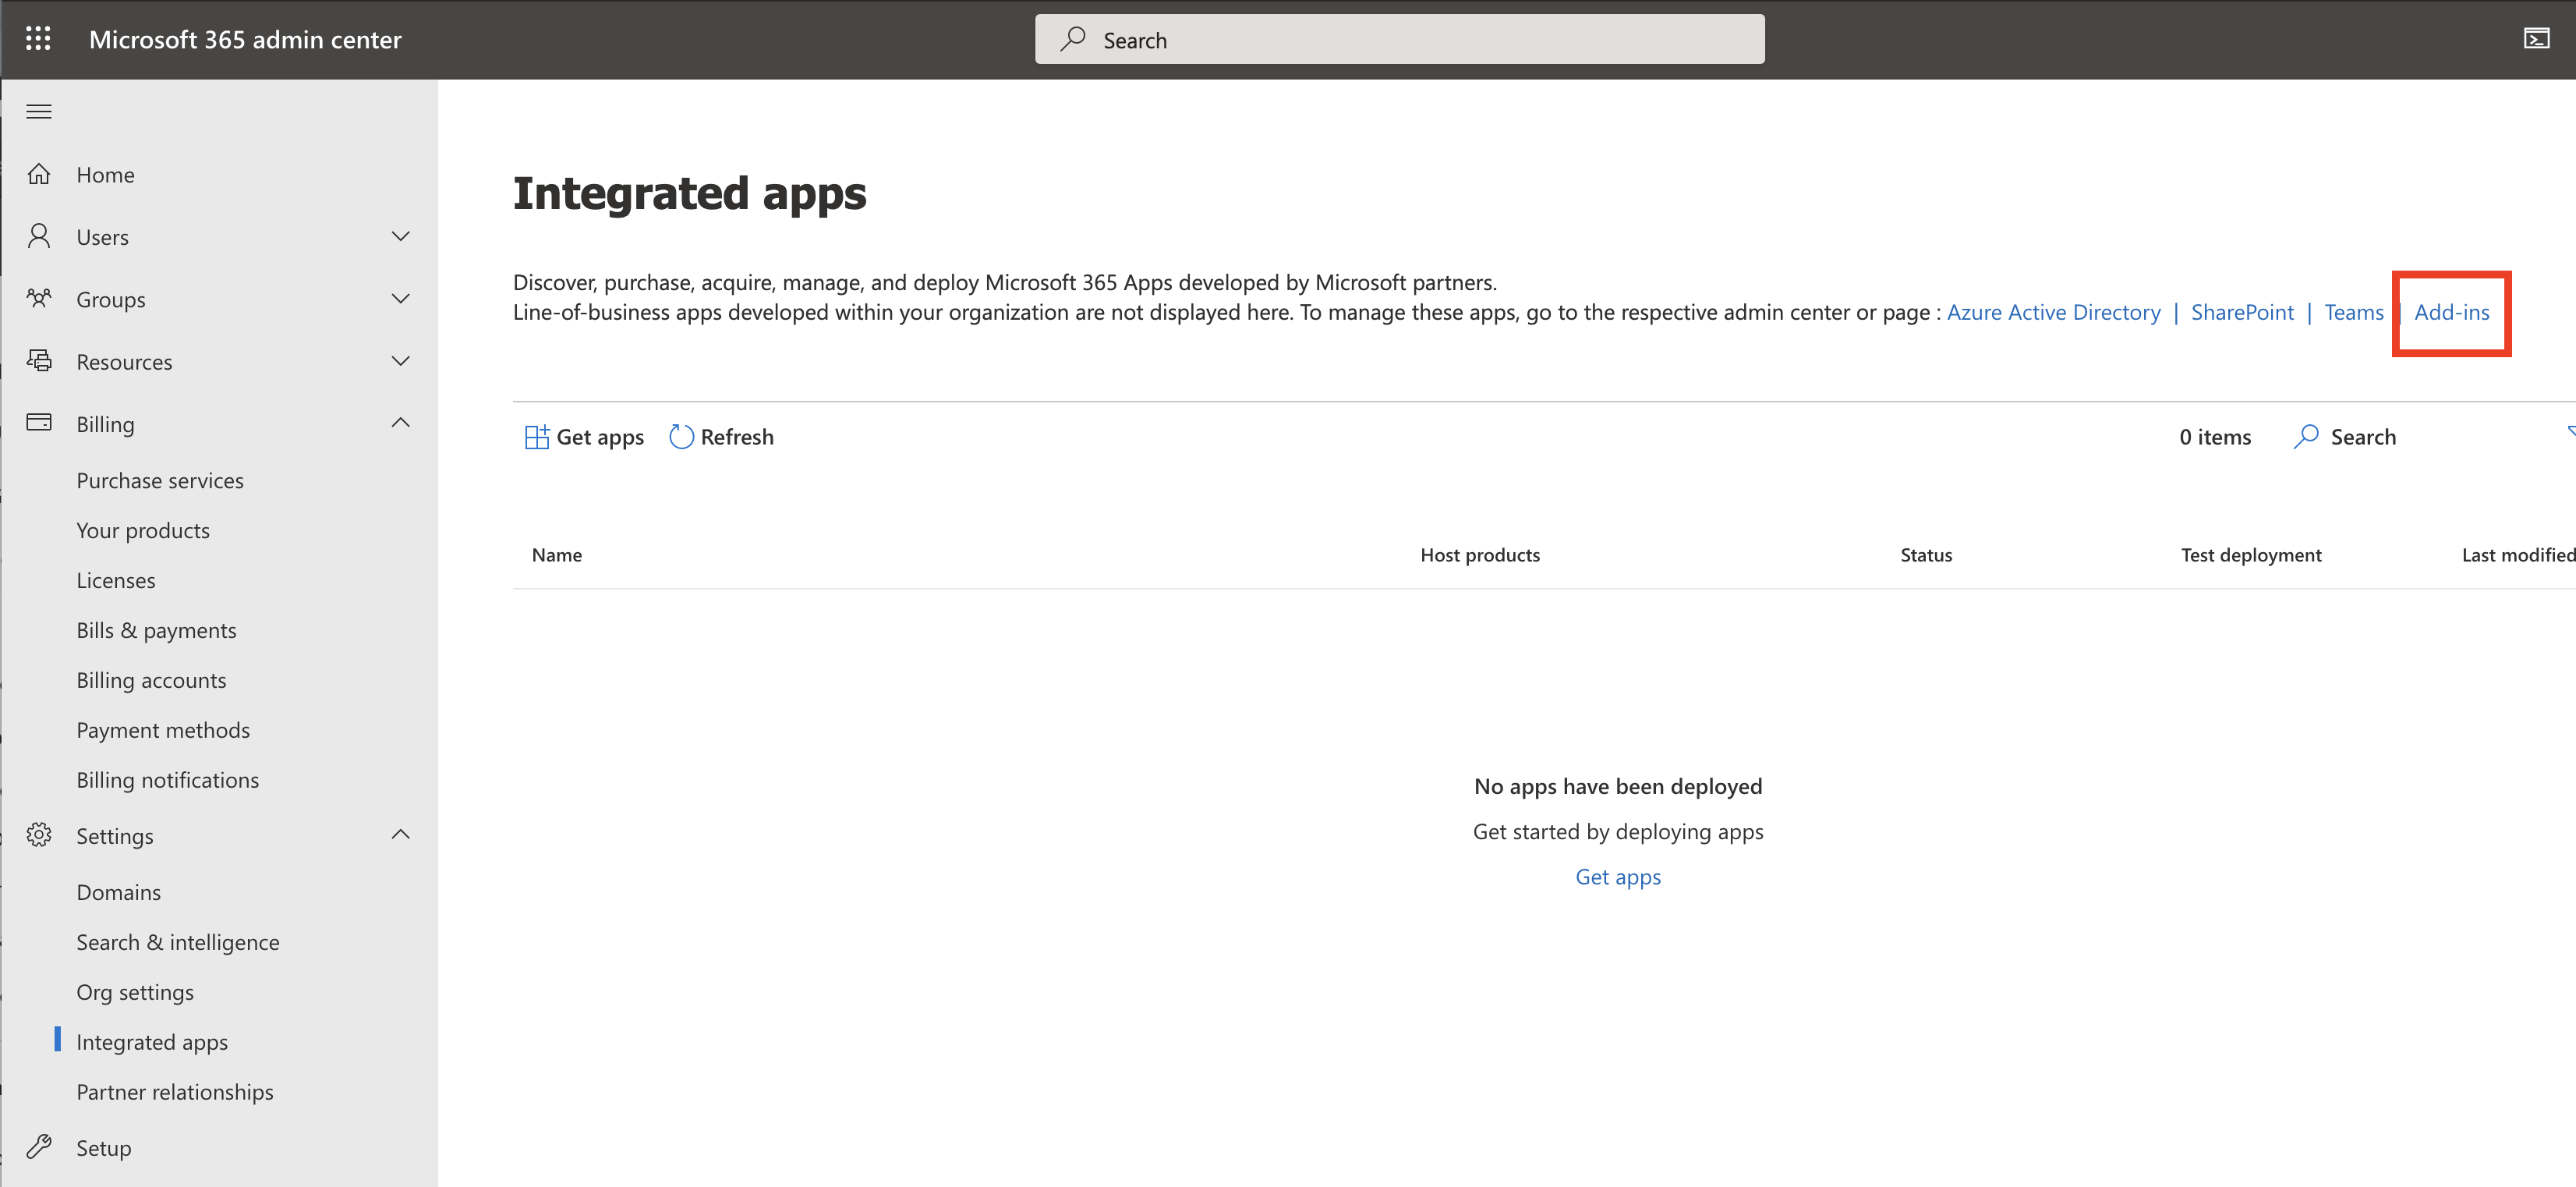
- Settings > Integrated Apps
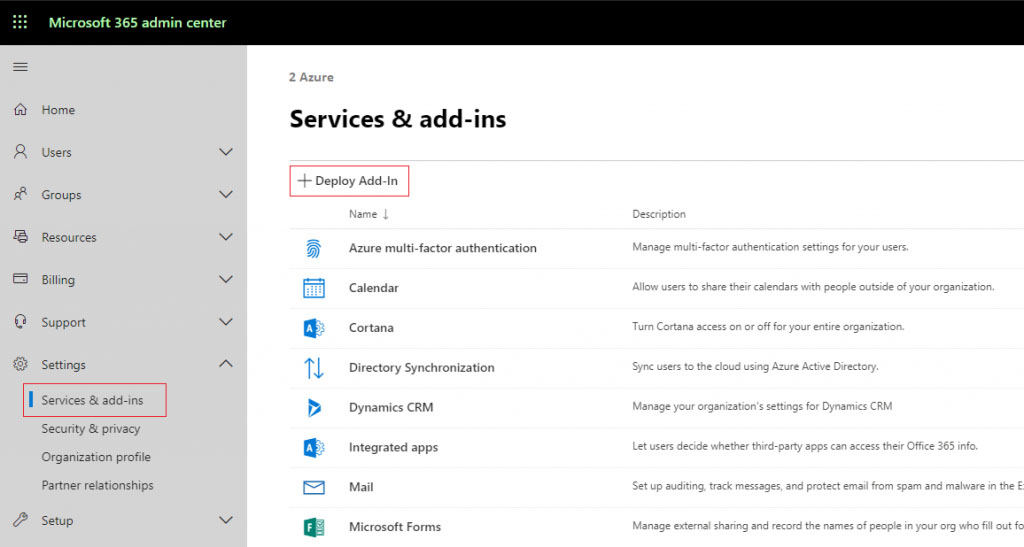
2. Click on +Deploy Add-in or Add-Ins on the end of the paragraph at the top of the page.
The Deploy Add-in displays.

3. Click the Next button.
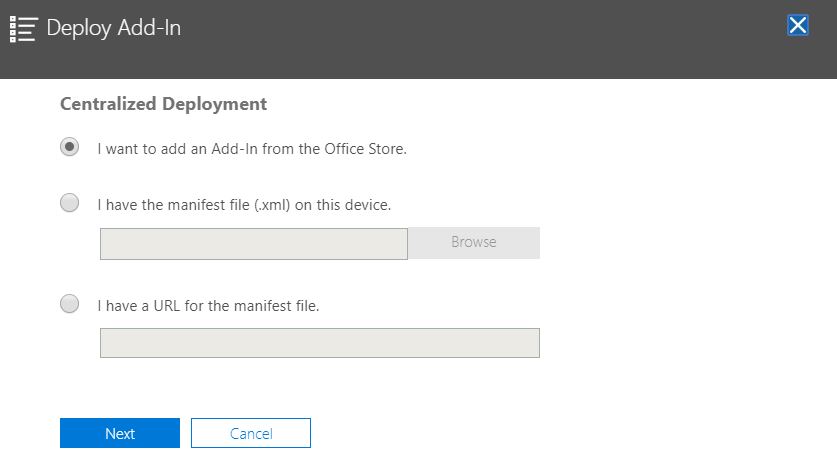
4. Select the third option, I have a URL for the manifest file.
5. In the field, paste in the URL: https://o365.teem.com/manifest.xml
6. Click the Next button.
There may be an option during the process to ask who needs access to the add-in and how users can control it.
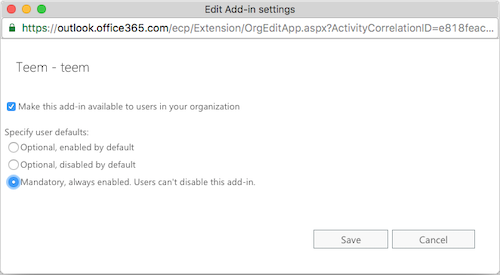
7. Select the Mandatory, always enabled. The user can’t disable this add-in option.
8. Click the Save button to continue.
Specify who has access to displays.
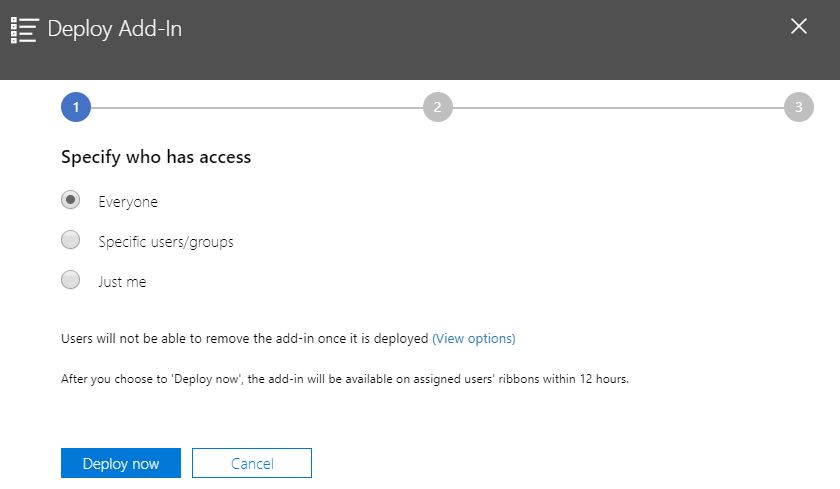
9. Select the option.
10. Click the Deploy Now button.
When the deployment is complete, the Deployment Status displays.

11. Click the Next button.
12. Click the Close button on the next screen.
You can use Microsoft's Organization Install configurations if you prefer to select which groups have the Teem app installed. See this documentation for more information.
Watch Teem in Action
After installing the add-in, check out Using the Teem Microsoft Office 365 Add-in .