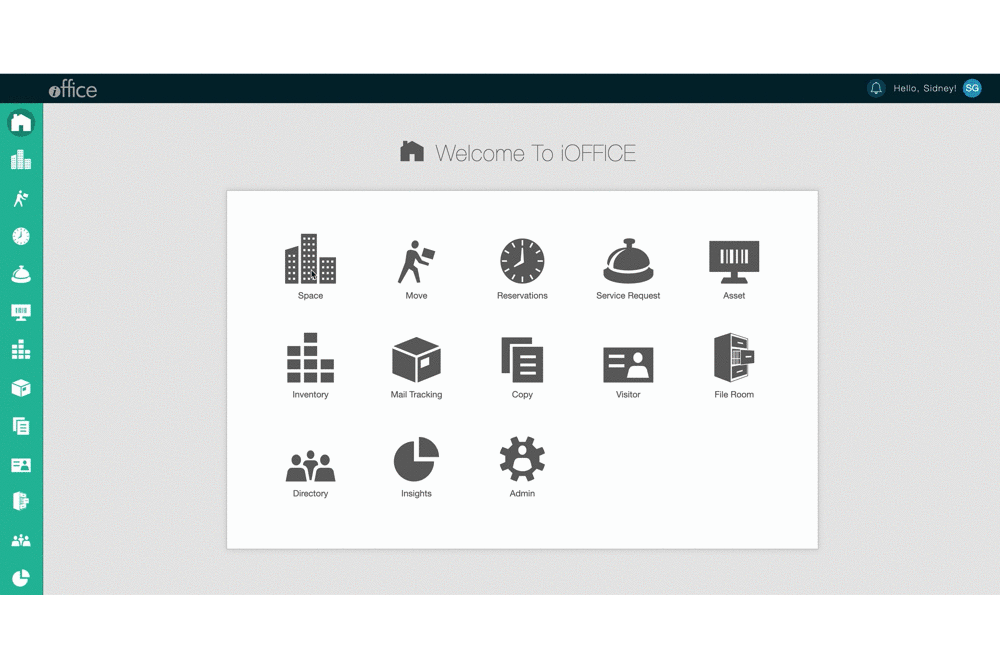
New Move Mode in Space Desktop - 2020 March
For move planners coordinating between multiple Move Requests, it can be difficult to visualize move scenarios within the context of your space. To address this difficulty, we are adding Move Mode to the Space Desktop. Move Mode provides move planners with a holistic view of their space and an ability to link their real estate portfolio with their move planning strategy.
With Move Mode, you are able to create new move scenarios, jump into existing Move Requests, and resolve conflicts between Move Requests, directly from the Space Desktop.
Whether making space for new hires, vacating an entire floor during an office move, moving a department, or auditing overcapacity space, this added feature will make visualizing your move options even easier.
Note: To access Move Mode, navigate to the Space Desktop and click the green icon by the search bar. The Space Desktop will start in Information Mode, indicated by the green building icon, by default. Click the icon and select Move.
Getting Started in Move Mode
The bread crumb navigation in this mode will remain consistent throughout the Space Desktop modes. Building –> Floor –> Space
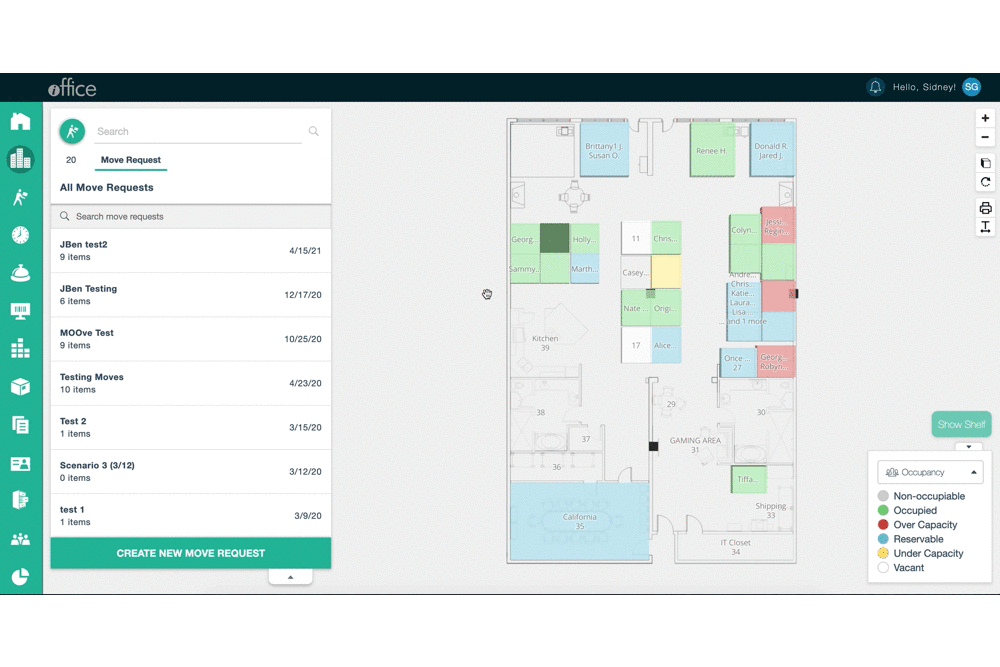
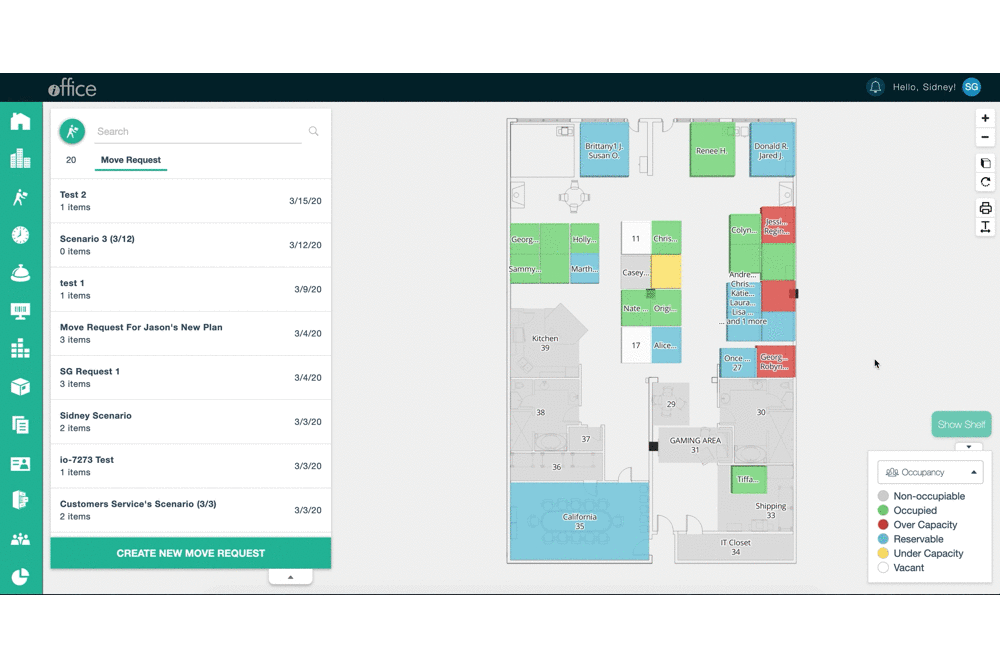
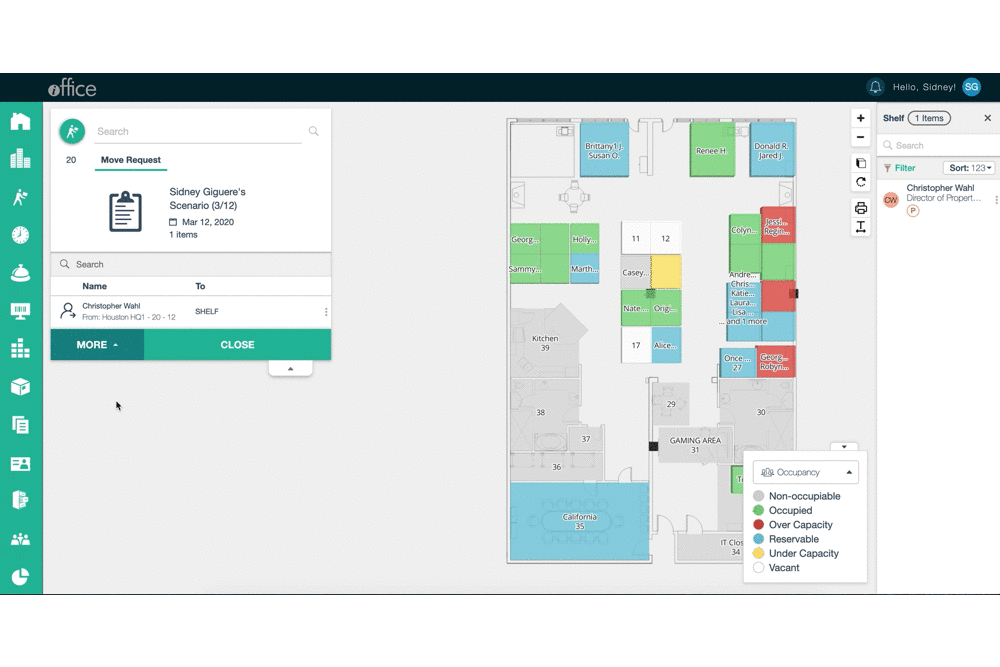
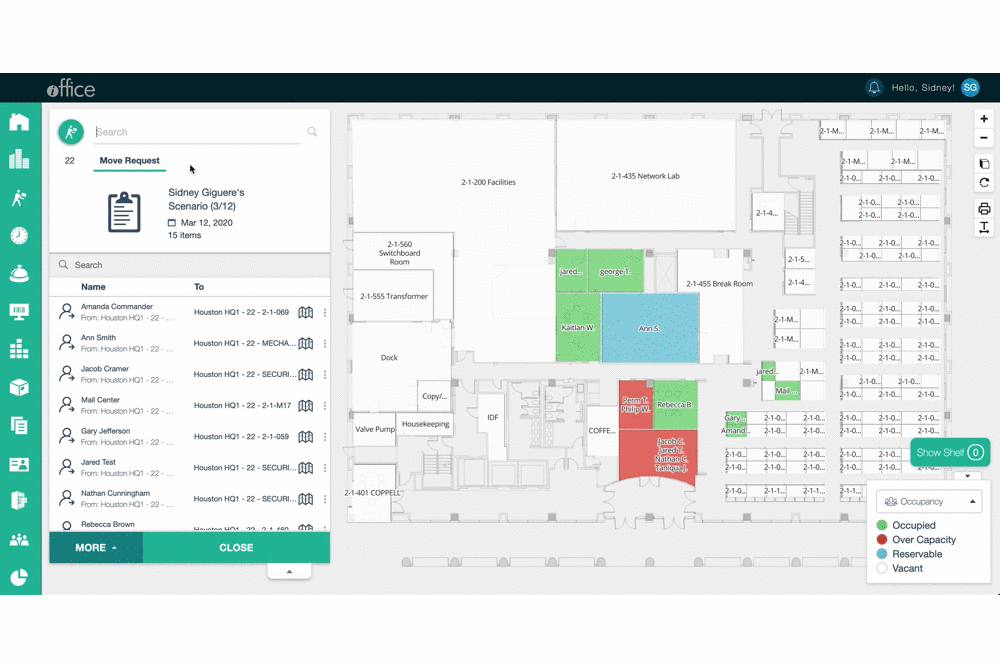
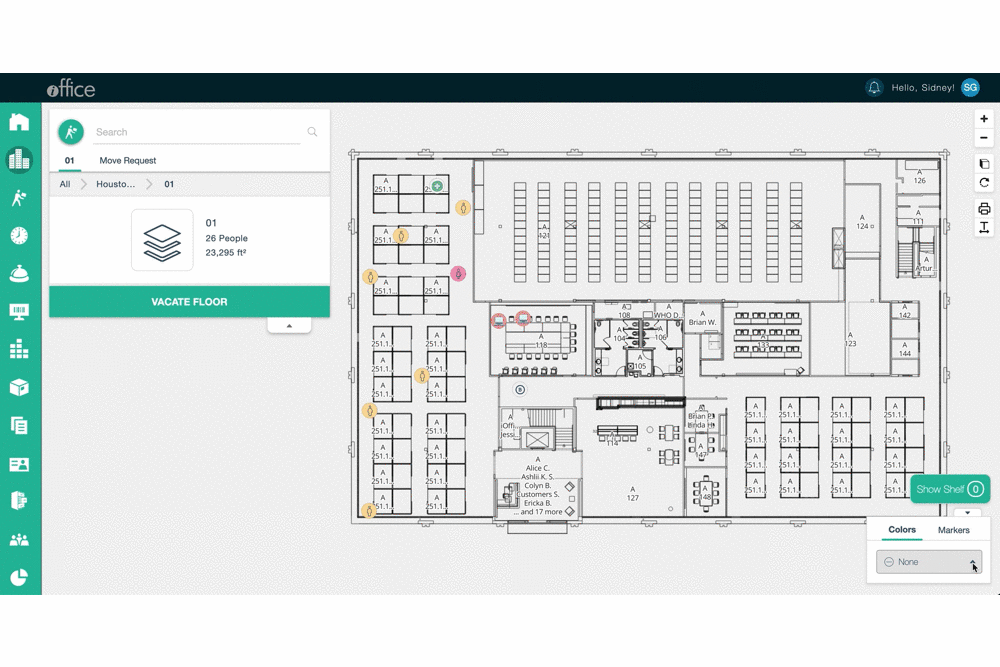
Click the Move Request Tab
If you’re not currently in a Move Request scenario, you can view the Move Request Queue by clicking on this tab. Here you can search for and jump into an existing request.
You can also create a new request by clicking the “Create New Move Request” button found below the queue.
There’s another way to create a new request, also. The Move Request will automatically generate a request ticket, saved in draft status, once any action has been performed in Move Mode.
The Move Request will remain in draft status until you submit it, which can only be accomplished from the Move Module. This process will be covered more in-depth further below.
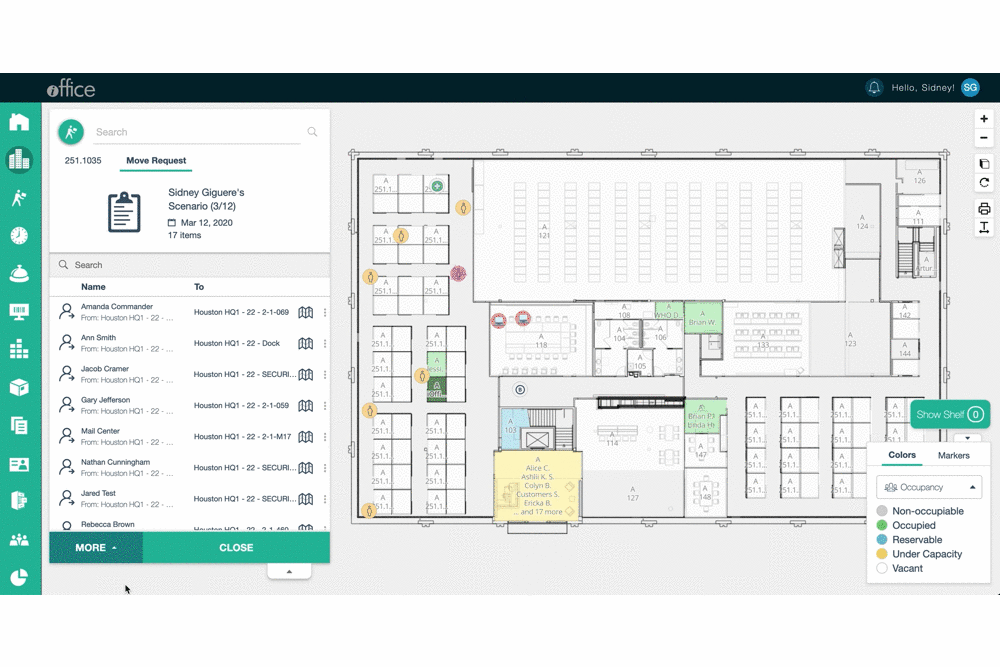
Once you open a Move Request scenario, there are several actions that can be performed from this tab.
From the Move Request Tab view, you can:
-
Edit the name and date of the move scenario
-
Perform actions on the shelf
-
Open in Move Module
-
Archive the request
-
Append the request to a different move
-
Remove the request
Click the Name and Date fields of your Move Request scenario to edit.
Clicking on the More menu will give you access to additional actions.
“Open in Move” launches the request in the Move Module.
Archive the request by selecting “Archive”.
Combine your current scenario with another using “Append”
“Remove” will remove the request and put everyone back in their original space
Move Planning
There are a few ways to move people in Move Mode.
When you are moving people to new spaces on the same floor, you’ll use the Move button.
Let’s say, for example, that you are a move administrator who has just been notified that Marketing has a new employee starting next week. To make room for their arrival, you’ll need to move the person who is currently assigned to the space adjacent to the Marketing team.
Select the space, this will show you the type of space and who is assigned to it. From here, click the Move button beside the person’s name. Just like in Space Manager, there will be a line that appears. Drag the line and click to place them into the desired space.
![]()
Now, let’s say that instead of keeping the employee on the same floor, you needed to move them to sit with the rest of their department on another floor or in another building.
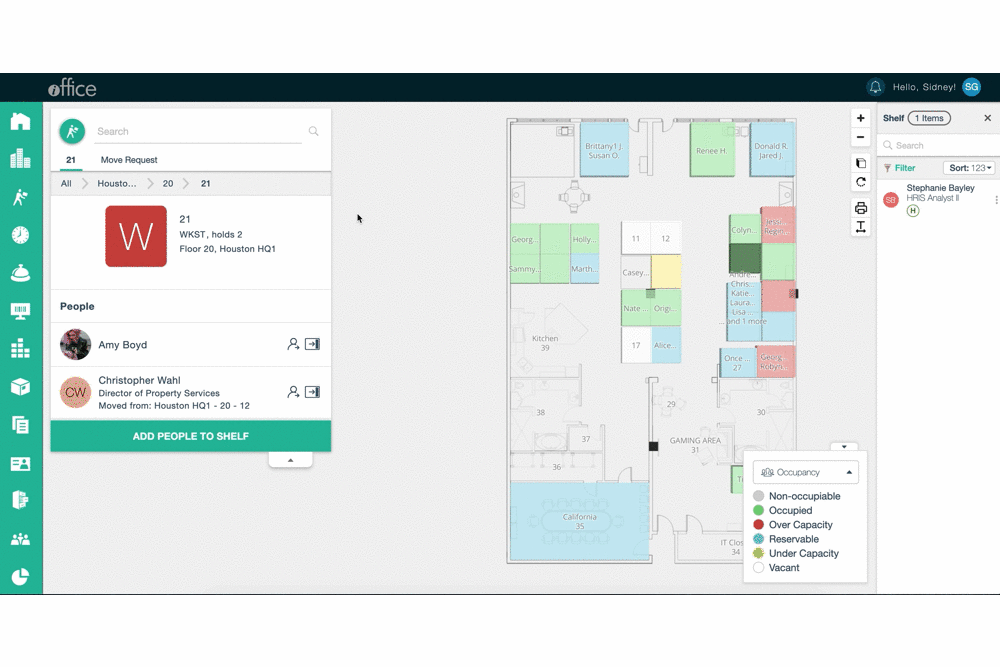
You will use the “Add to Shelf” button when you are moving people to another floor, building, or making them remote.
You will follow the same steps as the first scenario, but instead of clicking the Move button, you will click the Add to Shelf button (to the right of the Move button). You will see a shelf appear on the right hand of the page.
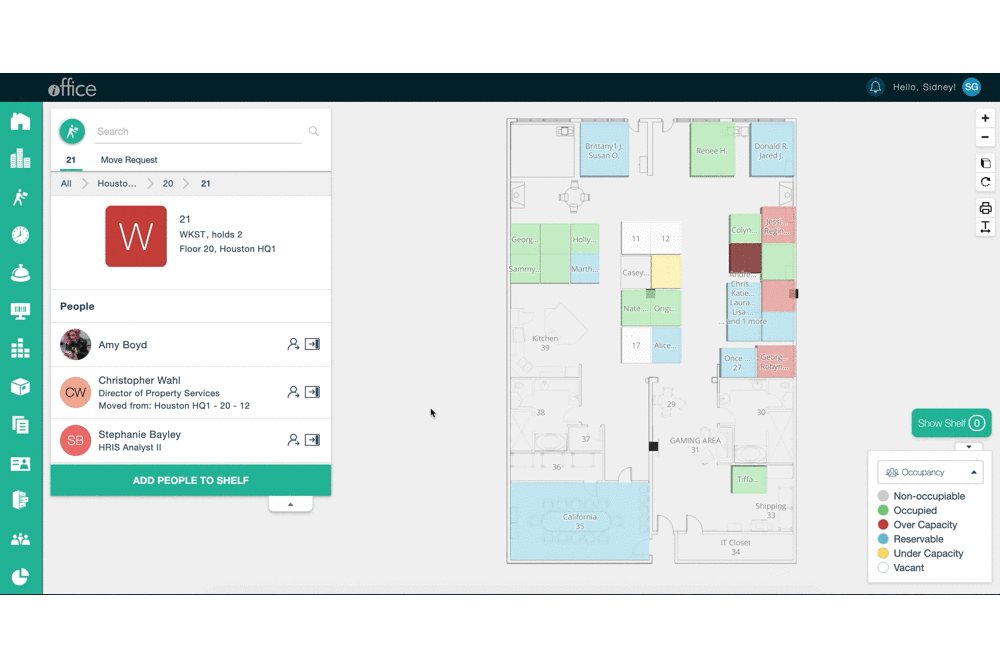
Now, you can navigate to another floor or space, and assign them to their new space. Click the person’s name on the shelf, drag the line and click into the desired space.
If you move someone into a space that is already being assigned in another request you will see a popup notification of the double-booking.
Being able to see and resolve conflicts enables you to work on several moves at a time. or there is another conflict with other Move Requests.
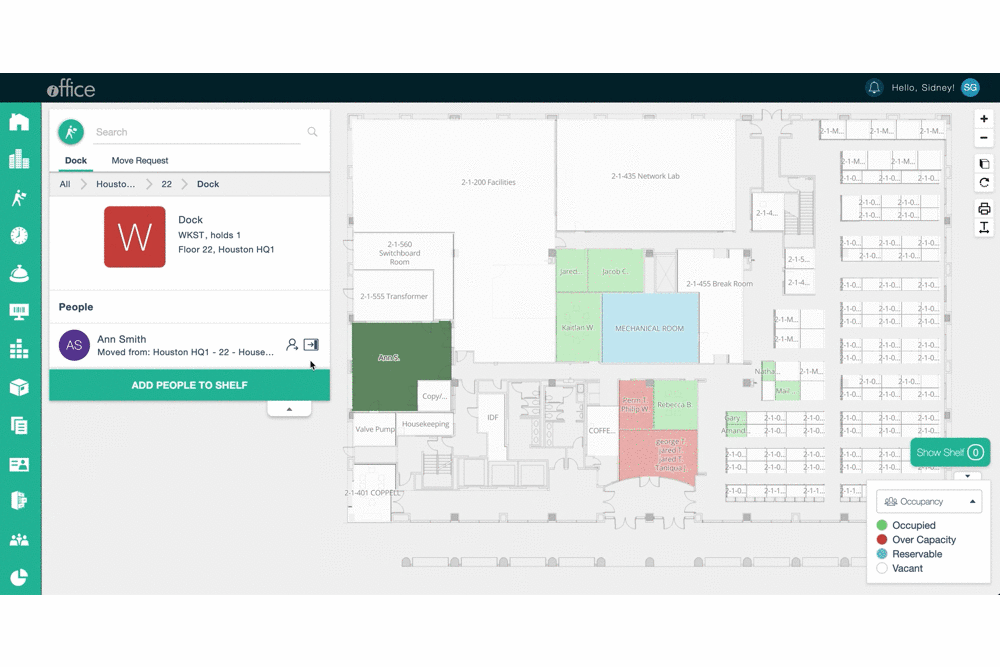
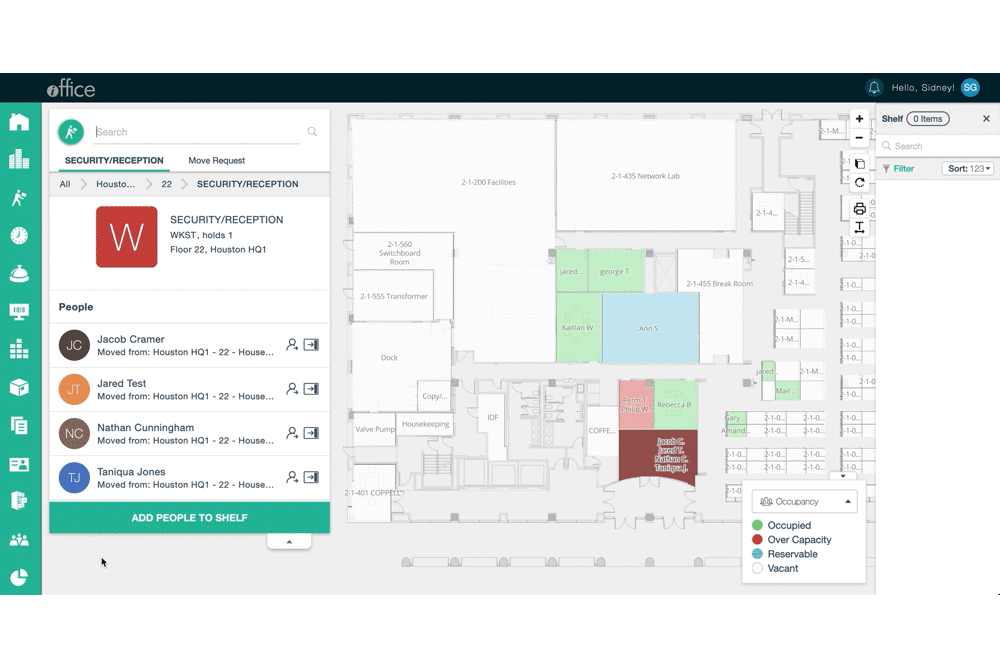
If you need to remove everyone from their current room but you’re not ready to assign them to new spaces, the shelf can also be used as a temporary holding space while you plan the move.
When you click into a space with several people assigned, you will see an “Add People to Shelf” button below their names. Click that to vacate the space.
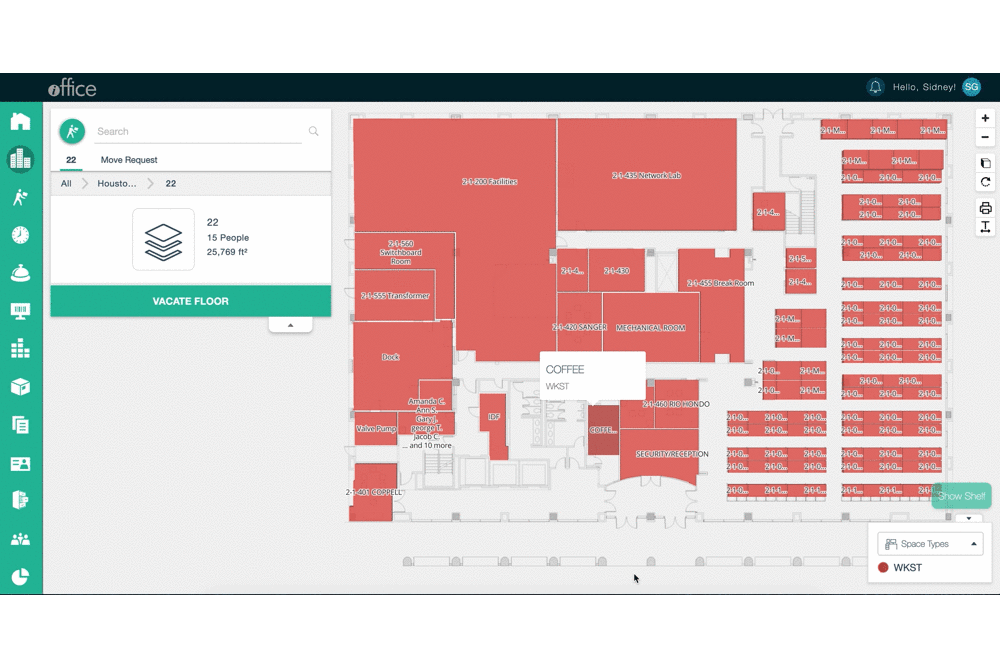
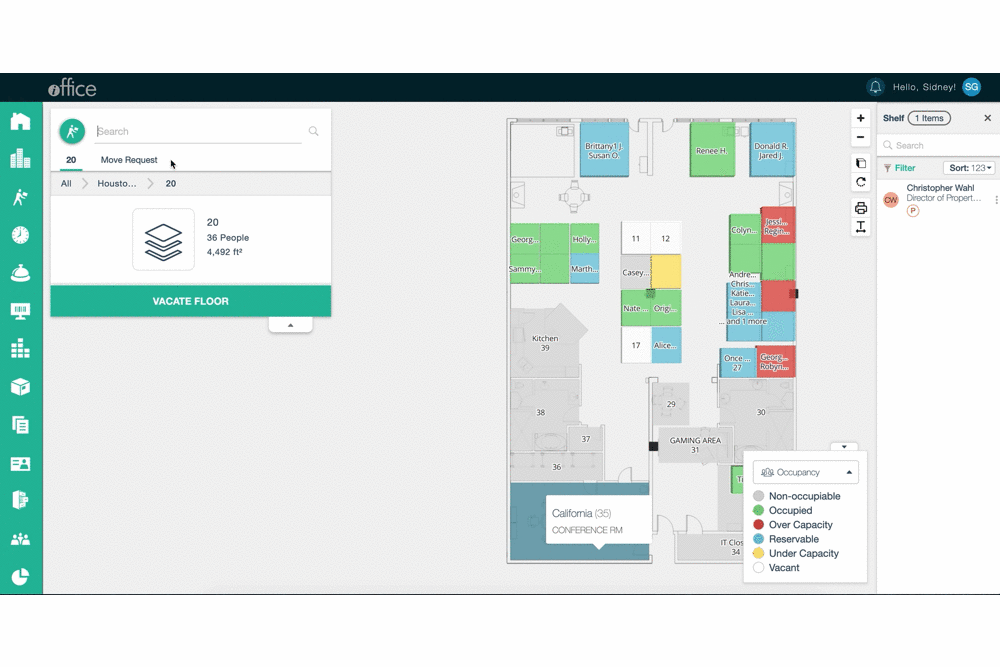
Larger Moves
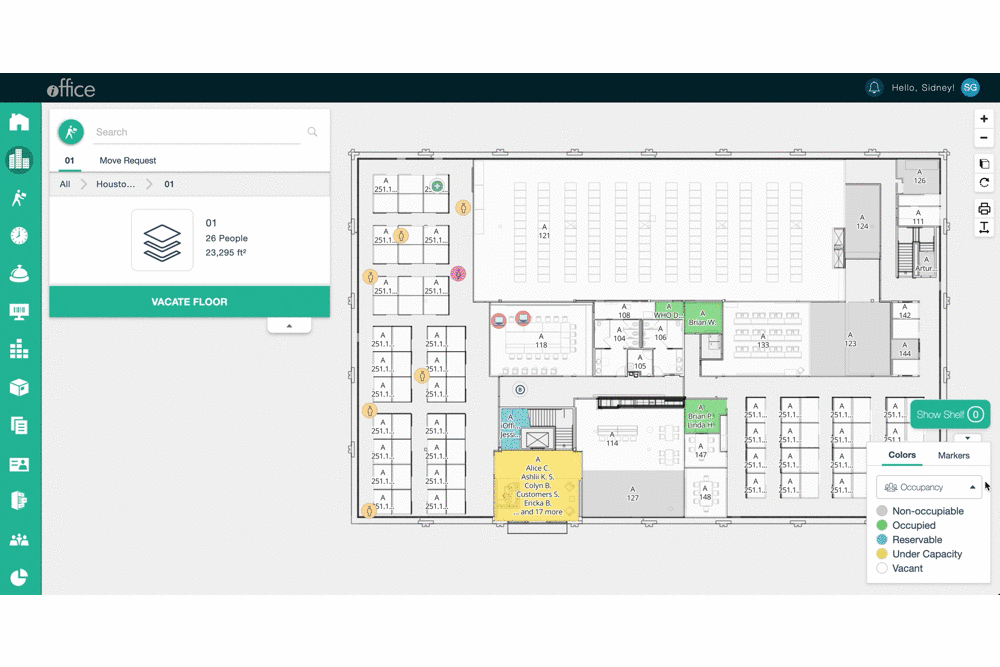
As a move planner, there are several ways to manage larger moves more easily from Move Mode. For example, when you are moving out of a building you can vacate an entire floor. Vacating the floor will add all the people assigned there to the shelf.
To vacate a floor, navigate to the Floor View by clicking on the tab showing the floor number.
From there, click the Vacate Floor button and everyone will be added to the shelf.
Using the legend in Move Mode
You can also easily select from the categories displayed on the legend in the Space Desktop. Select a view from the Legend options (Occupancy, Space Types, or Categories). Then, you will select a condition from the options available within the view by clicking the corresponding color on the legend.
-
Occupancy conditions
For instance, when people are assigned to reservable space and you need to move them. Add them to the shelf to vacate the reservable spaces and then you can figure out how to assign them to new spaces or make some of them remote.
On the Legend, select the Occupancy view and click on the color that is next to “Reservable”. When you select this condition, you will see a list of everyone that is assigned to a reservable space. Click the “Add People to Shelf” button that appears.
Similarly, if you need to run an audit of everyone assigned to the rooms that are overcapacity, you can easily do so.
The same applies to other available conditions on the legend.
-
Space Types
For example, you can vacate Double Offices and reassign the occupants to a new space. -
Categories
For example, you can move the entire Finance Department if that is one of your categories.
Submitting the Move Request Ticket
As previously mentioned, any action performed in Move Mode will generate a Move Request that will remain in draft status until submitted.
To change the status of the request, launch the Move Module and submit the ticket.
On the Move Request Tab, select “Open in Move” from the “More” drop-down menu to launch the Move Module. On the Move Request page, you can submit the ticket as you normally would from the Move Module. For more information on submitting Move Requests, click here.
You can also keep the Move Request in Draft status, and access it later from the Move Request Queue when it is ready to be submitted.
Note that changes made from Move Mode will not be permanent until the Move Request has been approved.
Move Mode in Space Desktop
Move Mode enhances the visibility that move planners have while planning move scenarios, allowing for more flexibility throughout the move planning process and improving the ability to manage several Move Requests by detecting potential conflicts as they come up.