Move an Asset
You can move an asset to another space on the same floor or move them to a space on a different floor. Additionally, you can move a asset to the shelf and then move them to another building's floor. The move can be for today or you can schedule a move for a future date.
Access Move Mode
- Navigate to Space > Space Desktop.
- Click the Mode to change it to the Move
 icon at the upper right-hand corner.
Move an Asset to another Space
In this example the asset is being moved today.
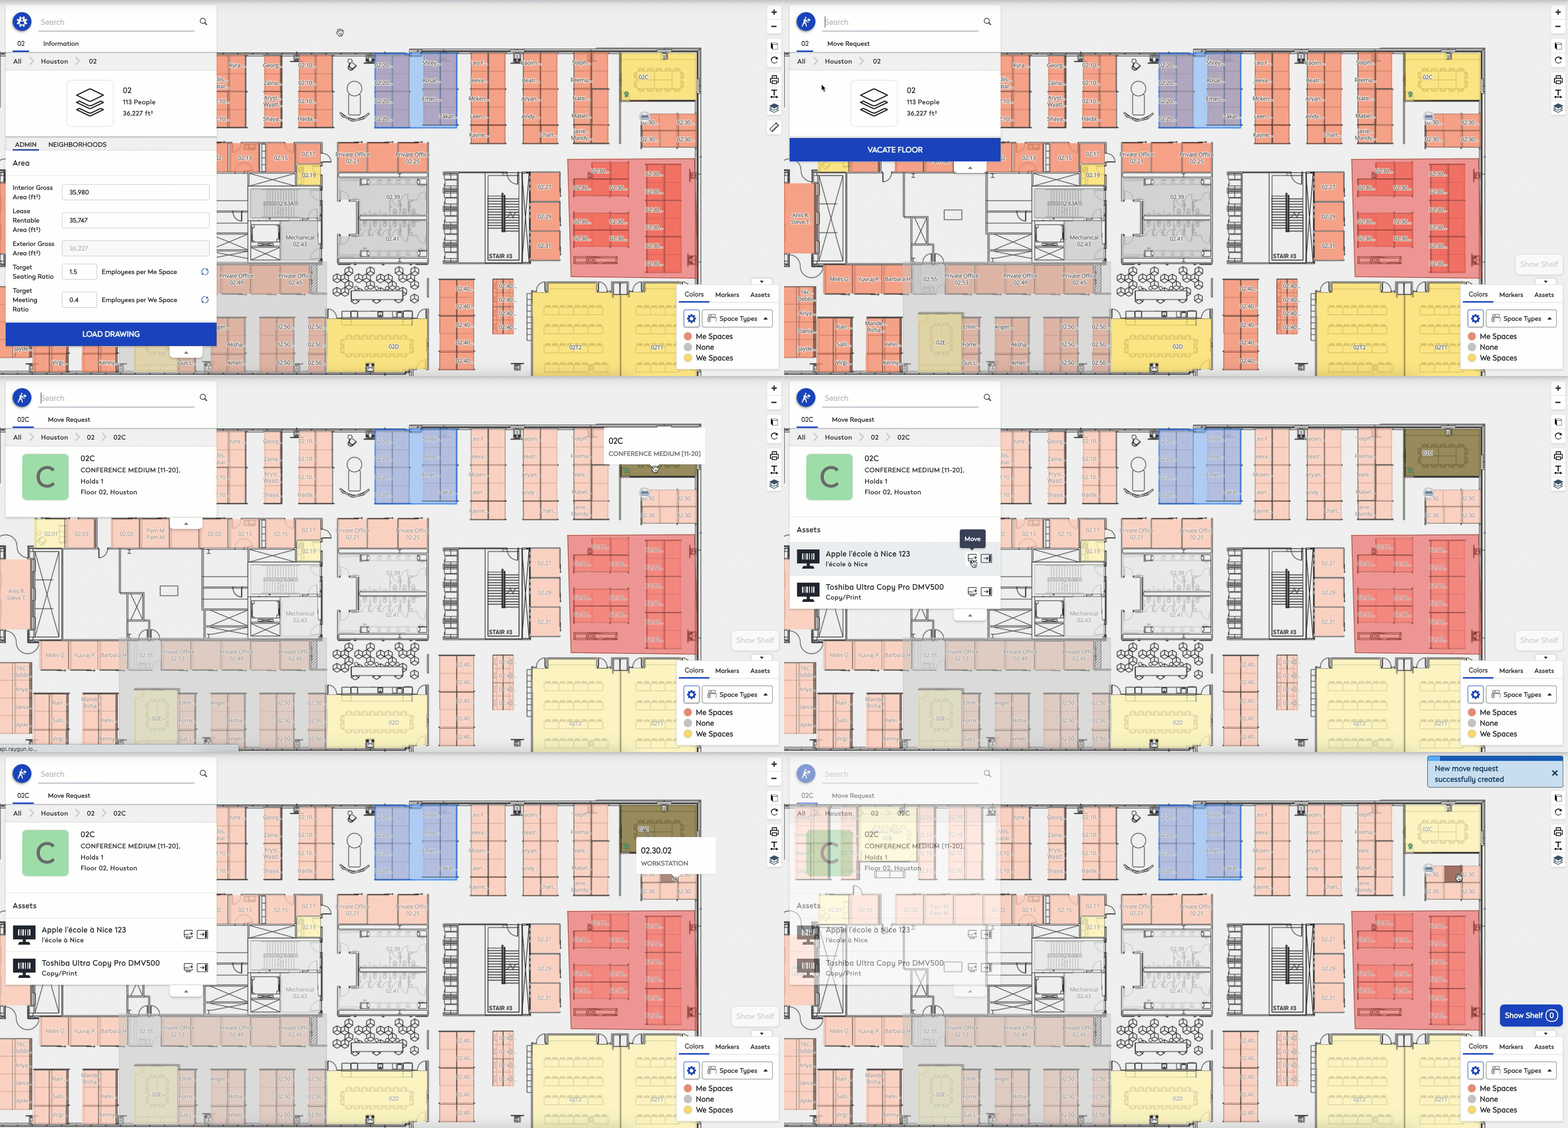
- From the floor plan, click the asset.
- Click the Move
 icon. A visual link appears on the screen which you can use to point to the space you want to the person to move to.
If you want to release the visual pointer then press the Esc key.
- Click the space you want to move the person to. The move request is created.

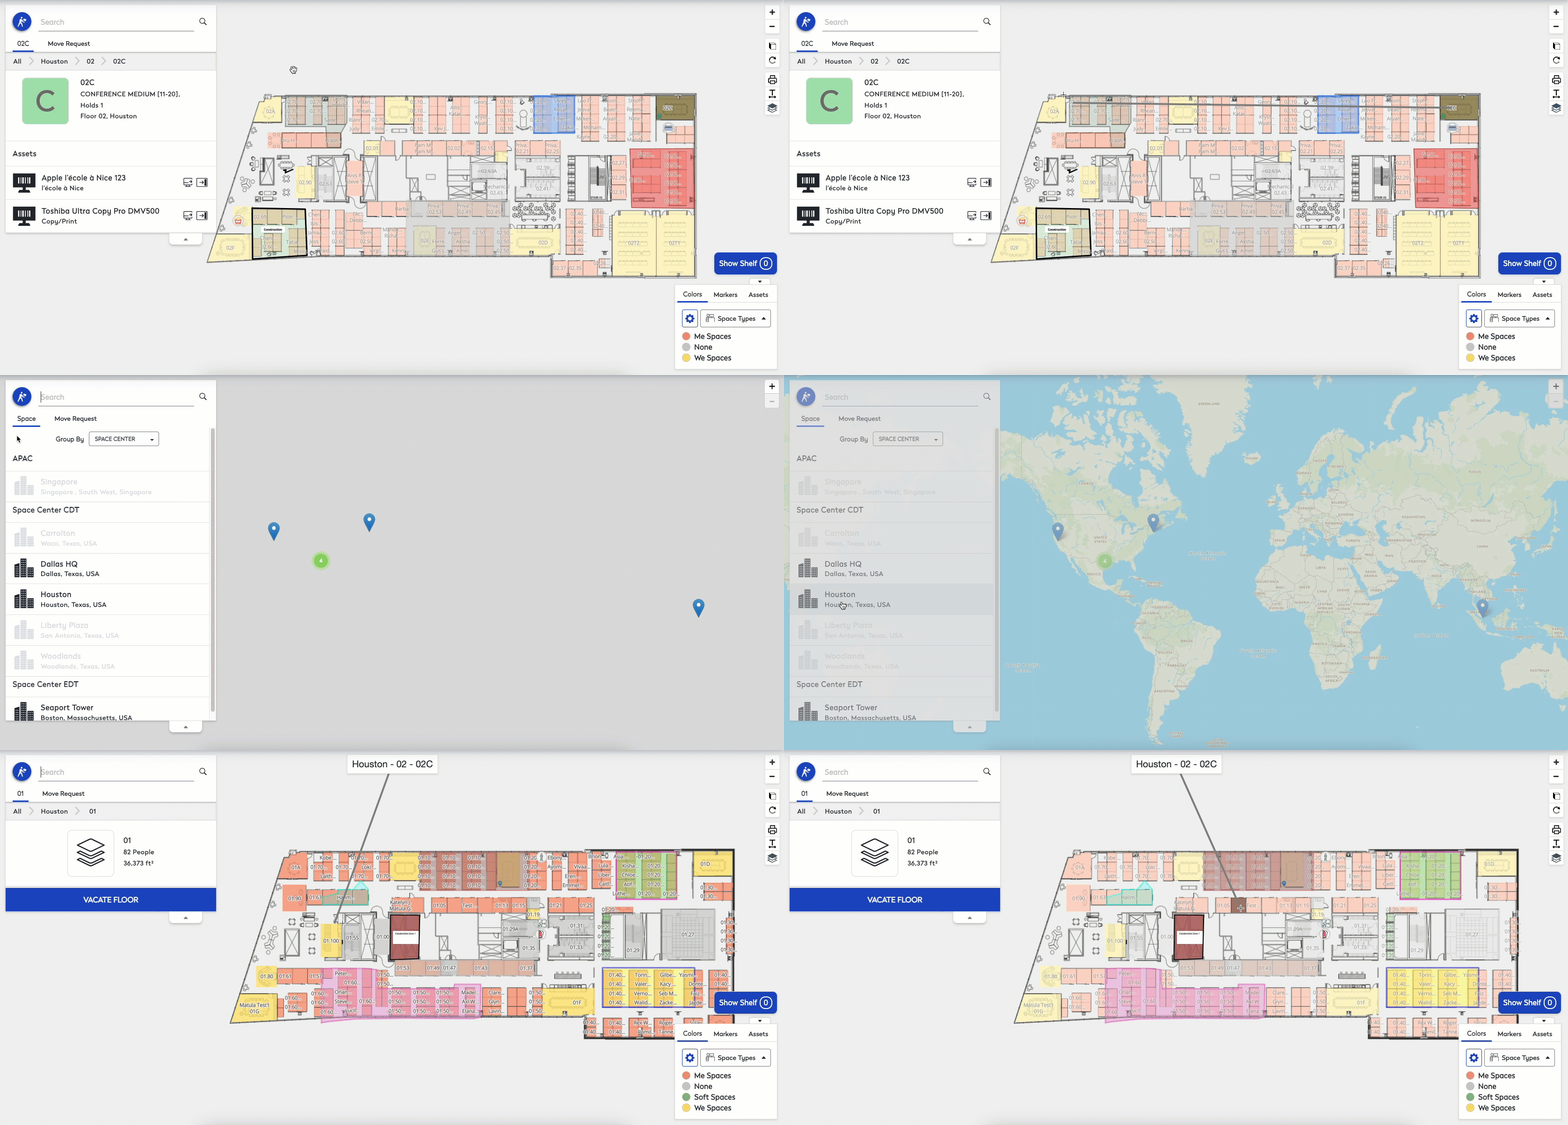
To move an asset to another floor or building, click the asset and drag it to the location breadcrumb in the menu.

Navigate to the desired building/floor and select the new location.

- From the Move panel, click the Move Request tab.
- Click the More button and a pop-up menu displays.
- Click the Complete option.The message "Archiving makes all changes in the move permanent. After a request is archived it cannot be edited or undone. Be sure that all information in the move is completed and correct before archival.
- Click the Confirm button. The person is moved and an email notification is sent out.
