Add, Edit, or Delete Vendors
We only add manufactures to the asset vendor list and any vendor who are non-manufacturers are saved to the address book. The vendors are used when you set up Agreement for specific assets.
- Navigate to Admin > Assets > Vendors.
All available vendors for existing assets display.
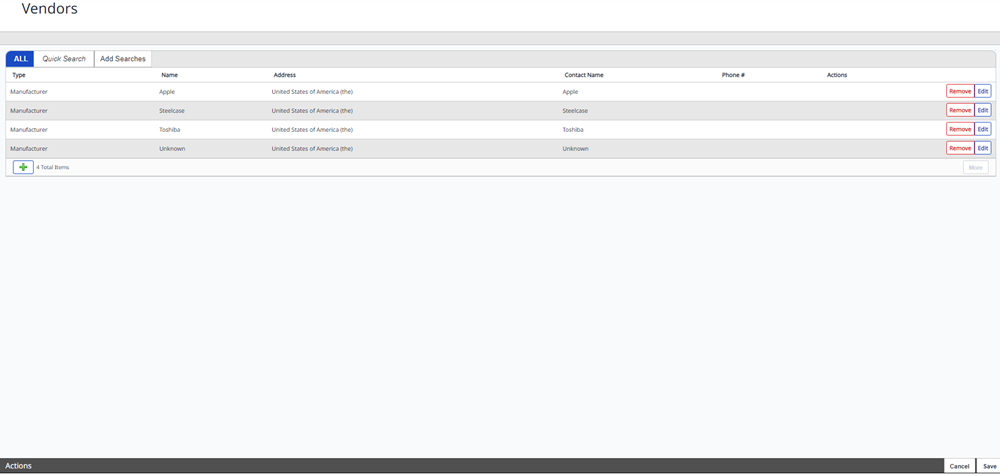
Search
-
Quick Search- To search for a vendor, use the Quick Search function.
-
Add Searchs - You can also save and edit frequently used searches by clicking the Edit Searches or Add Searches button.
Add a Vendor
You can add a new vendor.
-
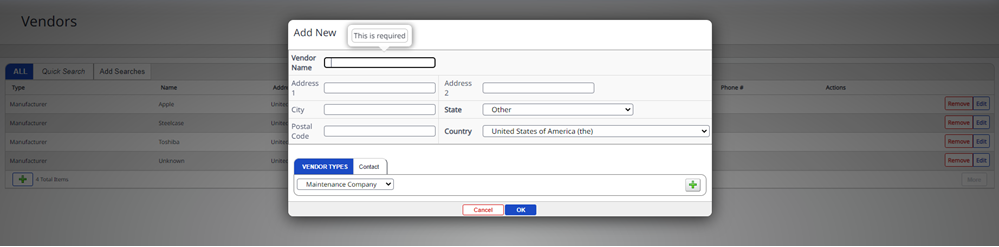
To add a new vendor, click the Add
icon at the bottom of the list.
The Add New dialog displays.
-
In the Vendor Name field, enter the name of the vendor.
-
In the Address fields, complete the address of the vendor.
Vendor Types tab
-
In the Vendor Types tab, from the Maintenance Company drop-down, select the type of vendor.
-
Click the Add
icon.
Contact tab
-
Click the Contact Tab.
-
Complete the First Name, Last Name, Phone, and Emails fields for the contact.
-
Click the OK button.
-
Click the Save button.
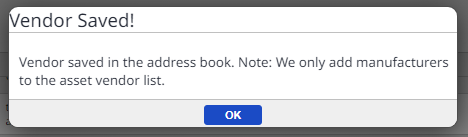
When you add a non-manufacture and save the Asset Vendor List the message "Vendor saved in the address book. Note: We only add manufacturers to the asset vendor list" displays.
Edit a Vendor
You can edit an existing vendor.
-
For the vendor you want to edit, click the Edit button under the Actions column.
The Edit Vendor dialog displays.
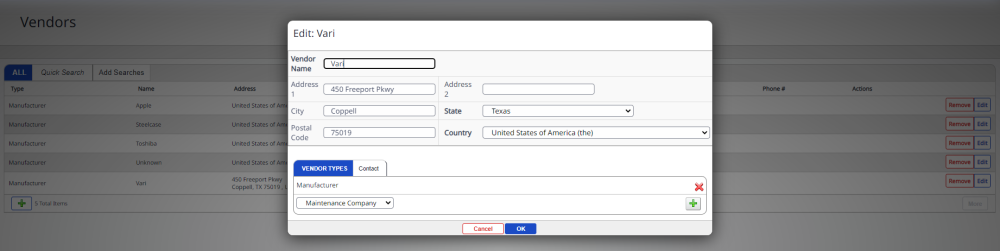
- Complete your edits.
-
Click the OK button.
-
Click the Save button.
Delete a Vendor
- For the vendor you want to edit, click the Remove button under the Actions column.
- The Remove Vendor dialog displays the message " Removing the item will remove if from the system. Any open tickets or requests using this item may become inaccessible.
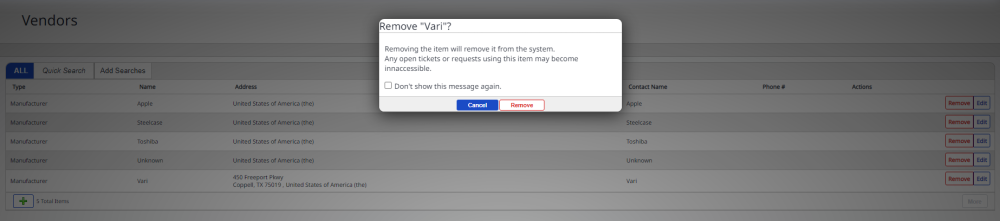
- Click the Remove button and the vendor is deleted.
- Click the Save button.