Set up Inventory Categories
The Inventory Categories admin allows you to view and/or modify inventory categories.
- Add Inventory Categories
- Edit Inventory Categories
- Delete Inventory Categories
Add Inventory Categories
If you want to add an inventory category, perform the following steps:
-
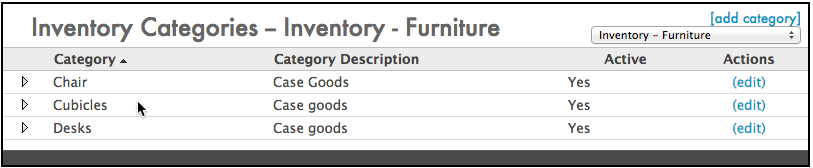
Click Admin>Inventory>Inventory Categories. The Inventory Categories screen opens.
-
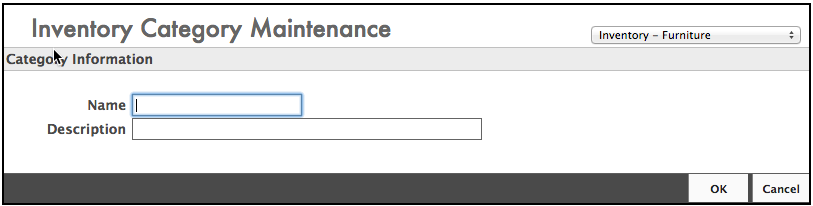
Click the [add category] link in the upper-right corner of the Inventory Categories screen. The Add Inventory Categories screen opens.
-
Enter the name in the Name field.
-
Enter the description in the Description field.
-
Click the OK button to save your changes and add the new inventory category.
Edit Inventory Categories
If you want to edit an inventory category, perform the following steps:
-
Click Admin > Inventory > Inventory Categories. The Inventory Categories screen opens.
-
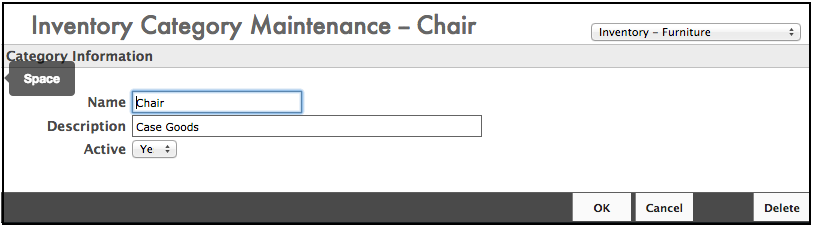
Click the edit link to the right of the inventory category you want to edit. The Edit Inventory Categories screen opens.
-
Update the Name, Description, or Active fields and click OK. Your changes have been saved.
Delete an Inventory Category
If you want to delete an inventory category, perform the following steps:
-
Click Admin>Inventory>Inventory Categories. The Inventory Categories screen opens.
-
Click the edit link to the right of the inventory category you want to delete. The Edit Inventory Category screen opens.
-
Click the Delete button. A confirmation window opens to verify deletion.
-
Click Yes to continue deletion.
This cannot be undone. Make sure you want to delete this inventory category, as it will be gone.