View the Shipping Queue
The Shipping Queue lists all Outbound packages that have been checked-in to the application and are waiting to be checked out to the assigned courier. In addition, if you have multiple centers, Interoffice and Inbound items that have not yet reached the destination center of the recipient also display on this screen.
- Navigate to Mail > Shipping Queue.
- If you have more than one center, you can change the the center, from the Center drop-down, select the center.
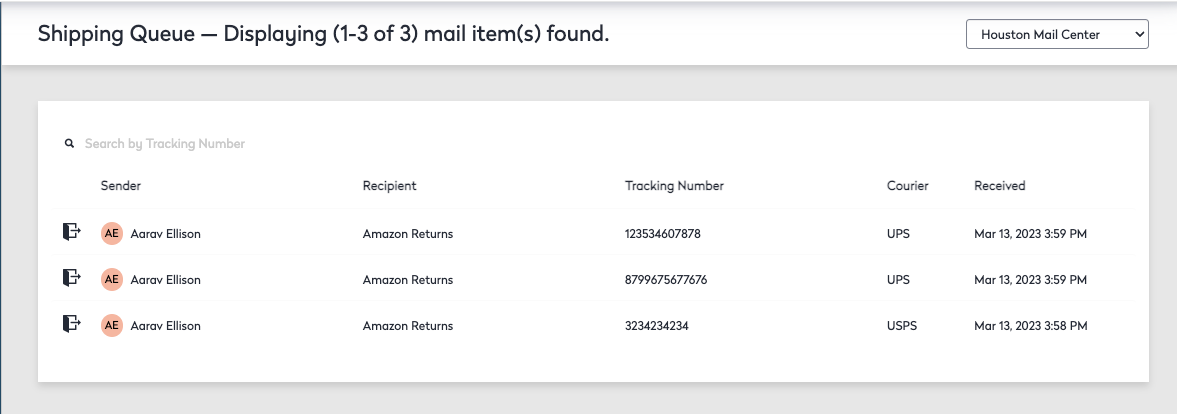
The Shipping Queue screen, general information displays for each mail item, including the sender, recipient, date received, etc.
From this screen, you can:
Search for an Item
To locate a specific item, enter the tracking number in the Search field. Mail items matching the search criteria display automatically in the Results section.
Mail Items Icons
The mail items icons determine whether a mail item is Inbound, Interoffice , or Outbound.
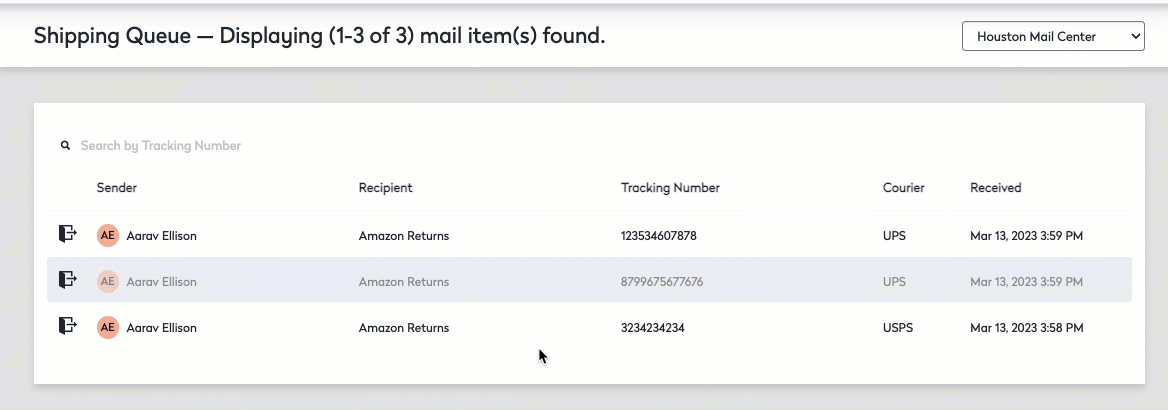
Checked Mail
When mail items are checked out then the items display in a lighter shade of gray on the Shipping Queue screen. To verify a mail item has been previously checked out, hover the mouse cursor over the item and then the "Checked Out" tooltip displays.
Additionally, when an Outbound item is checked out, the item displays on the Shipping Manifest, where you can create and print a manifest to track the items leaving your site.
View a Mail Item
To view detailed information for a mail item, such as the route, room where the item will be delivered, and comments.
- Click on the mail item. The Mail Item displays, where you can view the data and time the item was checked out or transfer the item to the pending queue for further research if necessary.
Edit a Mail Item
You can perform the following functions on this screen.
-
Add comments about the package delivery process - In the Comments field, enter a comment and then click the Add button. Customers can view these comments.
-
Edit package information - Click the Edit button. After making changes, click Apply to save the changes, then click OK to exit. You can even edit the recipient when in edit mode by clicking the pencil and paper icon and selecting a new recipient.
-
Print a label for the package - Click Actions drop-down and then click the Print Label option from the sub-menu.
-
Print general package information - Click Actions drop-down and then click the Print Page from the sub-menu.
-
Transfer the package to the recipient's center - Click the Actions drop-down and selecting the + (Transfer) option. If you determine that a package cannot be delivered (in case the package is addressed to the company name or is addressed to a former employee), you can transfer the package from the Receiving Queue to a Pending Queue.
-
View custom fields defined for the recipient, such as the recipient's detailed location, special needs, access requirements, ect. - Hover the mouse cursor over the Information
 icon to the right of the recipient name.
 -
View the courier's tracking history for a package. Click the Tracking
 icon next to the tracking number. The courier's tracking website displays in a separate window. This feature is currently available for DHL, FedEx, UPS, and USPS.
Pending Queue
The Pending Queue is for packages that have been checked-in but require research in order to deliver. This allows the Mail Center to date and time stamp every instance the package was handled.
-
To transfer a transaction to the Pending Queue, click View on the Receiving Queue and click the Pending Button.
-
When the recipient location is identified, click on View and then edit the delivery by clicking the Edit button under Actions and updating the Recipient Information. Then select the User Center button to transfer the transaction back to the Receiving Queue for delivery.