Understand Centers
Level: Administrator
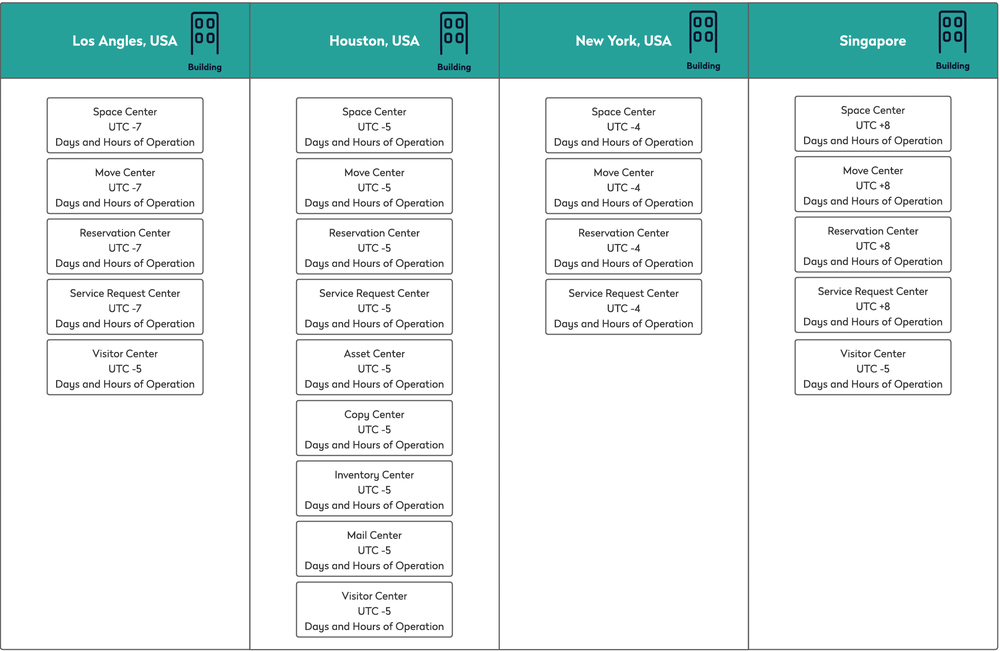
A center is a container that can contain one or more buildings within the same time zone. A center is a way of grouping people together to control visibility and sets operating hours. They provide operational separation between locations, for example, if you have a buildings in Los Angles, Houston, New York, and in Singapore you can control the time zone and office opening hours. Additionally, if you have people who look after the Moves then the Center will let them only see the move request queue for their building.
Manage Centers
Your Administrator can add or edit your Centers and they can grant user access to the Center(s).
Remember a Space Center can be updated to display in metric or imperial.