Add, Edit, or Delete a Building
Level: Administrator
Your portfolio will contain your buildings and your Administrator can maintain the building, floors, and spaces.
Navigate to your Building
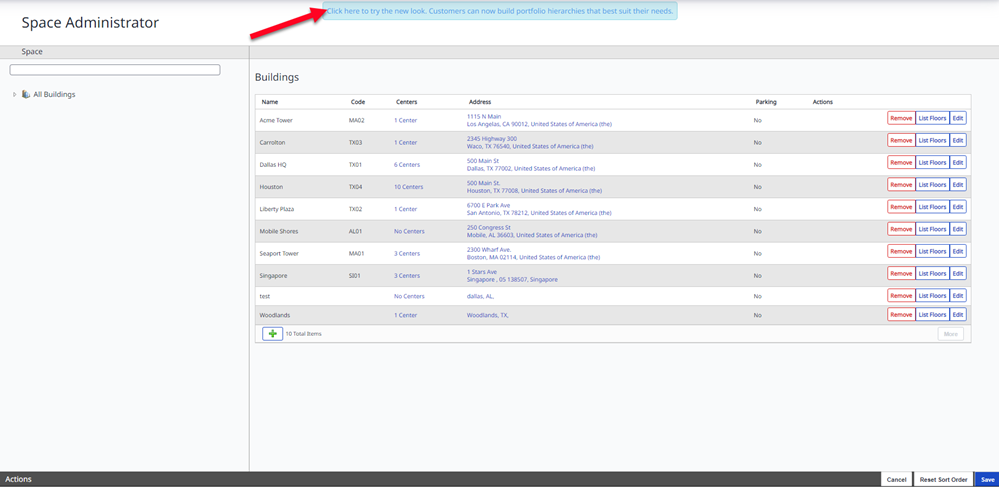
- Navigate to Admin > Space > Space Administrator. The Space Administrator screen displays.
- Click the "Click here to try the new look. Customers can now build portfolio hierarchies that best suit their needs."
View the Building's Floors and Spaces
Expand Information
1. To view floor information click the plus sign  to view the list of floors.
2. To view the spaces within a floor click the plus sign to view the list of spaces.
Collapse Information
1. To collapse the space information within a floor click the minus sign  to hide the list of spaces.
2. To collapse floor information click the minus sign  to hide the list of floors.
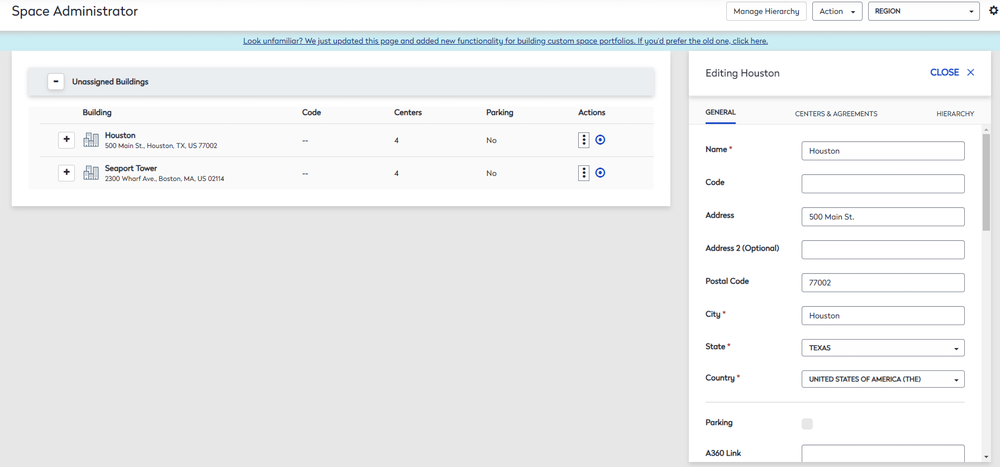
Add Building
To add a building do the following steps below, all required fields with the red asterisk * will need to be filled out in order to save the building.
- Click the Action button.
- Select Add New Building. The New Building form displays.
- In the Name field, enter the building's name.
- In the City field, enter the building's city.
- From the State drop-down, select the building's state.
- From the Country drop-down, select the building's country.
The building is automatically saved. You can either complete the building's fields, add center and agreements, or assign a hierarchy to the building.
Edit Building Details
- For the building you want to edit, click the More Actions
 icon.
icon. - Select the Edit button. The Edit form displays.
Complete the following fields:
- From the Classification drop-down, select the classification. This will classify the building using the IFMA standards.
Add or Remove Building's Center and Agreements
- Click the Centers & Agreements tab.
- Check the center or agreement checkbox.
To remove the building's center or agreements, uncheck the center or agreement checkbox.
Assign a Building to a Hierarchy
- Navigate to the Unassigned Buildings.
- Click the More Actions icon on the desired building.
- Select the Hierarchy tab.
- Click the Browse button.
- Click the Select button next to the desired hierarchy.
Delete a Building
When a building is no longer in use you can remove the building.
1. Navigate to the building that needs to be removed.
2. Click the More Actions icon.
3. A prompt will then show, click the Delete button.
