Configure Workplace Sensors
Level: Administrator
Administrators can configure the sensors that you use in their organization.
Add a Sensor
- Navigate to Admin > Space > Sensors. The Configure Sensors screen displays.
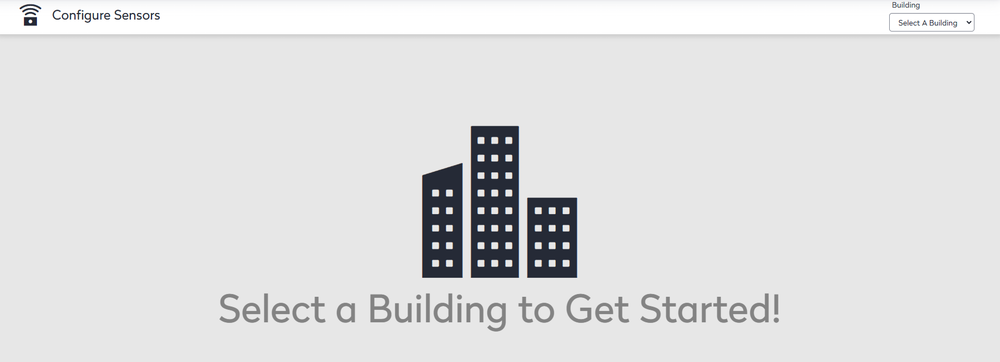
- From a Building drop-down, select a building.
- Click the Add Sensor button. The new sensor line displays.

- In the Space field, browse and select the space where the sensor is located.
- In the Sensor ID field, enter the sensor's identity number.
- In the Notes field, enter a short note.
- From the Vendor drop-down, select the sensor's vendor.
- From the Type drop-down, select the sensor type.
- Click the Save button.
Edit a Sensor
- Hover over the sensor to display the Edit and Move icons.
- Click the Edit button. The Senor line changes to the edit mode.
- You can edit the notes, vendor, and sensor type.
- When you have finished, click the Save button.
Move a Sensor
You can also make changes to existing sensors.
- Hover over the sensor to display the Edit and Move icons.
- Click the Move Sensor
 icon. The Choose a new space for sensor dialog displays.
 - In the space field, either enter in the space name or click the Browse button to navigate to the space where the sensor is located.
- Click the Save button. The sensor location has been moved.
After the location is selected, click the Save button. The sensor is assigned to the new location.
Delete a Sensor
If a sensor was added incorrectly, such as with an incorrect sensor ID or vendor, you can easily delete it.
- For the sensor you want to delete, click the Delete
 icon. A confirmation message displays "Are you sure you want to unassign this sensor?"
 - Click the Yes button.
For more information about implementing sensors at your facility, contact your Account Manager.